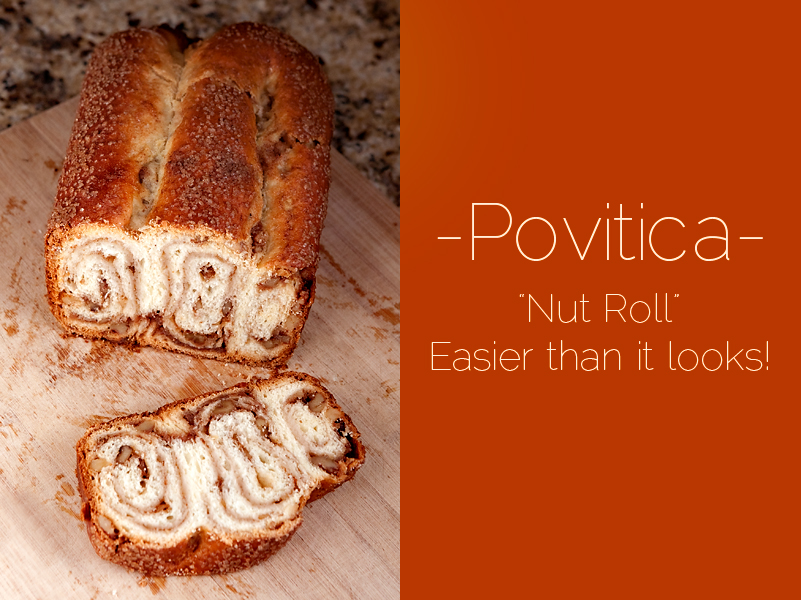
I was so excited to try this recipe. I'm in the middle of a love affair with homemade yeast breads, and when I came across this recipe for povitica - a sweet bread made by rolling out yeast-leavened dough very thin, filling it with something nutty and sweet, and rolling it up - I knew I had to try it. The surprise comes at the end when you slice into this beauty and unveil the beautiful swirl pattern on the inside.
As a bonus? It is an absolutely delicious bread. Here's how to do it:
(psst.. printable recipe is at the bottom of this post)
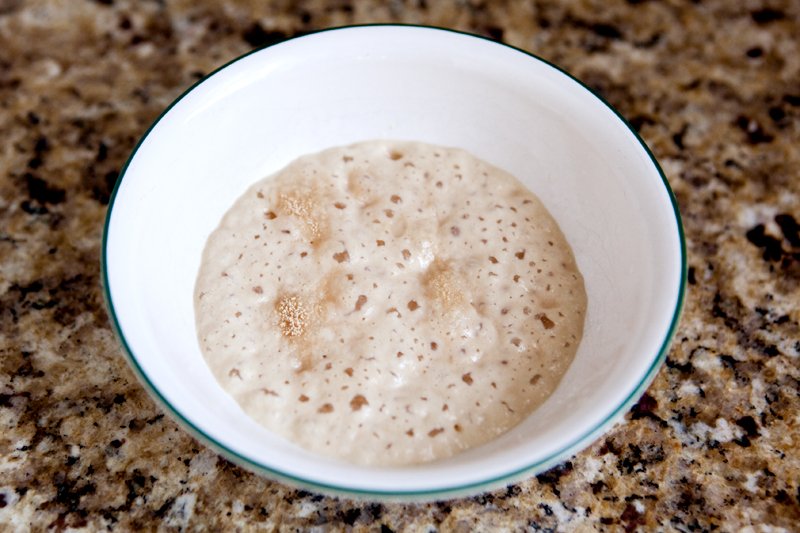
In a small bowl, stir together a little sugar, flour, and warm water. Sprinkle active dry yeast on top, cover loosely with plastic wrap, and set aside for about 5 minutes until it starts to bubble.
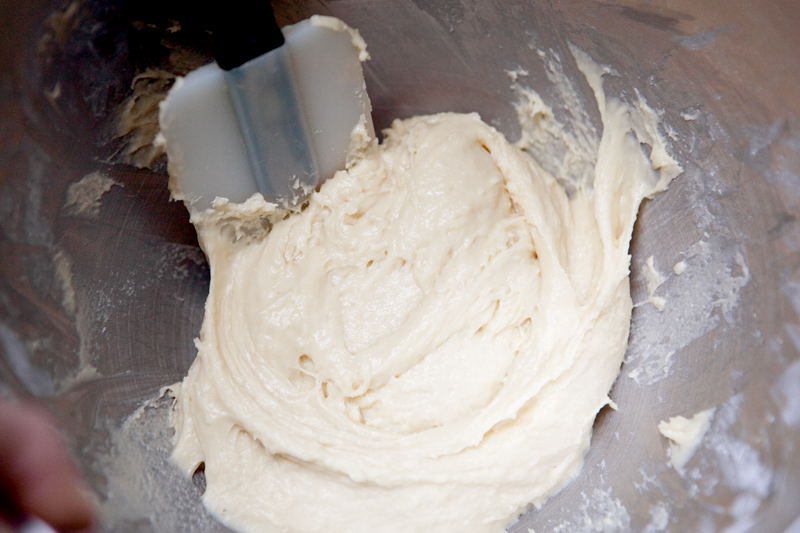
(not pictured) Heat some milk in a sauce pan to just below boiling, stirring constantly, and then allow it to cool for a few minutes. In your mixer, add the scalded milk to some sugar and salt until combined. Add an egg, melted butter, a little flour, and the yeast mixture. Keep adding flour until the dough begins to "clean the bowl", meaning that it will scrape itself off of the sides of the bowl as the mixer turns.
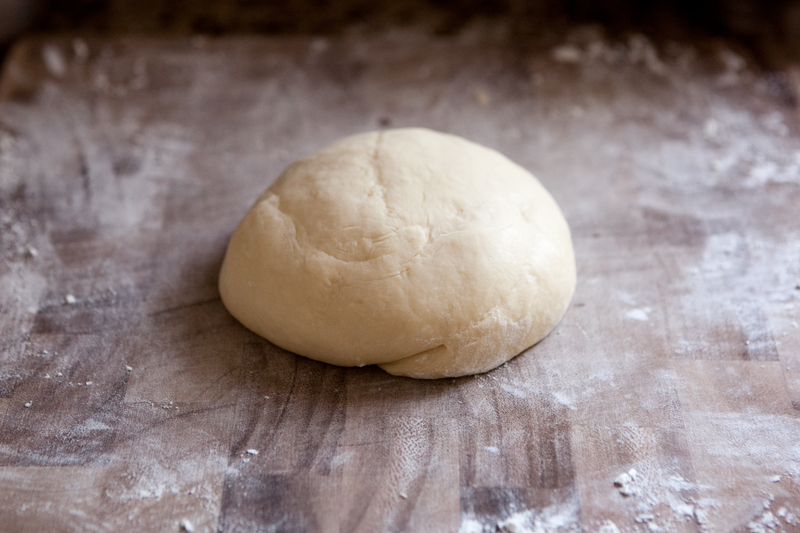
Turn the dough out onto a floured surface and began to knead, while adding small amounts of additional flour until the dough is smooth and not sticky. This is a lovely dough that comes together quite nicely, so it's easy to tell when you've added enough flour.
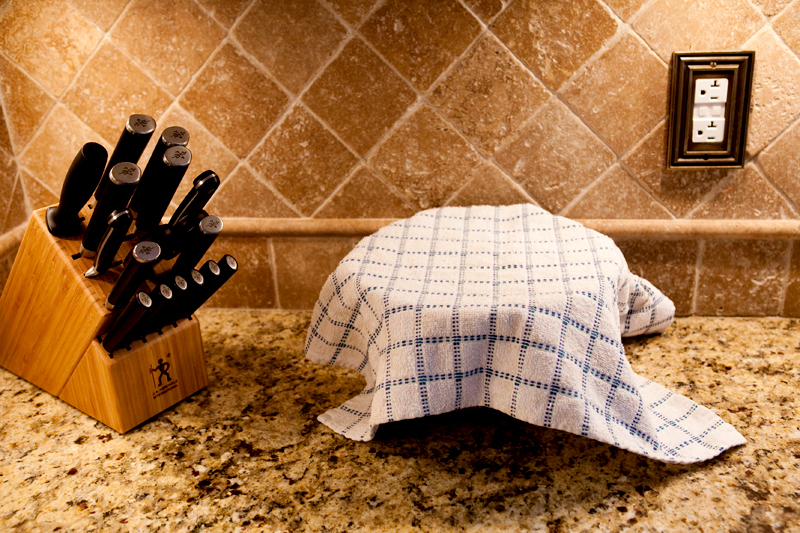
Place your dough ball into a mixing bowl sprayed lightly with cooking spray, cover with plastic wrap and a dish towel, and let it rise in a warm place for about 90 minutes, or until it has doubled in size. I like to sit rising doughs under warm lights in my kitchen. Seems to do the trick!
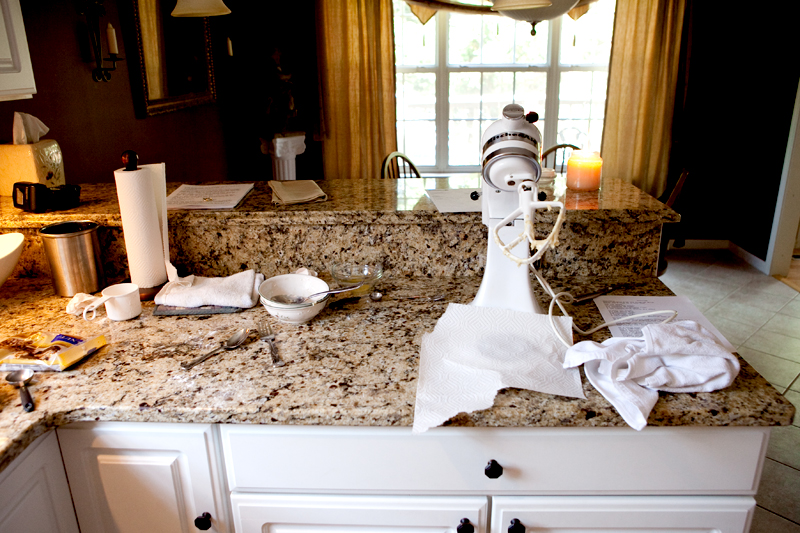
Since you've got some time to kill, maybe you can clean up the mess you've made so far! Also, this is a good time to throw together your nut filling. There are several methods to making a filling, so feel free to experiment, but full instructions for what I did are included in the printable recipe at the very end of this post.
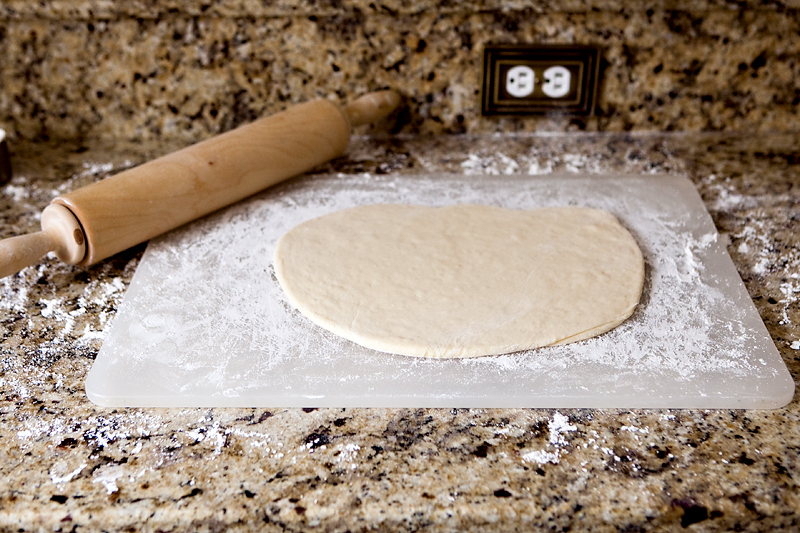
Once the dough has risen, move it to a floured surface and with a floured rolling pin, roll it out until it's about 10x12 inches in size (that's an estimate - it doesn't have to be exact). Brush with a little melted butter.
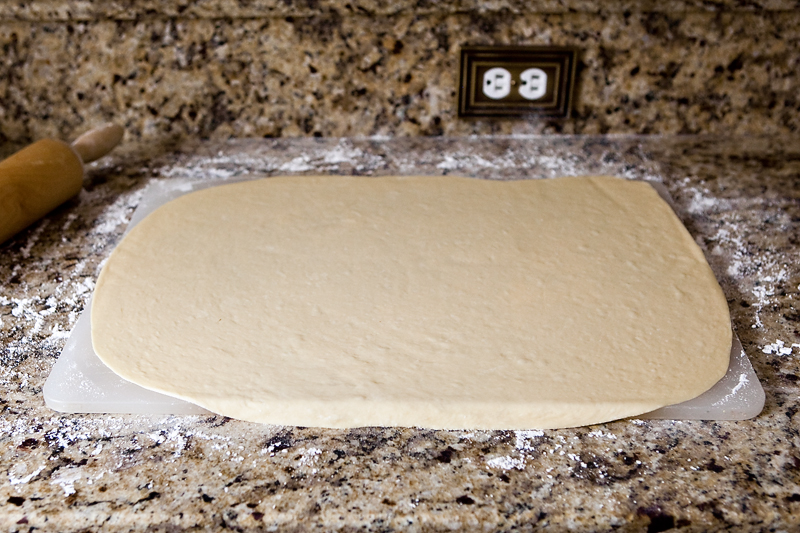
Continue to roll out the dough until it is very, very thin. Thankfully, this dough is fantastic to work with, so as long as you keep your surface floured (I kept lifting up the dough to sprinkle additional flour as needed) you shouldn't have problems with sticking or tearing.
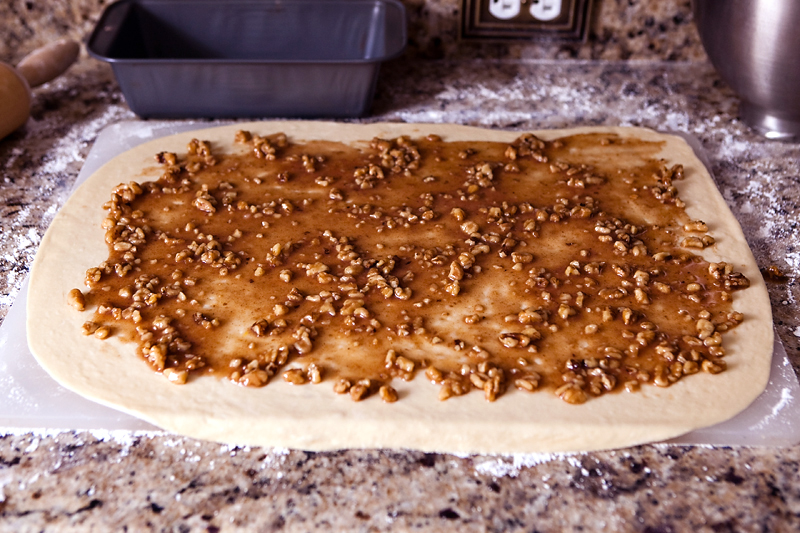
Now you can spread that yummy nut filling on top, leaving a little space at the edges. From my research, most people grind the nuts completely, but I left mine in chunks. It made my final pattern a bit less uniform, so you may want to go ahead and grind yours. Regardless, the finished product was delicious, so do whatever you want!
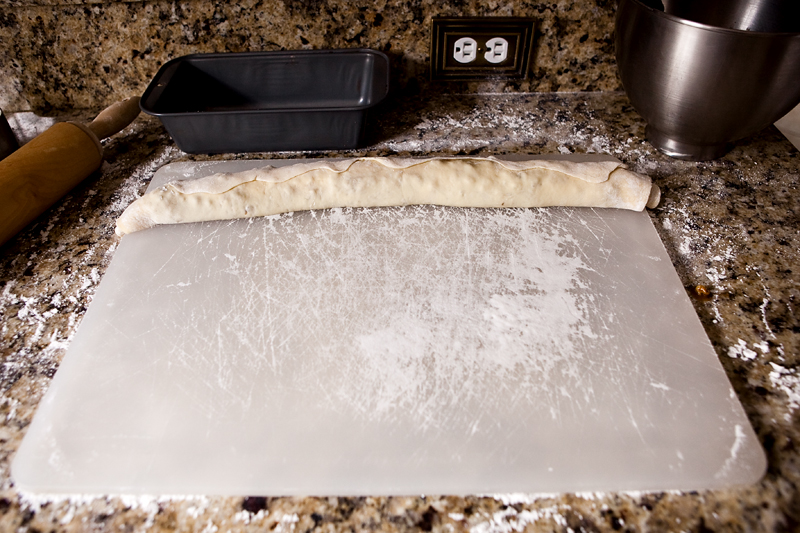
Begin slowly rolling up the dough like a jelly roll until you're left with a big dough log of nutty goodness. Once it's completely rolled, gently lift and pull the log starting at the center and moving out toward the ends, so that you lengthen the log slightly.
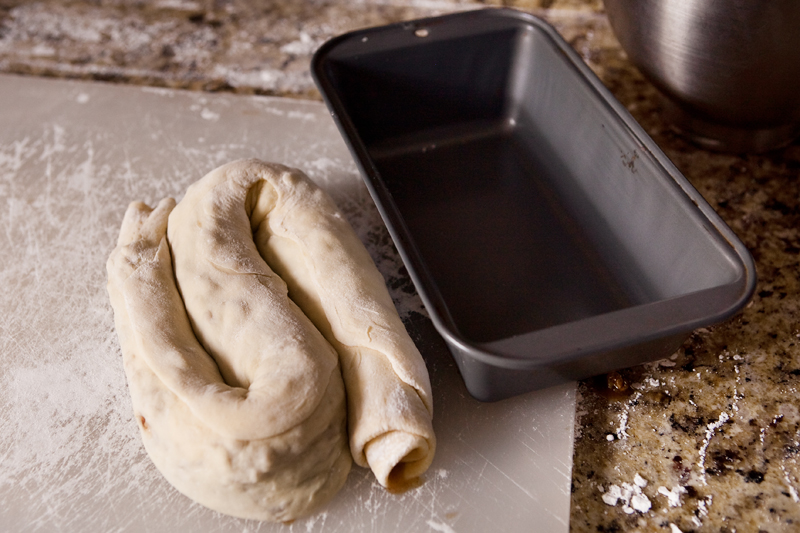
Place a 9x5 loaf pan near the dough as a guide, and shape it to form an S-shape that will fit inside.
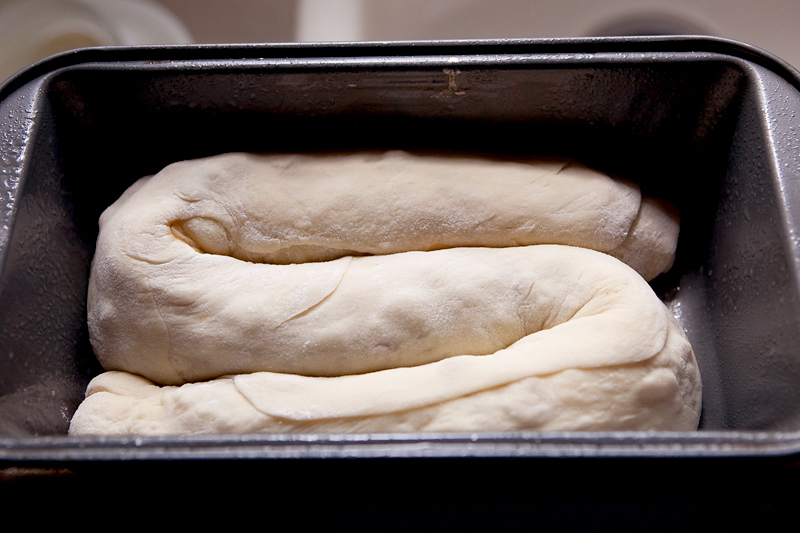
Make sure your loaf pan is well-greased, and gently place the dough inside. Let it rest for about 30 minutes. In the meantime, you can pre-heat your oven to 350F.

Once the dough has rested (and risen a bit more) you can brush with a beaten egg, and add a topping of your choice. I mixed together cinnamon, cardamom, and raw demerara sugar for a little sweetness and crunch.
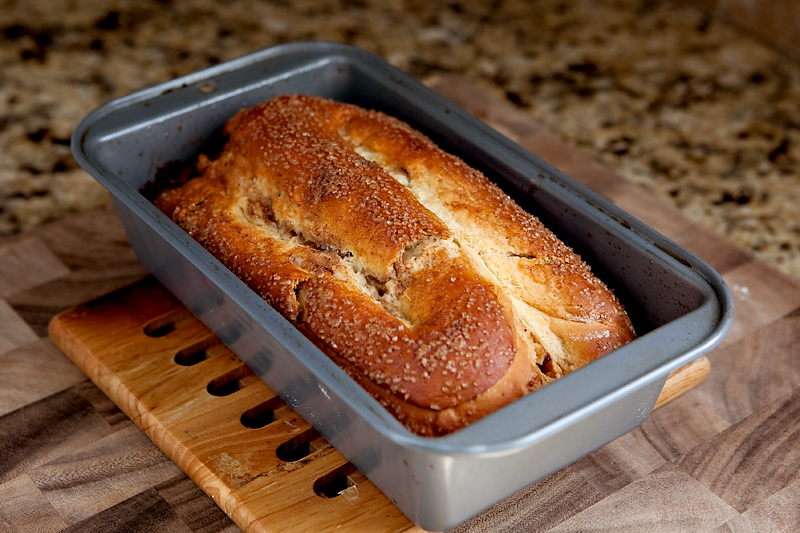
Bake for about 15 minutes, and then turn the oven temperature down to 300F. Bake for an additional 45 minutes or so. If the top of your bread begins to brown too quickly, loosely tent the pan with aluminum foil. Bread is done when it's a deep golden brown, begins pulling away from the sides of the pan slightly, and has a hollow sound when you thunk on it with your knuckle. Let the bread cool completely in the pan before you try to remove it. I let mine sit for about 45 minutes.
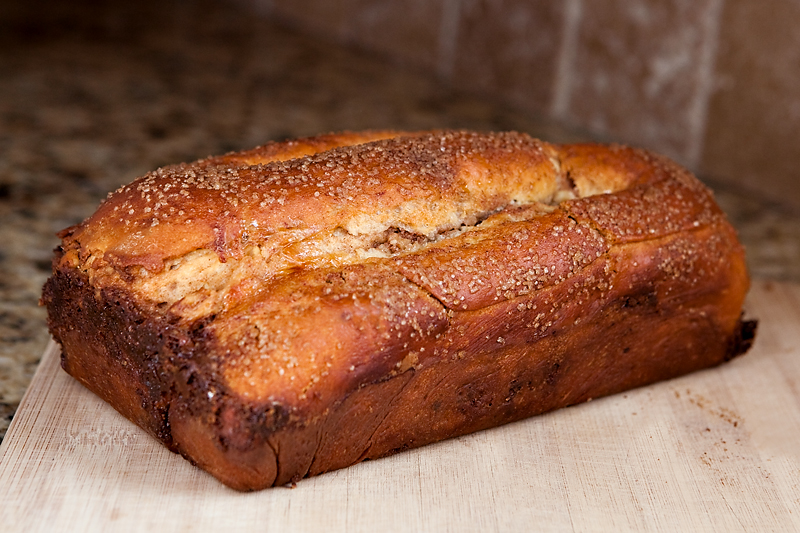
Run a butter knife along the edges of the pan to loosen the edges if needed, then place your hand on the top of the bread and invert the pan. It should come right out. Isn't it pretty? Look at that rich golden color!
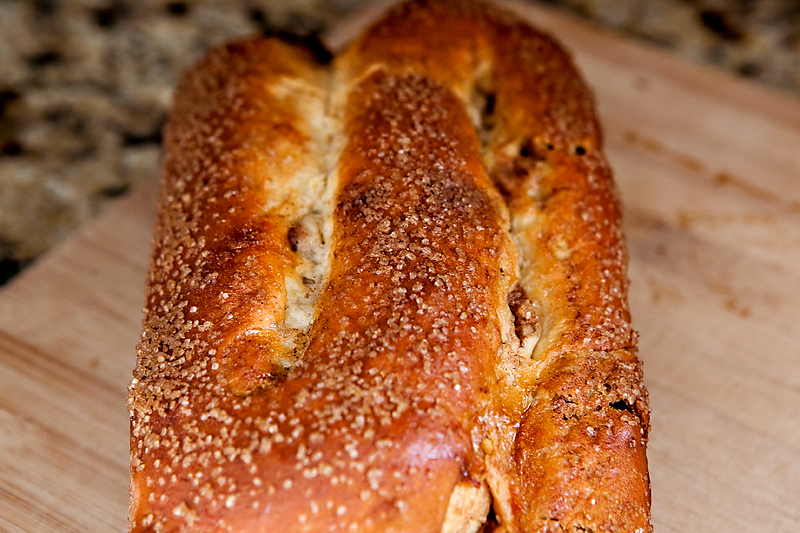
I love the crunchy raw sugar topping.
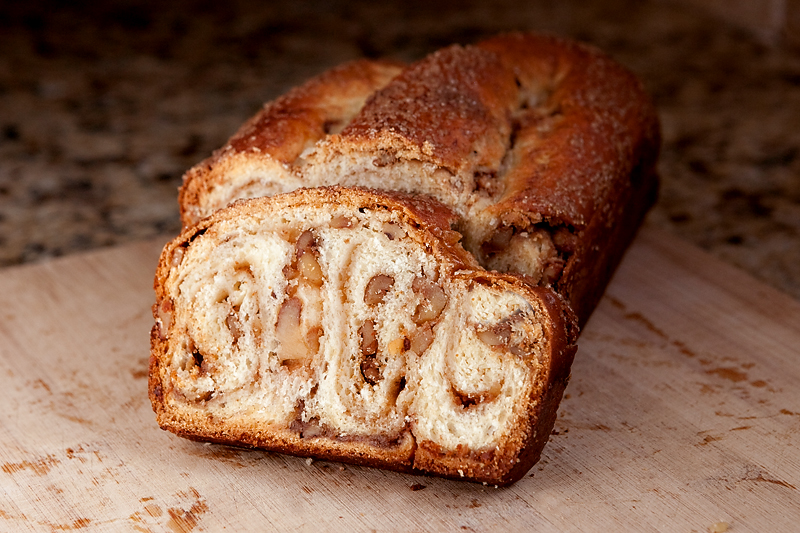
When you cut into it, you should have a nice swirly pattern. What I love about this bread is that no two loaves ever look the same. It is the snowflake of breadmaking. You can create different patterns depending on how your dough roll is placed into the pan, and on the thickness and consistency of your filling.
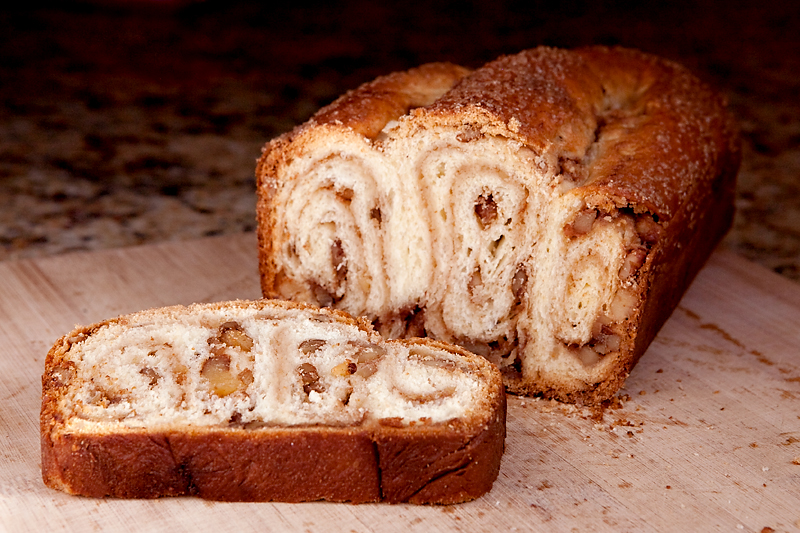
I can't put my finger on why it is so satisfying to make your own bread from scratch. All I can say is I am hooked, and this recipe is a winner. I can't wait until next Christmas when I can whip up a loaf to take to family gatherings. How pretty this would look sliced up on a serving tray!
Here's the whole recipe:
PrintPovitica Bread
Ingredients
- ACTIVATING THE YEAST
- ½ teaspoon of sugar
- ¼ teaspoon all-purpose flour
- 2 tablespoons warm water
- 1 ½ teaspoons of active dry yeast
- FOR THE DOUGH
- ½ cup milk
- 3 tablespoons sugar
- ¾ teaspoon salt
- 1 large egg, lightly beaten
- 1 tablespoon unsalted butter, melted
- 2 cups all-purpose flour, measured then sifted
- FOR THE FILLING
- 1 ½ cups walnuts, ground or chopped
- ¼ cup milk
- ¼ cup unsalted butter
- 1 large egg yolk, lightly beaten
- ¼ teaspoon pure vanilla extract
- ½ cup sugar
- ½ teaspoon cinnamon
- ¼ teaspoon ground cardamom
- FOR THE TOPPING
- 1 egg, beaten (to brush onto the dough)
- Mixture of demerara (or any raw sugar), cinnamon, and cardamom
Instructions
- ACTIVATE THE YEAST:
- In a small bowl, stir ½ tsp sugar, ¼ tsp flour and yeast into 2 TBS warm water. Cover with plastic wrap, and allow it to stand for 5 minutes until bubbly.
- MAKE THE DOUGH:
- In a medium saucepan, heat the milk to just below boiling , stirring constantly. Allow to cool slightly.
- In bowl of mixer, add the scalded milk to 3 TBS sugar and ¾ tsp salt until combined.
- Add the beaten egg, 1 TBS melted butter, and the yeast mixture.
- Add ¼ cup of the sifted flour. Stir until combined.
- Slowly add small amounts of the flour until the dough begins to clean the bowl.
- Turn dough out onto floured surface and knead, continuing to add small amounts of flour until the dough is smooth and no longer sticky. You might not use all of the flour.
- Place dough ball into a greased mixing bowl and cover with plastic wrap and a dish towel. Let rise in a warm place for 90 minutes or until doubled in size.
- TO MAKE THE FILLING
- In a bowl, mix together the walnuts with sugar, cinnamon, and cardamom.
- In a saucepan, heat the milk and butter to boiling, and then pour over the nut mixture. Allow to cool slightly and then add egg yolk and vanilla. Mix thoroughly.
- Allow mixture to come to room temperature.
- ASSEMBLING THE DOUGH
- Turn dough out onto a floured surface and with a floured rolling pin, roll out dough to a rectangle approximately 10x12 inches. Lightly brush with melted butter.
- Continue rolling until dough is very, very thin. Occasionally lift the dough and sprinkle extra flour on your surface as needed to prevent sticking and tearing.
- Spread nut filling over the top of dough, leaving a little room around the edges.
- Carefully and slowly roll the dough up like a jelly roll. Starting at the center, gently pull the log toward the edges to make it slightly longer.
- Using a 9x5 loaf pan as a guide, create an S-shape with your dough that will fit inside of the pan.
- Thoroughly grease your pan and lay the dough inside. Allow to rest for about 30 minutes, and then brush with a beaten egg and top with raw sugar, cinnamon, and cardamom.
- Bake at 350F for about 15 minutes. Turn down oven temperature to 300F
- Bake an additional 45 minutes. Add an aluminum foil tent to dough if it starts to brown too quickly or too much. Bread is done when it is a deep golden brown, begins to pull away at the edges, and has a hollow sound when you thunk on it.
- Remove from oven and allow to cool completely before removing from pan. Slice with a serrated knife. Sometimes it's easiest to turn the loaf upside down before cutting.
If you give this a try, please leave a comment with a link to a photo. I love seeing how different these can look!


I made this to give to our son's girlfriends parents as a gift for the first time that we met. I am SURE that it will be delicious! (Never thought to double the recipe so I we could have one as well 🙁 but I will make it again-doubling the next time. I needed more flour than recipe called for and there was enough liquid in the filling that I didn't spread melted butter on dough prior to putting on filling.. Sugary liquid leaked out ends but never a problem for me. Great presentation. Thanks for the recipe
So that's how you do that! I just make my nut rolls in a regular roll, but I'd love to try this. It looks so pretty. Just made a batch for Christmas. Thanks for posting.
WOW just what I was looking for. Came here by searching for fire extinguisher use
I love how you put it in the pan, it turns out so cool.
My wife's family came from Yugoslavia. Her father was first-generation Yugoslav-American. His older sister was born in Yugoslavia. When I married Cathy, much to my delight, I was introduced to this bread which is traditionally made(there) with prune filling, served at Christmas and Easter gatherings. I fell in love with it. Just about every time I take it somewhere, the reaction is from"Hmmmm...interesting " to "no way!" Even my daughter's in-laws had a negative reaction. Now, however, they insist she make it. She has tweaked the recipe with various fillings, and quite successfully, I might add.
One final note: The real way to "assemble" the dough is to lay out a linen bed sheet, flour it, and pull the dough from the center until it is paper thin(yes I've done it myself). Then spread the filling and begin to fold the dough on itself, raising the bed sheet so the dough with filling becomes one, very long roll. Place the baking pan over the dough which is wrapped around into a e-shape and flip the pan over, into the warm oven to rise etc.
Ooh, I've seen this in the Wolferman's catalog and always wanted to try it, especially the cream cheese variety. Now I can! Thanks for the recipe!
i love the idea of twisting this in the pan!! it's so delicious looking!!
Looks wonderful! I would like to see if you could do this with an apple and walnut filling, any ideas? I was so suprised with how easy it was to make the twirl effect, I thought it would be much more time consuming, thanks!
I bet apple would be delicious! I would probably do some kind of apple preserves as opposed to an apple pie type filling. That was my main pitfall with leaving my walnuts in bigger pieces - when the filling gets heavier it tends to fall through to the bottom part of the bread easier. 🙂
That is the most beautiful home made bread I have ever seen---you are becoming a pro at breadmaking.