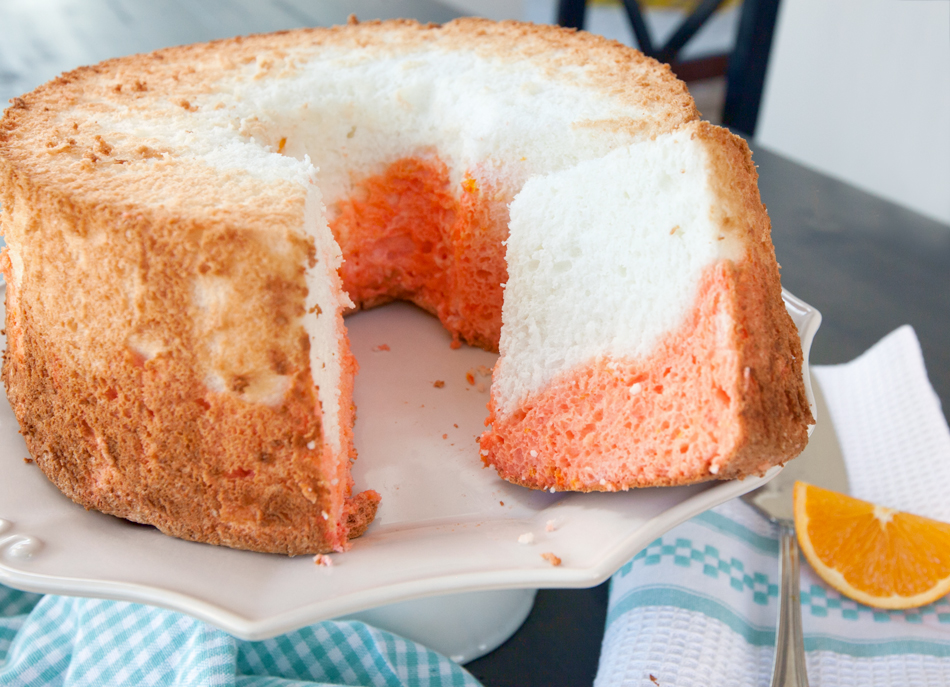
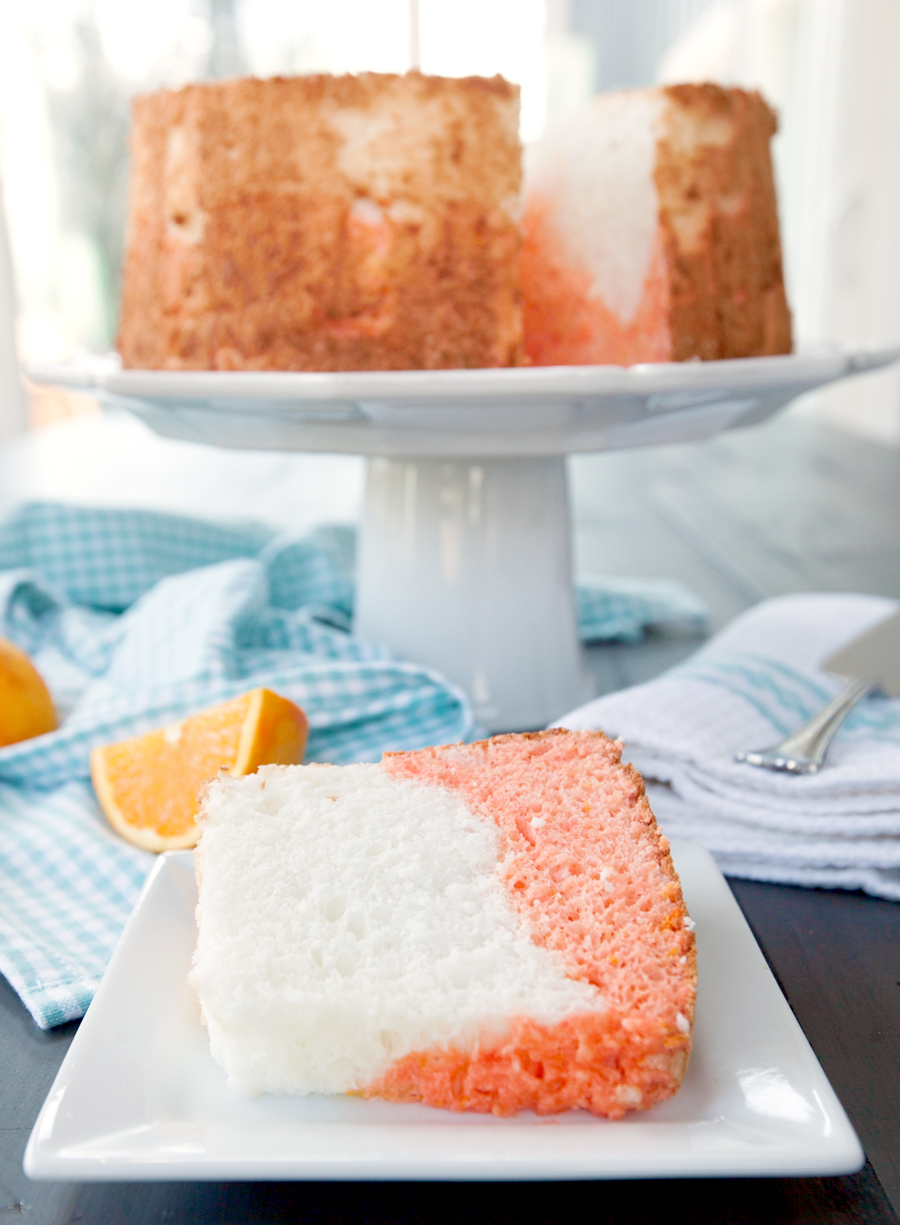
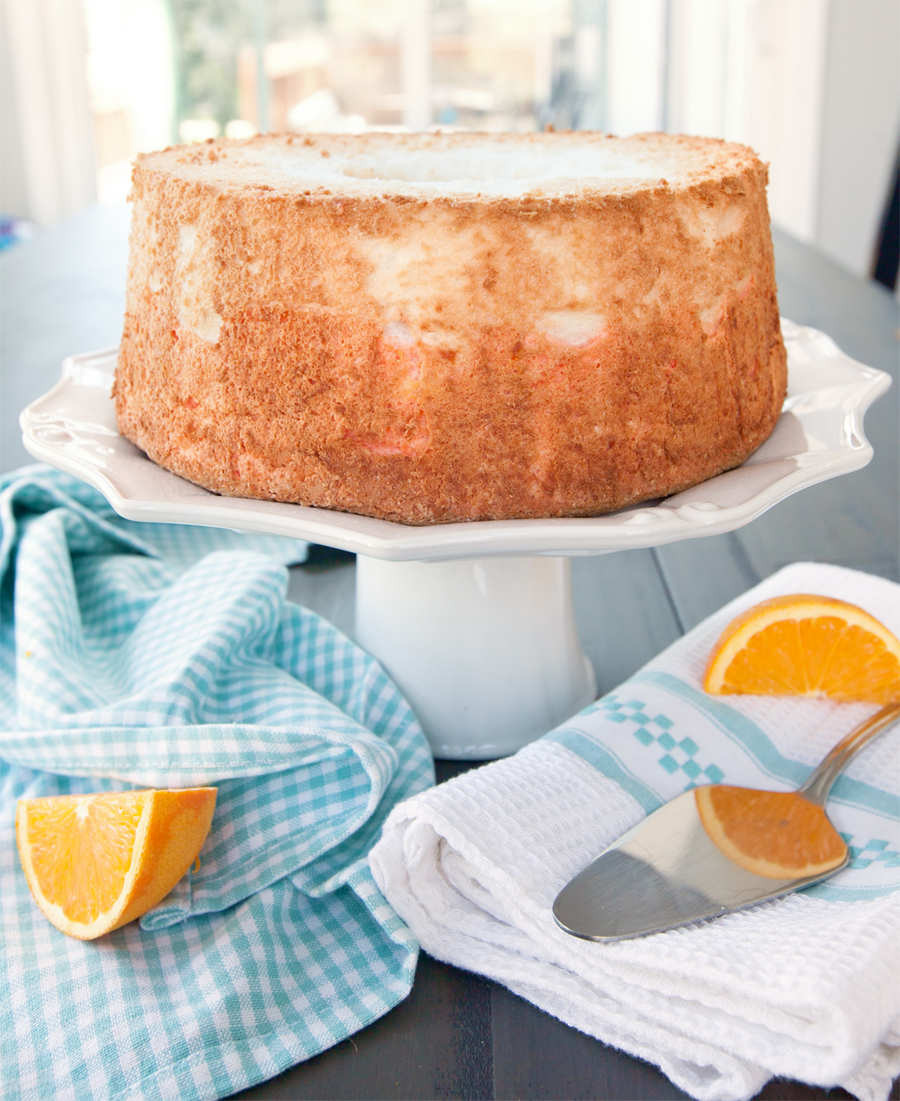
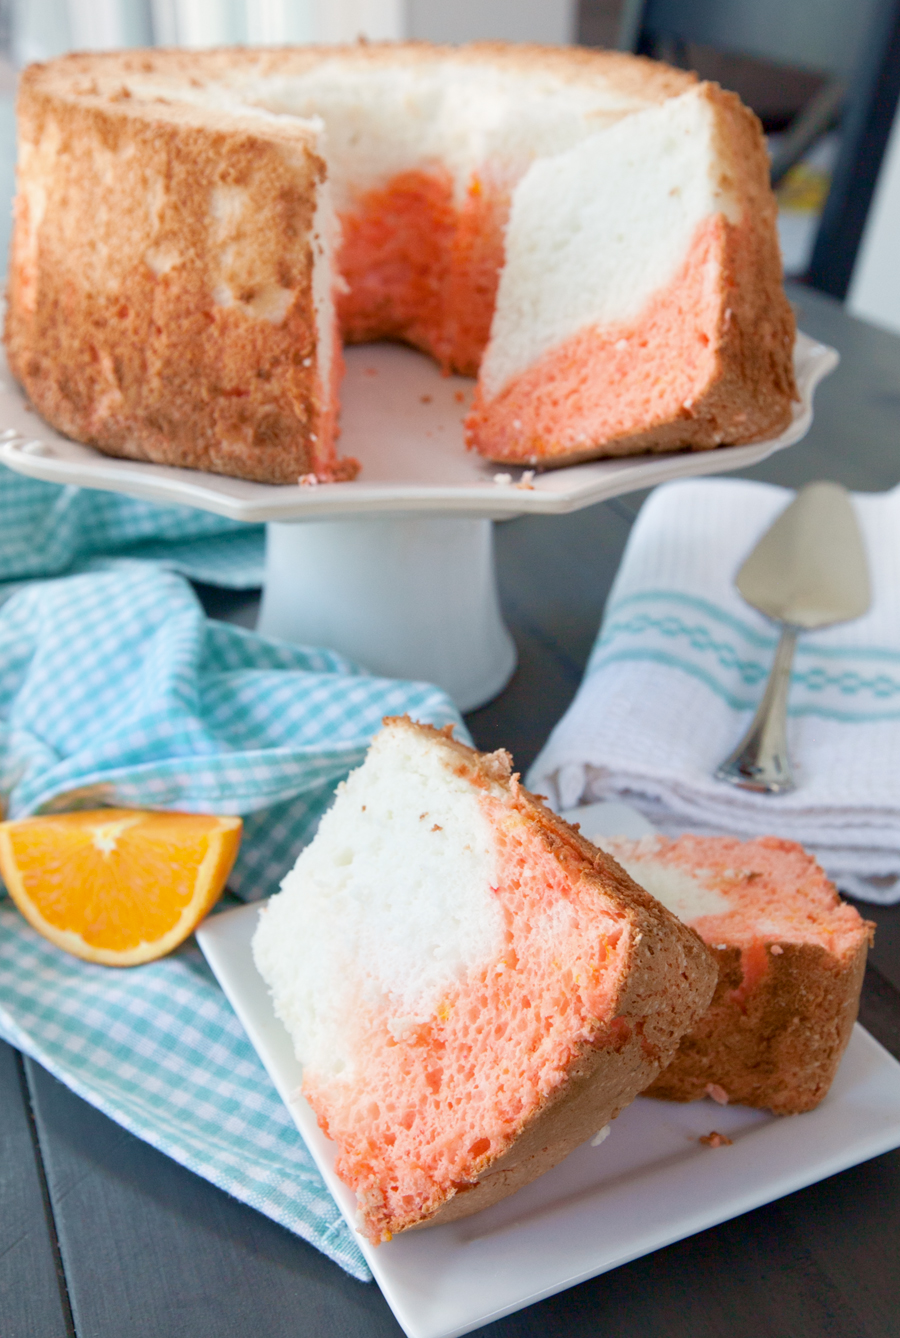
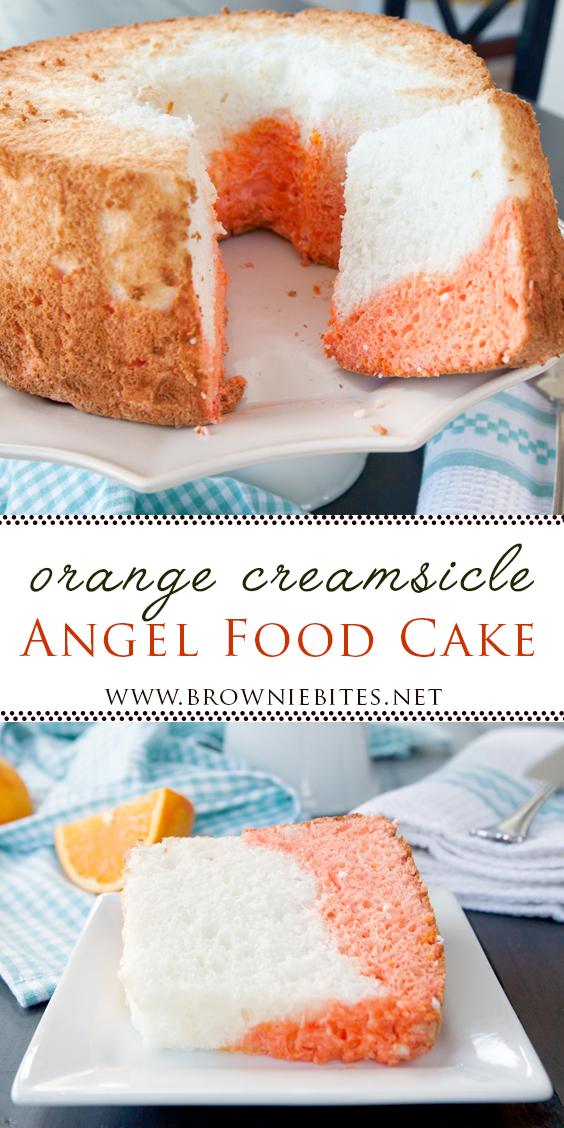
This beautiful creamsicle angel food cake is a soft pillow of light, fresh orange flavor swirled with smooth vanilla. Baking an angel food cake with the perfect bouncy, fluffy texture is a kitchen accomplishment. It is a particular cake that can be a little finicky, but when care is taken during each step of the recipe I promise you that you can succeed.
Haven't baked an angel food cake before? I'll take you through the major pitfalls that can happen with this cake so that you'll be set up for success. You can do it!
Use Superfine Sugar (or make your own)
Angel food cake is made by whipping up a ton of egg whites into a tall pile of meringue. You want to maintain the airy quality of the egg whites to avoid ending up with a dense, chewy cake. Superfine sugar has a texture somewhere between regular white sugar and powdered sugar. It is often sold as caster sugar. You can make your own by placing regular white sugar in your food processor for about 30 seconds. The finer texture will dissolve more readily in the egg whites without compromising texture.
Use Room Temperature Egg Whites
While it's easier to separate eggs while they are cold, let them stand until they have reached room temperature before trying to whip them up. Room temperature eggs will hold air much better than when they are cold and it's less likely that you will over whip them. Also, do not use egg whites in the carton for an angel food cake. The additional pasteurizing processes applied to those products prevents them from being able to whip properly. Don't want to waste so many egg yolks? Don't! Save them for making homemade ice cream, custard, puddings, pasta carbonaras, etc.
Don't Under or Over Whip The Egg Whites
You'll want the egg whites to be whipped into glossy stiff peaks to ensure pillowy perfection in the texture of your cake. Either not whipping the whites enough or over whipping them will cause your batter to deflate and your cake will not rise properly. The first phase of whipping the egg whites should stop at soft peaks. You know you've got soft peaks when you turn the whisk or mixer attachment upside down and the batter forms a spike that quickly flops back over onto itself. When you see this, you know it's time to proceed with adding the sugar and whipping into stiff peaks. You know you've got stiff peaks when you turn the whisk or mixer attachment upside down and you have solid spikes of egg white that hold their shape and continue pointing straight up. At this point, the whites should look glossy and be thick and heavy.
Don't Grease That Pan
I know it goes against everything you know about baking a cake, but it's imperative that you don't grease the pan when making angel food cake. The batter needs to be able to grip and climb the sides of the pan so the cake can rise nice and high. Put aside your cooking spray, Crisco, and butter: spoon that batter into a dry, bare pan!
Use the Correct Pan
To make a proper angel food cake, you'll need a tube pan - a round pan with a tube in the middle and a bottom that can be removed. Tube pans are essential for angel food cakes so that the heat is transferred throughout the thick cake and ensures an even bake. Decorative bundt pans should not be used for angel food cakes as the intricate embellishments in the pan will cling to the cake and you'll have to destroy it to get the darn thing out of the pan. I use a simple 10-inch pan just like this one from Amazon.
Be Gentle - VERY Gentle
I can't stress enough the importance of not deflating the whipped egg whites when working with an angel food cake batter. After the stiff peaks stage has been reached, put away your whisks, mixers, or stirring spoons. Use a large silicone spatula to very gently fold in any remaining ingredients (in the case of this recipe - food coloring and orange zest/juice). Do this by sliding the spatula down the side of the bowl to the bottom and - using a light hand - turning the batter over on itself until the ingredients are incorporated. I like to add the folded ingredients a little at a time as I go - doing it that way seems to be easier and results in less folding needed to get everything combined.

Cool It... Upside Down!
As soon as the cake comes out of the oven, use oven mitts to carefully flip the whole pan over onto a cookie cooling rack. Yup, flip it right on over with the top of the cake resting on the rack. I promise the cake will not fall out of the pan. The structure, texture, and volume of the cake is created solely by the egg whites and until it is cooled, it's not completely set up. Be patient and let the cake fully cool before turning it right side up and attempting to remove it from the pan. If you don't have a cooling rack, you can invert the pan onto the long neck of a bottle (putting the tube right over the neck), use a metal roasting rack, or some tube pans even come with feet built right in specifically for this purpose.
With a little patience and a lot of care, I promise that by following the tips in this post and in the recipe below, you'll end up with the softest, fluffiest angel food cake ever. You might even want to lay your head on it and fall asleep. Enjoy!
How To Make Creamsicle Angel Food Cake
Print
Creamsicle Angel Food Cake
- Total Time: 45 mins
- Yield: 1 10-inch cake 1x
Description
Swirls of fresh orange citrus and smooth vanilla accent this gorgeous, pillowy soft angel food cake.
Ingredients
- 12 large egg whites*, room temperature
- 1 cup all-purpose flour
- 1 ¾ cups superfine sugar**, divided
- 1 ½ tsp cream of tartar
- ½ tsp salt
- 1 tsp almond extract
- 1 tsp vanilla extract
- 2 tsp fresh orange zest
- 2 tsp fresh orange juice
- 6 drops red food coloring
- 6 drops yellow food coloring
Instructions
- Position an oven rack on the lowest position and preheat oven to 375F. Make sure that the egg whites are room temperature and place them in a large mixing bowl or the bowl of a stand mixer. In a second bowl, whisk together the flour and ¾ cup of the sugar and set aside.
- To the egg whites, add cream of tartar, salt, almond extract, and vanilla extract. Beat on medium speed until soft peaks form. Start adding the remaining sugar a little at a time while beating on high until glossy stiff peaks form.
- Very gently fold in the flour/sugar mixture, adding a bit at a time and making sure not to deflate the egg whites.
- Spoon half of the batter into a 10-inch ungreased tube pan. To the remaining batter, add the orange zest, orange juice, and food colorings. Fold gently to combine. Transfer the orange batter to the pan and use a butter knife to cut through the batter, moving the knife through both layers, to slightly swirl the colors.
- Bake on the lowest rack of oven for about 30-35 minutes or until the top is golden. Remove the cake and carefully invert the whole pan onto a cooling rack. Allow to cool upside down for at least an hour.
- Take your time and run a knife between the cake and the pan - including the tube - to gently loosen the cake. Remove the cake from the pan by pushing gently on the removable bottom. Serve slices plain or with fresh fruit, yogurt, or whipped cream.
Notes
*Save those egg yolks! Use them in homemade ice cream, custards/yogurts, carbonaras, etc!
**Superfine sugar is often sold as caster sugar. It has a texture somewhere between granulated sugar and powdered sugar. I don't buy superfine sugar, I just use regular sugar and run it through my food processor until it's finer in texture.
- Prep Time: 15 mins
- Cook Time: 30 mins
Do you love this recipe and want to be able to find it later? Use the image below to Pin to your Pinterest boards or share with your friends on social media using the buttons at the top and bottom of this post. Thank you for visiting my blog!


Say Something About This Post: