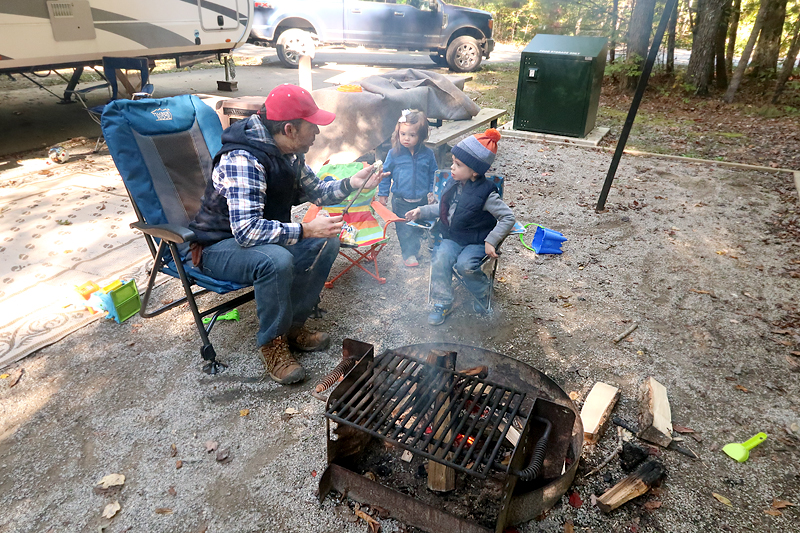
We've set our clocks forward, the weather is slowly warming up, we're seeing more sunshine and we're hearing more birds singing. All of those clues point to one inevitable conclusion: camping season is coming!! Matt and I have many trips on our schedule for this year and we are stoked, to say the least. Because we both work remotely while on the go, having stable internet and cell phone service is absolutely imperative. The best we found are the postpaid sim only plans from Circles.Life Australia. Depending on where we are camping, cell signals and free campground wi-fi (ugh) can be less than reliable, so we knew that we needed to come up with a better solution for this camping season. One that, you know, actually works.
I've been hearing about the weBoost Connect RV Signal Booster in a few RV Facebook groups and forums that I frequent. WeBoost agreed to send us a booster to try and to document our experience here on the blog to hopefully help out other campers who are desperate for better internet while on the road.
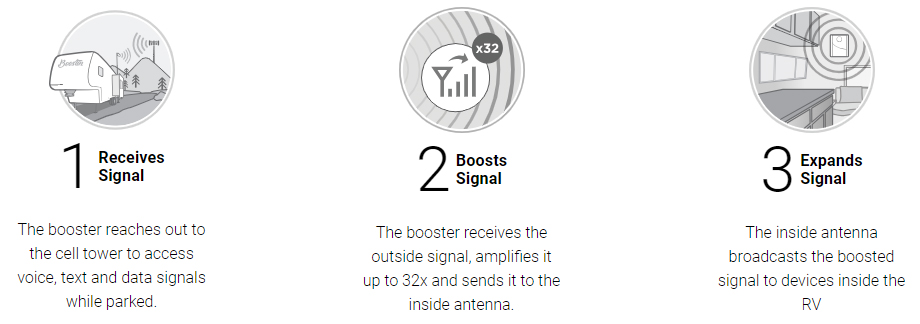
The way the system works is simple. It receives the signal from the cell tower, boosts it, and then broadcasts it inside of your RV.
From weBoost.com:
"The Connect RV 65 uses a powerful 5-band cellular signal booster to provide maximum signal inside your RV, making it most effective even when used in weak cell phone signal areas. weBoost cellular signal boosters improve data speeds as well - including 4G LTE - no matter which cellular carrier you use in the United States. The Connect RV 65 comfortably handles multiple simultaneous connections across multiple carriers, providing effortless cellular voice and data communications for all users."
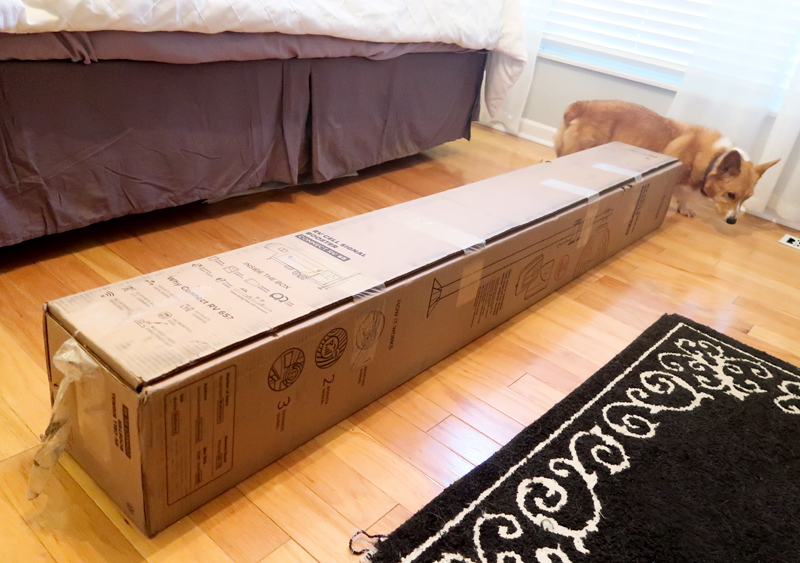
It was a gloomy, dark, rainy weekend day. To get us thinking about all of our fun camping adventures coming up soon this Spring, we thought it'd be a good day to unbox the weBoost Connect RV 65 Signal Booster. This was the box that had arrived at our doorstep a few days prior. We hauled it into our bedroom and started unloading. And sheesh, I need to iron my bed skirt.
And on a personal note, I got a gut punch of grief when I pulled up these photos, because I wasn't expecting to see my sweet Dexter baby sniffing around the box. We lost Dex just a few days after I took these photos, and his loss is still very raw.
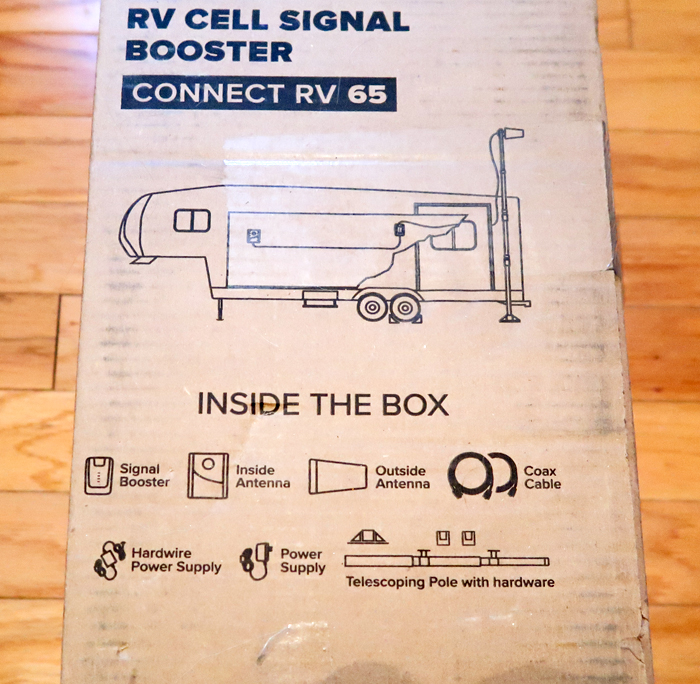
The separate components of the booster were listed right on the box. I appreciated how organized all of the pieces were, as we were quickly able to understand how the whole thing is going to come together not long after rifling through the box's contents.
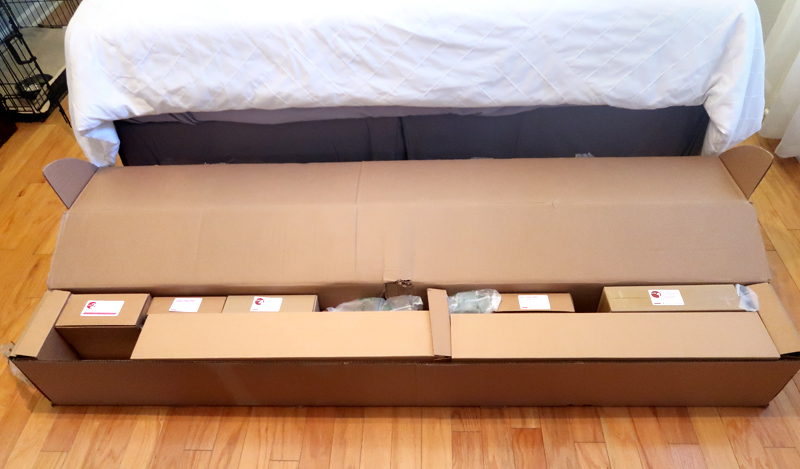
This is what we found when we opened the outer box. Each set of components is packed away in its own box and labeled accordingly. For size reference, we have a king-sized bed.
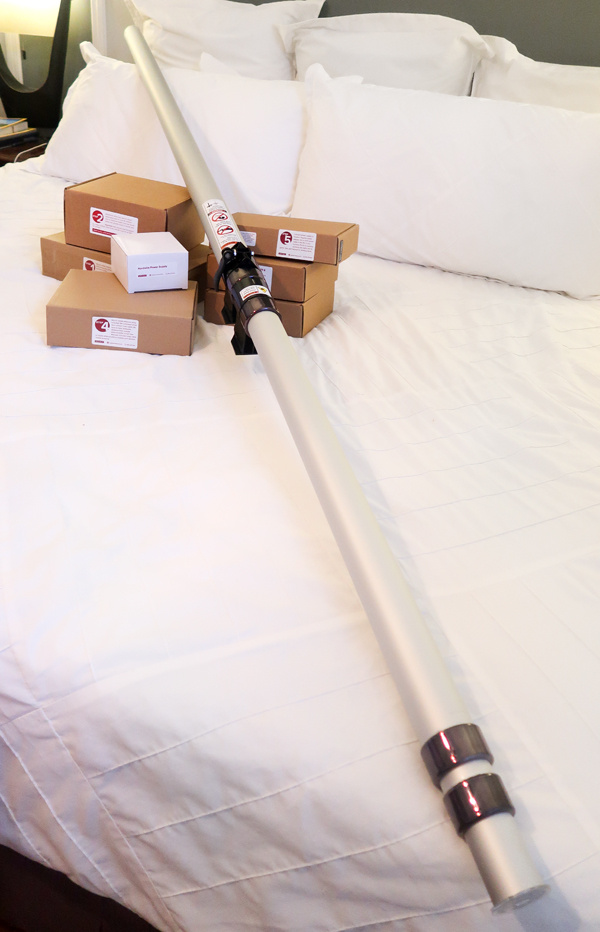
The 25-ft telescoping pole for the outdoor antenna is extremely lightweight. My son wanted to sword fight with it, but alas, he could not. But hey, this pole could help him watch some sword fighting on YouTube, so that's something, yes?
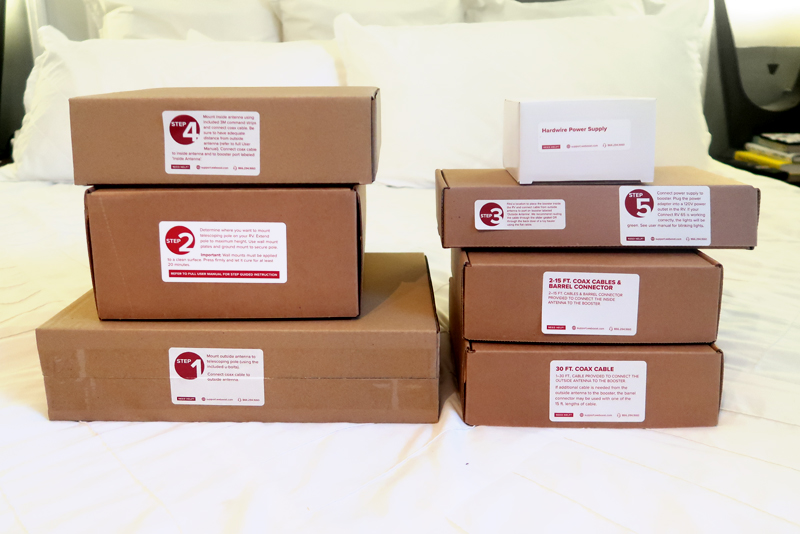
Aside from the pole, there are 7 other individual boxes, clearly labeled steps 1-5, with additional boxes for cables and a power supply.
Here's what each box says:
Step 1 - Mount outside antenna to telescoping pole (using the included U-bolts). Connect coax cable to outside antenna.
Step 2 - Determine where you want to mount telescoping pole on your RV. Extend pole to maximum height. Use wall mount plates plates and ground mount to secure pole. Important: Wall mounts must be applied to a clean surface. Press firmly and let it cure for at least 20 minutes.
Step 3 - Find a location to place the booster inside the RV and connect cable from outside antenna to port on booster labeled "Outside Antenna". We recommend routing the cable through the slider gasket OR through the back door of a toy hauler using the flat cable.
Step 4 - Mount inside antenna using included 3M command strips and connect coax cable. Be sure to have adequate distance from outside antenna (refer to full User Manual). Connect coax cable to inside antenna and to booster port labeled "Inside Antenna"
Step 5 - Connect power supply to booster. Plug the power adapter into a 120V power outlet in the RV. If your Connect RV 65 is working correctly, the lights will be green. See user manual for blinking lights.
2-15 Ft. Coax Cables & Barrel Connector - 2 15 ft. cables & barrel connector provided to connect the inside antenna to the booster.
30 Ft. Coax Cable - 1 30 Ft. cable provided to connect the outside antenna to the booster. If additional cable is needed from the outside antenna to the booster, the barrel connector may be used with one of the 15 ft. lengths of cable.
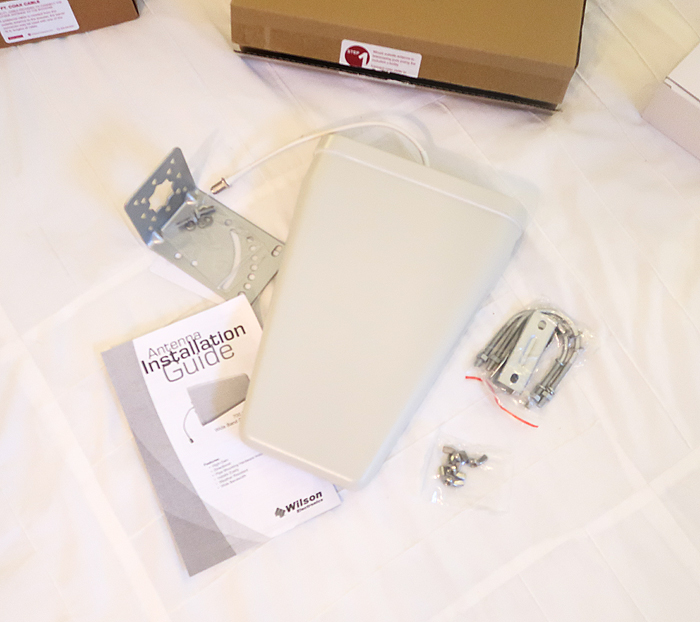
The first box contains the outdoor antenna and mounting hardware. This is the piece that attaches to the outdoor pole. The pole is kept in storage during transit and is set up and connected once you are parked in your campsite.
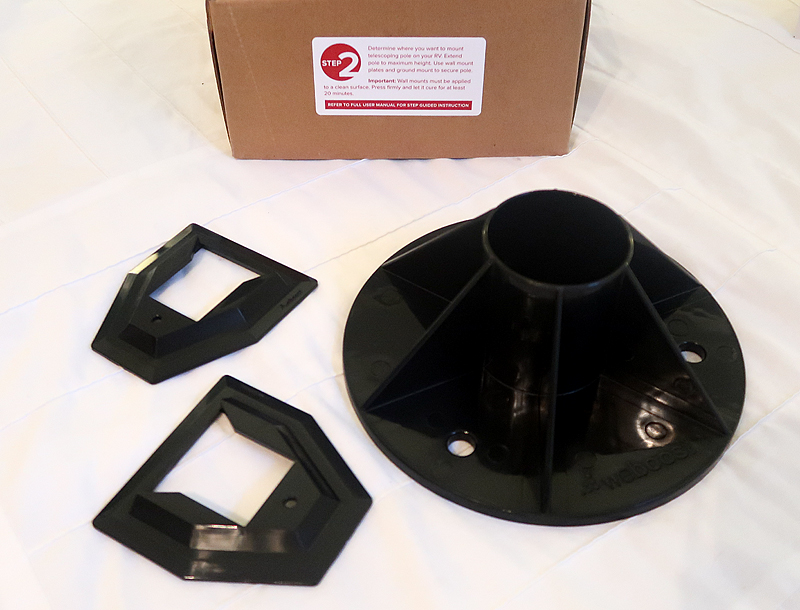
The second box contains more of the mounting hardware for the exterior pole. The round piece on the right is the base that sits on the ground, and the brackets on the left for mounting the pole to the side of the camper.
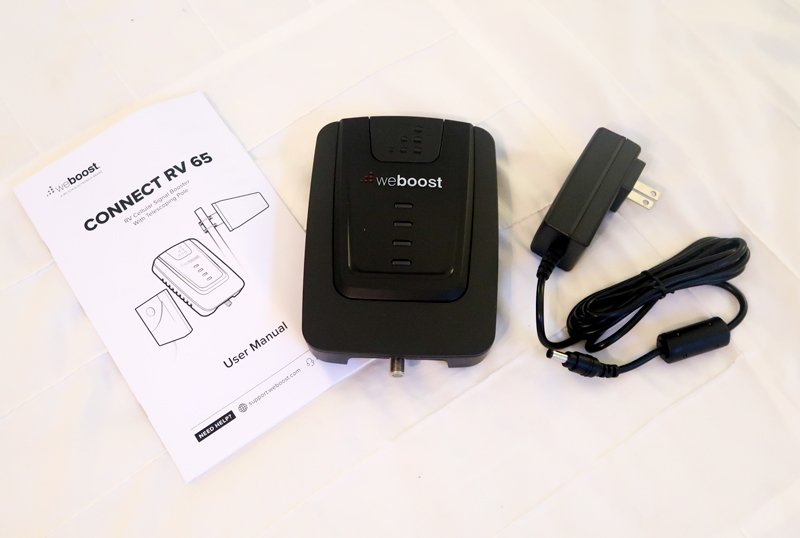
And here's where the magic happens, the booster the takes the exterior signal and sends it to the inside antenna, giving you a stronger cell signal and faster hotspot internet.
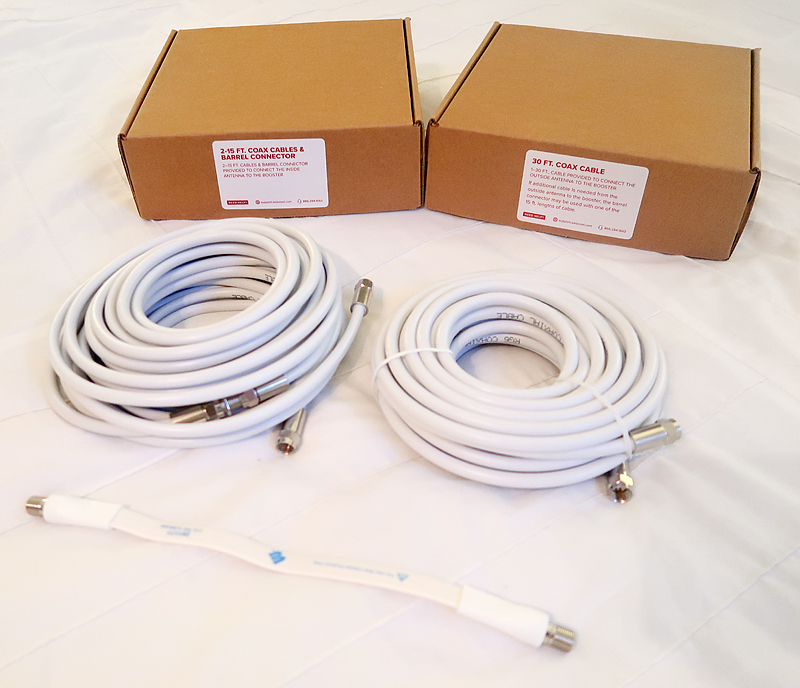
There are two boxes containing coax cables with barrel connector, as well as a flat section of cable if you are connecting the indoor and outdoor cables by running it through a slide-out or, in a toy hauler, out the rear door. Matt and I have opted to hire someone to install a waterproof port in our camper's wall so that we don't have to worry with getting the cable from inside to outside during each trip.
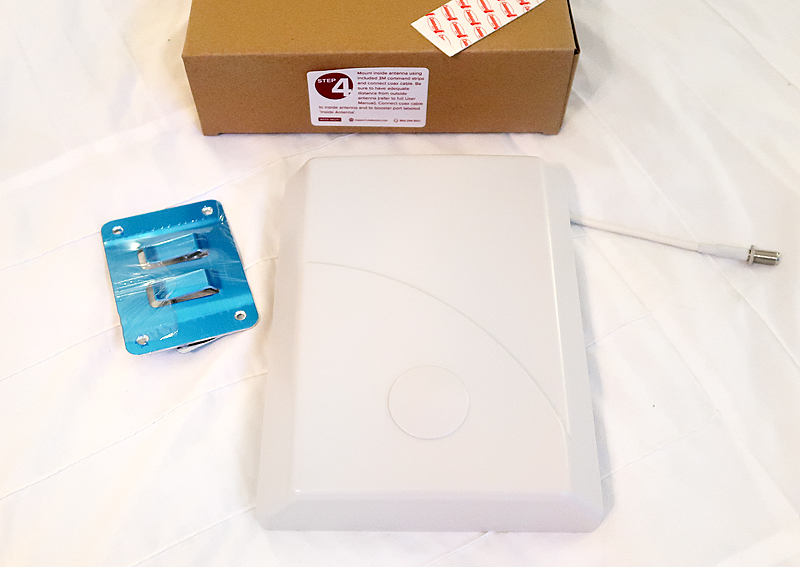
The next box contains the indoor antenna and mounting hardware, including some command strips to keep from damaging the fragile walls of the camper. If there was one thing I was worried about when deciding to use a booster in the camper, it was having a bunch of ugly hardware and wires running everywhere, so I was happy to see that the antenna was all one color and quite inconspicuous. We have already brainstormed some ideas about where to mount it in the camper, and I'll share those details in the upcoming post about the installation of the booster.
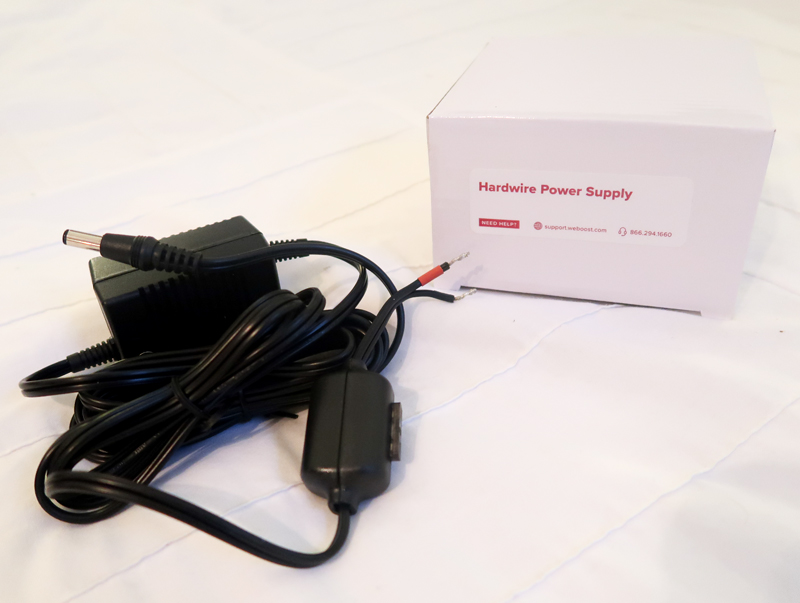
Finally, we have the hardwire power supply.
Our next steps will be getting the booster installed as soon as we get our camper out of storage for the season. The next post will be all about the installation process. Hang in there, guys, camping season is almost here! I'm so ready to hit the road!
Want more info on the booster? Visit the website for the weBoost Connect RV 65 Signal Booster.


Say Something About This Post: