
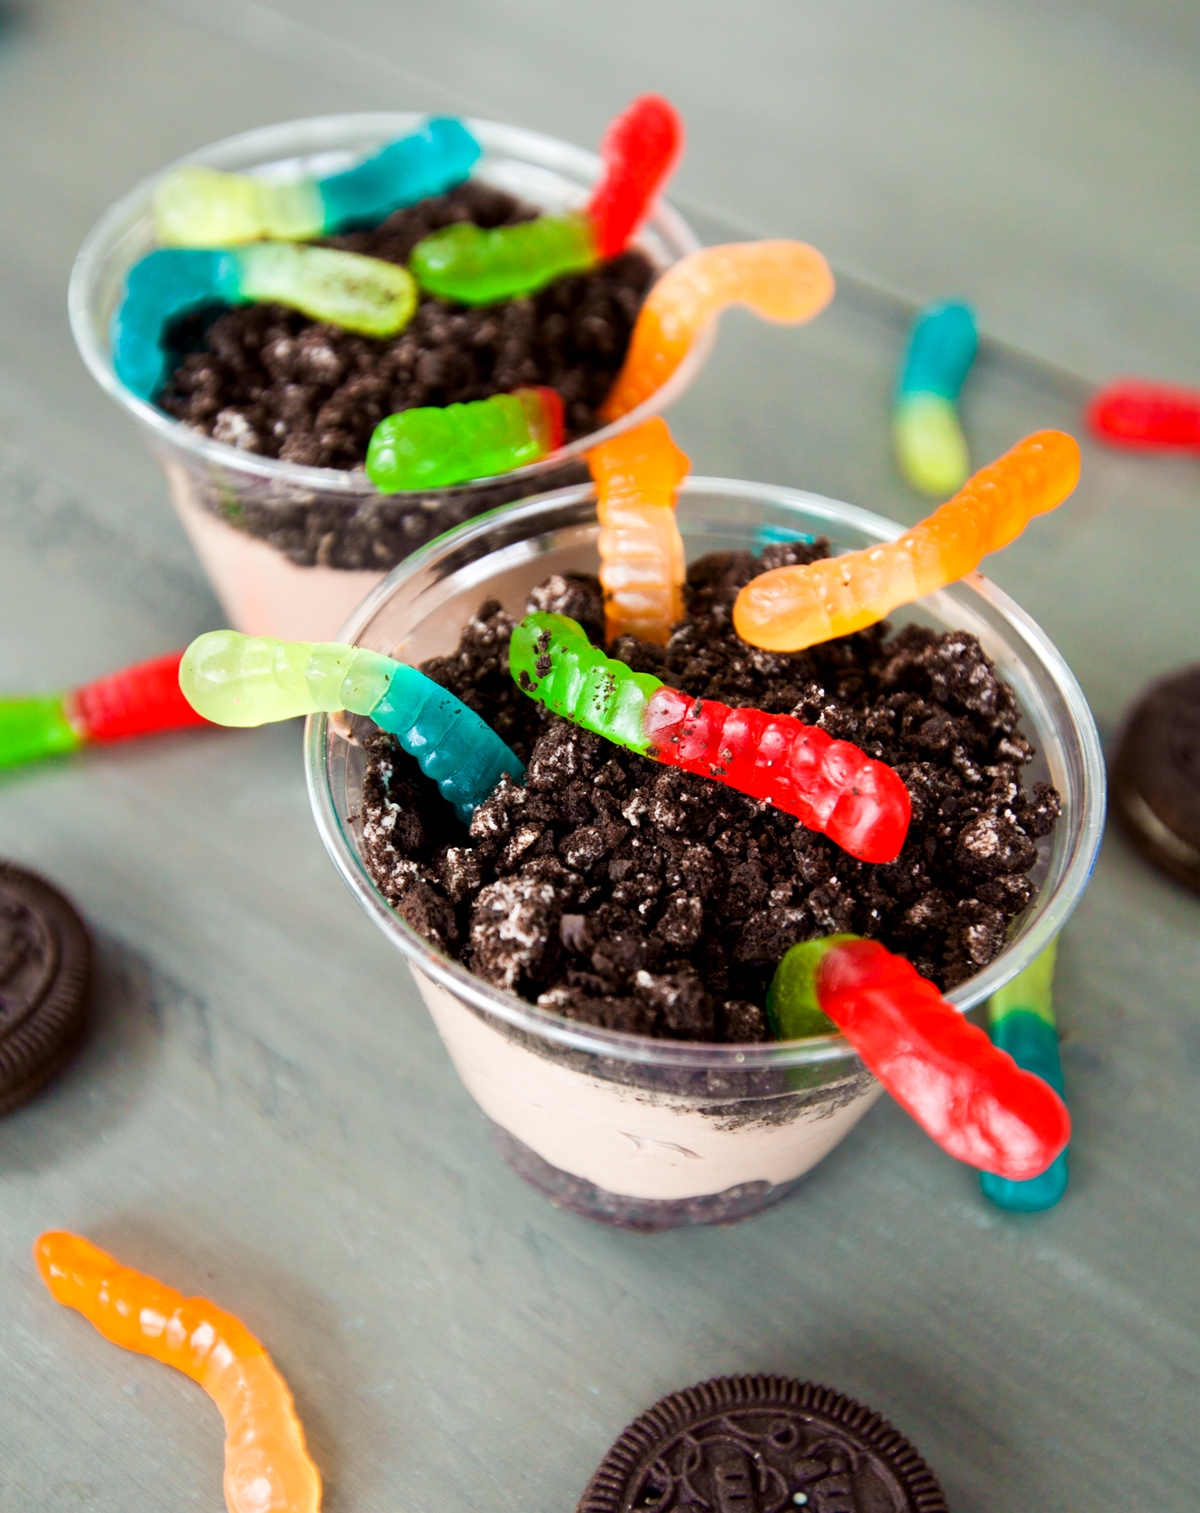
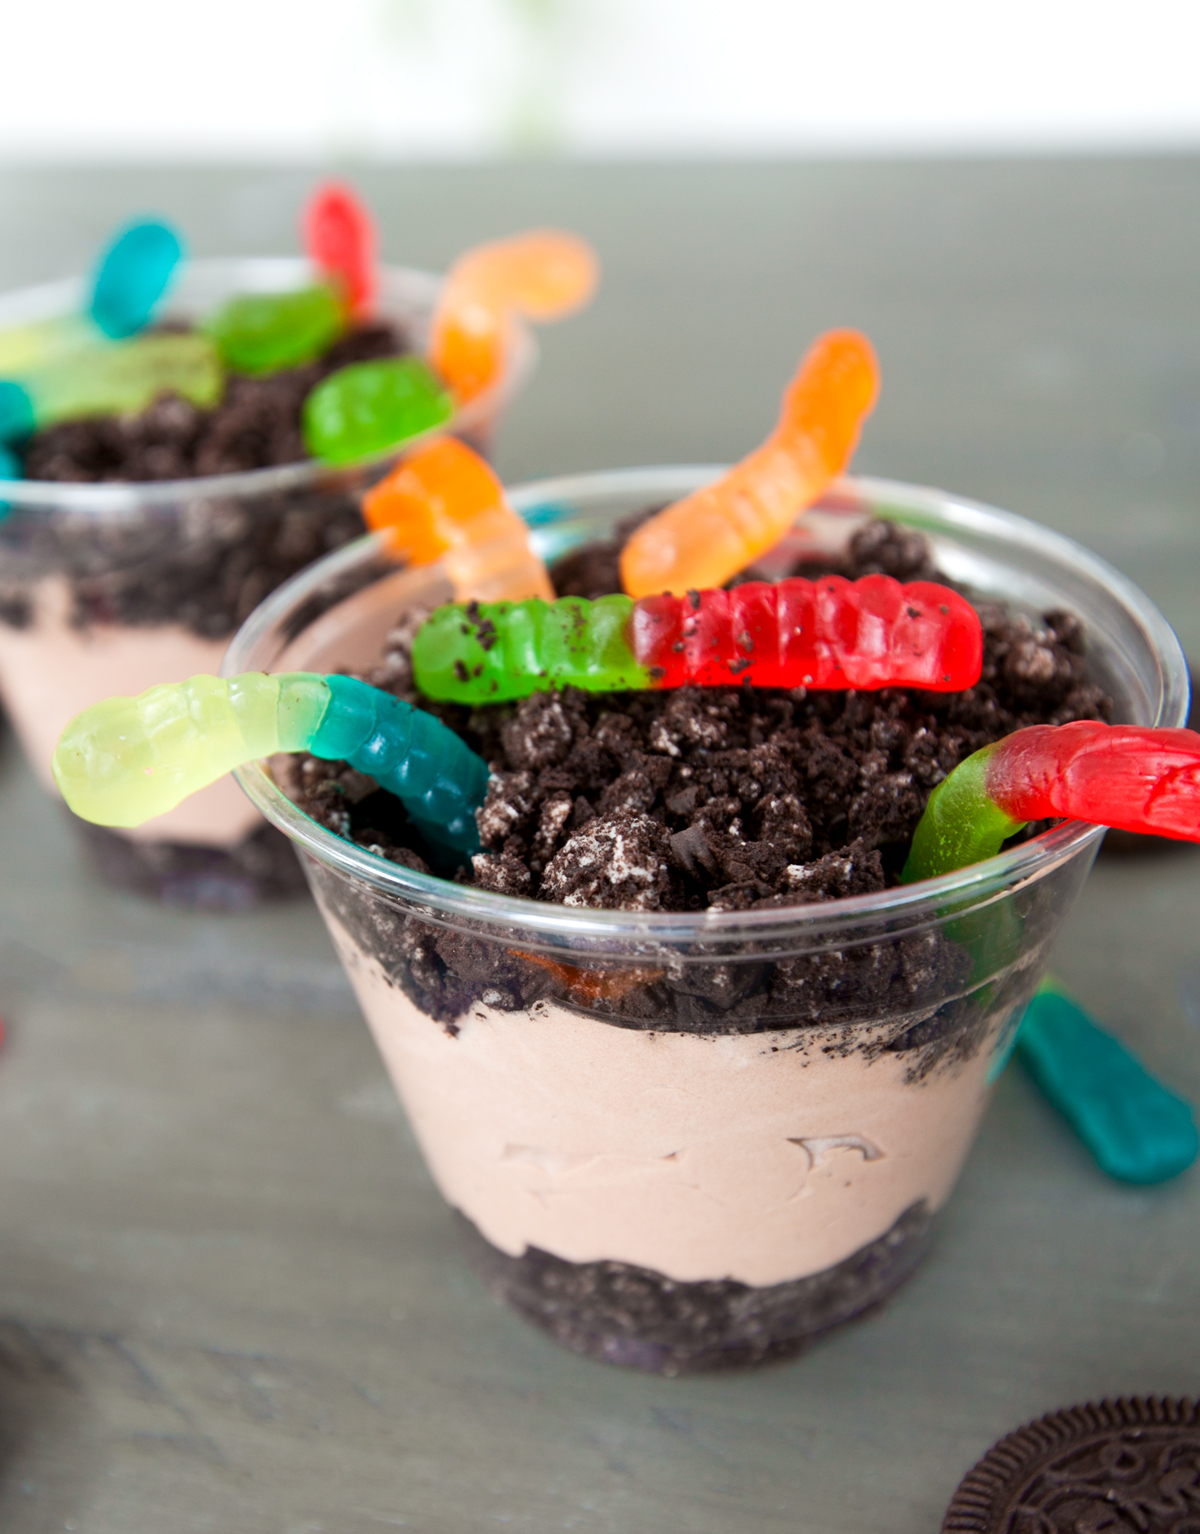
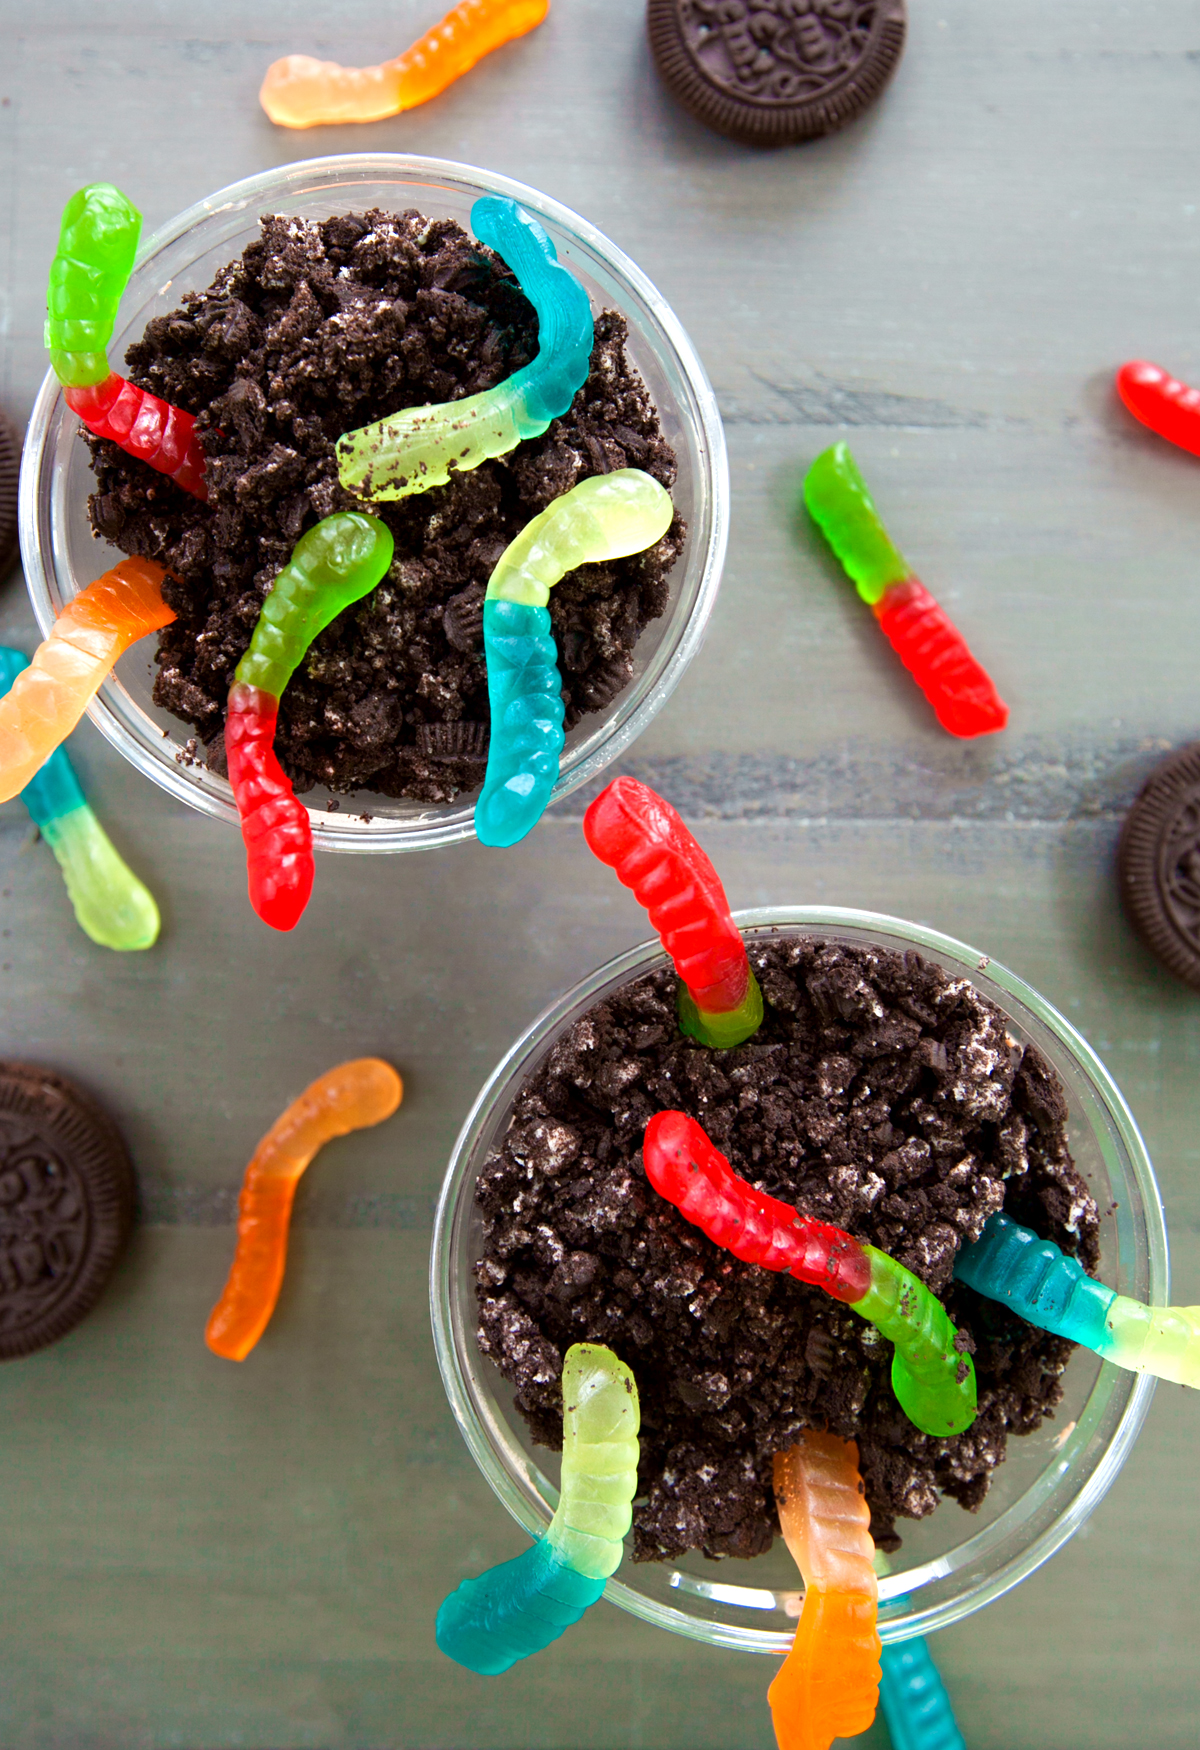
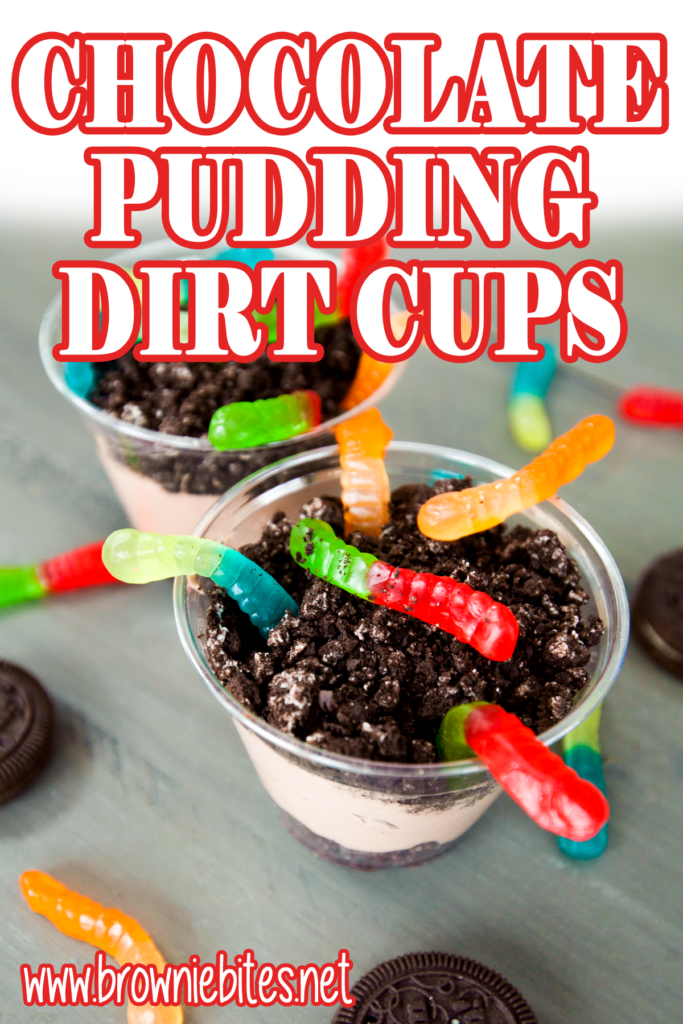
Any easy dessert craft that's kid-friendly and super delicious! Dirt and Worms are layered cups of chocolate pudding mixed with whipped topping, layered with crushed up Oreo cookies and topped with gummy worms. Make as many or as few as you need!
Kid Friendly Food Craft
Dirt and Worms is a fantastic recipes to get the kiddos involved. There's no baking, cooking, or fancy skills needed to create these adorable pudding dirt cups with squirmy gummy worms perched on top. Crushed Oreo cookies mimic the look of soil (the bits of creme filling even look like dots of perlite, which is even cooler).
There's very little prep time needed and the cups come together in minutes. It's also not too messy, which is always a plus.
But even if you're making these as grown-ups (adults are allowed to have fun too, ya know) they are tasty little dessert parfaits that you will love!
What Ingredients Do I Need?
You will need a few very basic and easy-to-find ingredients to put together Dirt and Worms:
- Frozen Whipped Topping: Cool Whip, TruWhip, or other brand. Make sure it's fully thawed. An 8-ounce container will be more than enough.
- Chocolate Pudding: If you have a fabulous homemade chocolate pudding recipe you want to use, go for it, though the pre-made packaged cups of chocolate pudding will work just fine.
- Crushed Oreos: You can use brand name or any similar chocolate sandwich cookie. Crush them up by placing inside of a zip-top bag and pounding with the flat side of a meat tenderizer. The diameter of your cups will determine how much you will need, but keep crushing until you have about 1.5 cups.
- Gummy Worms: The fun part! You'll need 4-5 gummy worm per cup. Use regular or sour - the more colors the better!
You will also need some clear party cups to make the Oreo dirt cups. You can use small clear glass bowls or tall shot glasses instead, though you will need varying amounts of the listed ingredients.
This is such an easy recipe to scale up or down, so make as little or as much as you need.
Fun Variations
Though the original intent of Dirt and Worms is to look like a cup of chocolate dirt with gummy earthworms squirming around, don't be afraid to vary the flavors and colors of the ingredient to fit any theme that you need! Try some of these ideas:
- Springtime/Easter: Use strawberry or vanilla pudding, crushed Golden Oreos or vanilla wafers, and pastel gummy worms. You could even put some chocolate eggs in there just for fun.
- Christmas: Use chocolate or vanilla pudding, holiday Oreos (the kind with red or green filling), red and green worms, and finish it off with some holiday sprinkles.
- Vanilla Lovers: Use vanilla pudding and crushed up Golden Oreos.
- Red, White, and Blue: Use a double layer of food-dyed vanilla pudding and seasonal Oreos!
- Halloween: Use mellowcreme pumpkins and create a pumpkin patch in the dirt!
Can Prep Be Done in Advance?
Yes, and this is especially useful when planning to create Dirt and Worms as part of a birthday party or other fun gathering of kiddos. While you may choose to let the kids crush the cookies and mix the pudding/whipped topping themselves, you can do those things in advance to make assembly a quicker process.
What Are Some Other Uses?
A fun afternoon craft or birthday party activity are not the only uses for Dirt and Worms. This is a great project for educators (teachers, homeschool parents, etc) to use in their lessons. Teach about agriculture, the importance of earthworms in soil material, and more.
We've all been to school... we all paid attention to the lessons that included a special treat, right? I'll always remember my 4th grade teacher making homemade Turkish Delight during our reading of The Lion, The Witch, and the Wardrobe. Good times. Good times.
Can You Freeze Oreo Dirt Cups?
Techncally? Yes. You could wrap the cups with plastic wrap and freeze (upright). Let them thaw in the refrigerator when ready to enjoy.
Now, just because you can freeze them, doesn't mean you should. The crunchy goodness of the chocolate cookie crumbs will be soft and soggy once the pudding dirt cups thaw. But now that I've said that, we do dip Oreos in milk for the purpose of making the cookies soft, so... don't listen to me. You wanna freeze them? Knock yourself out!
Watch Jasper and Shelby Make Dirt and Worms:
This was a perfect recipe to get my kids involved! My daughter is much more hands-on crafty than my son (he IS very creative, but prefers digital forms of art creations via Minecraft and Mario Maker, lol) but he was excited to make (and eat!) these delicious Oreo dirt cups. Watch them make it in the video below!
How To Store Leftovers
If you do have any leftovers, just place some plastic wrap over the cups and store the leftovers in the refrigerator. I recommend removing the gummy worms, though, because they get pretty darn hard when they are chilled.
Can This Be Made Full Size?
You can super size this recipe! Use a glass 9x13 dish and scale up the recipe - I estimate that you'll need to triple the ingredient amounts - to make enough Dirt and Worms to feed a crowd. This would look really cute (and interesting - that's the best part) sitting on the dessert table at your next potluck!
Print
Dirt and Worms
Layered cups of chocolate pudding mixed with whipped topping and crushed Oreo cookies topped with fun, colorful gummy worms! Kids will love this delicious dessert craft!
- Total Time: 0 hours
- Yield: Serves 4
Ingredients
- 4 (3.25 ounce) packs pre-made chocolate pudding
- 1 ½ cups frozen whipped topping, thawed
- 1 ½ cups crushed Oreo cookies
- ~16 gummy worms
Instructions
- Set out 4 clear 8-ounce cups. In a medium bowl, combine frozen whipped topping with chocolate pudding. The more topping you add, the more mousse-like texture you will get - add as little or as much as you desire.
- Start with a layer of crushed cookies in the bottom of each cup. Top with a thick layer of mousse, then end with a second layer of crushed cookies. Decorate with gummy worms.
Notes
Store leftovers in refrigerator.
Helpful Items: Sour Gummy Worms, 9-ounce clear party cups, Two-Color Gummy Worms
- Prep Time: 10 minutes
- Cook Time: N/A
- Category: Dessert
- Method: No Bake/No Cook
Planning to make this later? Make sure you can find the recipe easily! Use the image below to Pin to your Pinterest boards. Also, share with your friends on social media by using the buttons at the top and bottom of this post. Thank you so much for visiting!
Megan D.
This was a fun activity to do with my two kids, thank you! We used different flavored cookies for the crumbles and it was yummy.
Erin
Sounds fun!! Thank you for the 5 stars