
Here's an easy tutorial for decorating a train-themed sheet cake like the one I made for Jasper's 2nd birthday party. I do not consider myself talented with decorating cakes, so if I can do this, so can you!
I wasn't planning on blogging this cake initially so I only took some casual photos throughout the process, but I think they are clear enough to get the point across. But enough chatter, you've got a cake to make!
Things you will need:
2 9x13 cake layers - I used this chocolate cake recipe from Smitten Kitchen because it took the guesswork out of how much batter I needed to use per layer. You could also make one thick 9x13 cake and slice them, but I find baking two separate layers to be easier.
1 batch fudge buttercream filling - I used the filling from the same chocolate cake recipe and it was delicious. Using the unsweetened chocolate kept the filling from becoming too sickly sweet.
2 batches marshmallow creme frosting - see recipe below. I like this frosting because, while sweet, it's lighter and fluffier than a regular vanilla American buttercream which can be a bit heavy. Two batches of this frosting will be plenty to crumb coat, frost, and decorate this cake.
8-10 Hershey bar segments
Grey or silver sprinkles
Small toy trains of your choosing
Pastry Bags, Couplers (optional), and Pastry Tips - I used Wilton tips #3, #10, and #233 (grass tip) This tip set is awesome and has every tip you'd need for most cake decorating.
Cardboard cake board (or you can wrap a flat cookie sheet in foil)
Parchment Paper
Large serrated edge knife for leveling cake layers. This is the one I use.
Long flat or offset cake spatula for frosting. I like this one.

Marshmallow Creme Buttercream
Ingredients
- 2 sticks unsalted butter, room temperature
- 1 7oz jar of Marshmallow Creme
- 1 tsp vanilla extract
- ½ tsp salt
- 2 cups powdered sugar
Instructions
- Using a stand or hand mixer, combine butter, marshmallow creme, and vanilla extract.
- Slowly beat in powdered sugar and salt in several additions until smooth. Continue mixing until frosting is fluffy.
Notes
You may use a small amount of milk or cream to thin the frosting if needed. Alternately, add more powdered sugar for a thicker (and sweeter) frosting.
Place a small dollop of frosting into the center of the cake board and then place the first layer of cake on the board with the dome facing upward. The bit of frosting will keep the cake from sliding around on the board.
Using the large serrated knife, level off the dome of the cake the best that you can. It doesn't have to be perfect.
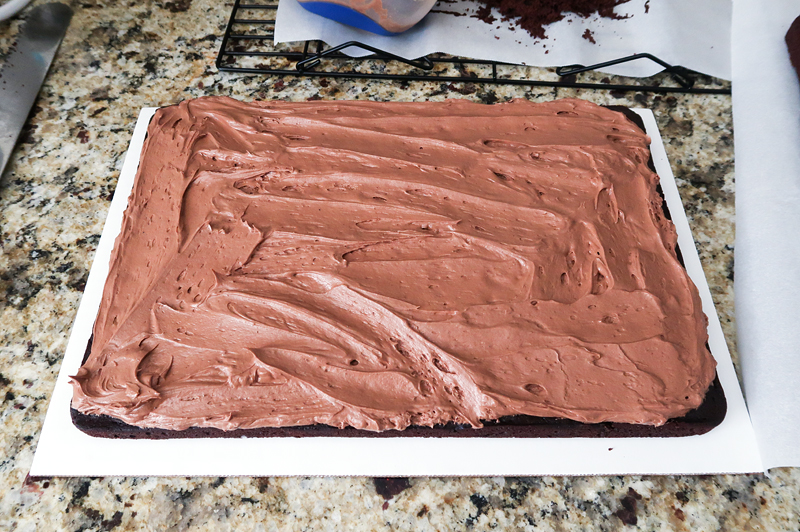
Cover the cake layer with the entire batch of delicious fudge buttercream filling (or whatever filling you are using).
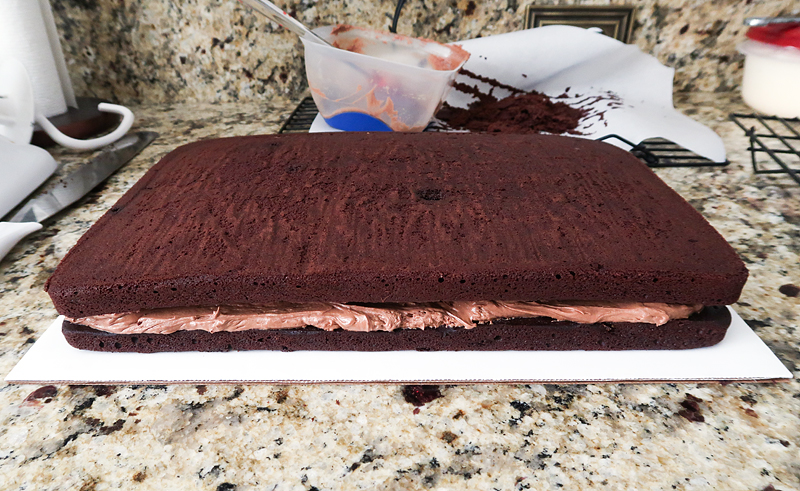
Next, take the second cake layer and invert it onto the filling, so that the flat bottom of the layer is facing upward. Smitten Kitchen states that you don't have to level the dome off the underside of this layer, but I think if I had leveled it I would have had less gaps between the edges of the filling and the cake. In the future, I will level both layers.

You can scooch the top layer around if needed to make sure that they are lying on top of each other evenly.

Place scraps of parchment paper under the cake to protect the surface of the cake board from frosting smudges, and cover the entire cake with a very thin layer of the marshmallow creme frosting. This is called a crumb coat. This step will seal in the chocolate crumbs so that they won't peek through the final layer of frosting. If you have gaps between your cake and the fudge filling, you can use some extra frosting to fill them in during this step.
Place the cake in the refrigerator for an hour or so to let the crumb coat stiffen.
Note: Generally, I do not refrigerate my cakes unless it includes perishable ingredients. Nothing dries out a cake faster than being exposed to refrigeration. That said, when making a decorated cake it's hard to avoid the refrigeration steps to keep things sturdy, especially when you need to transport the cake long distances (we had an hour drive to the party location). So.. my cake did dry out a bit from the softer texture it had when freshly-baked. You can brush the cake layers with simple syrup before frosting them and that will help keep some of the moisture inside. I wish I'd remembered to do that for this cake, but it was still yummy.
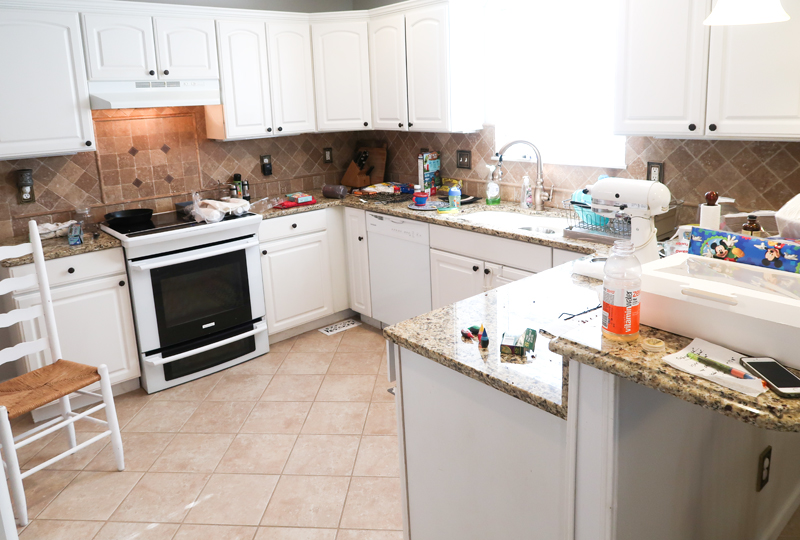
While the crumb coat was setting up in the fridge, I busied myself with coloring the rest of the frosting and doing other party prep tasks. I made a pretty spectacular mess in my kitchen in the process. Oh, and see the dining room chair? That's because I needed to sit down frequently due to the baby being crammed into my diaphragm and lungs, making it difficult for me to catch my breath. Oh, pregnancy.
If you want to go ahead and color some of your frosting, this would be a good time to do it. I did not measure the amounts I used for each color, but here's a general guide:
Light green and light blue - Each of these was the largest amount of frosting
Red - just enough to write the birthday message on the cake
Grey - just enough to pipe the rails onto the train tracks
White/uncolored - for the clouds in the sky

Once the crumb coat has set, take a toothpick and trace a rough outline of how you want your grass line to be, and then frost the area below it (including the sides of the cake) with the light green frosting. Make sure you reserve some of the green frosting for the grass borders later.
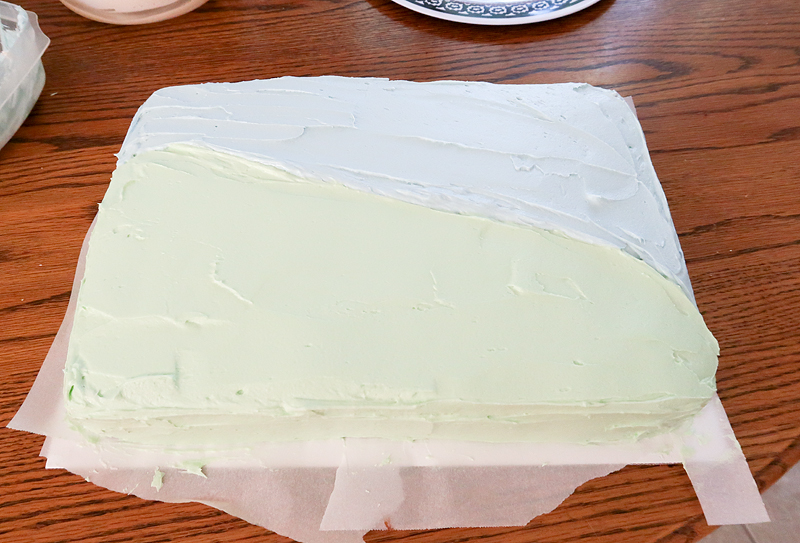
Next, fill in the top (including sides) with the light blue frosting. It's okay if the edge between the two colors aren't perfect. They will be covered up later with a border. Also, it's okay if your buttercream isn't perfectly smooth. I did a little extra smoothing later on before I added writing, but it looks just as cute when it's "rustic".

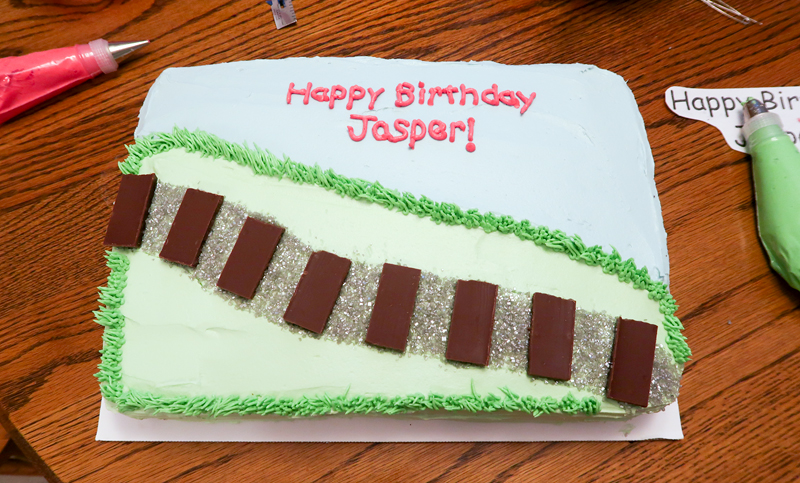
Take a clean toothpick and trace the general shape of the train track. I made mine curve a bit to follow the shape of the grassy area. Fill in the track with grey or silver sprinkles, and then arrange the Hershey bar segments on top, pressing them into the frosting to anchor them.
Next, I chilled the cake again so that the frosting would have some stiffness to it when adding the final decorations.
First, I did the writing. I'm terrible at writing on cakes freehand, so I printed out the message in the size I wanted it on the cake, and cut it out (you can see it peeking in on the right hand side of the photo). Then I gently set it on the cake where I wanted it (don't press it in) and used a straight pin to poke through the paper into the frosting to make the outlines of the letters. Then I used red frosting and a #3 tip to trace over my marks.
Then, I added extra green food coloring to the leftover light green frosting to make it a darker, more contrasting green. Using tip #233, I added a grass border around the green area. You can practice using this tip on some wax paper (or just directly into your frosting container) to get the hang of it before you try to pipe it onto the cake.

Remove the parchment pieces from under the bottom layer of the cake, and continue the grass border around the bottom of the entire cake.
Pipe some fluffy clouds into the sky using a #10 tip (or similar larger round tip)
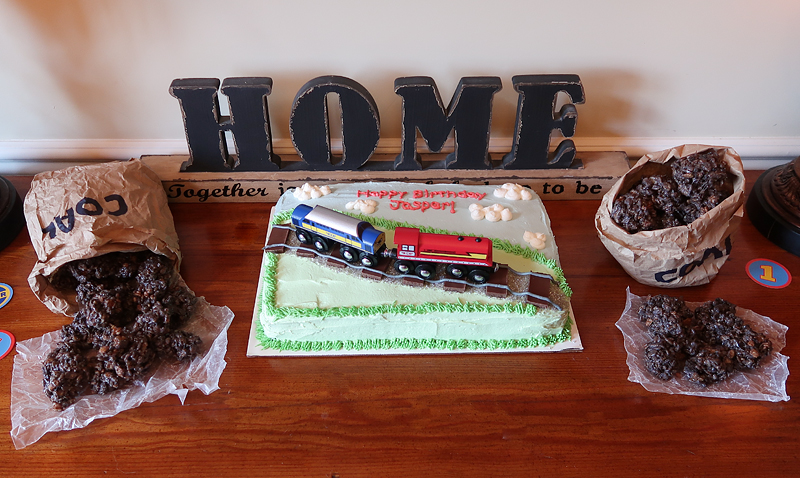
Test the size of the track by temporarily placing the train toys so you can see where you need to pipe the rails.
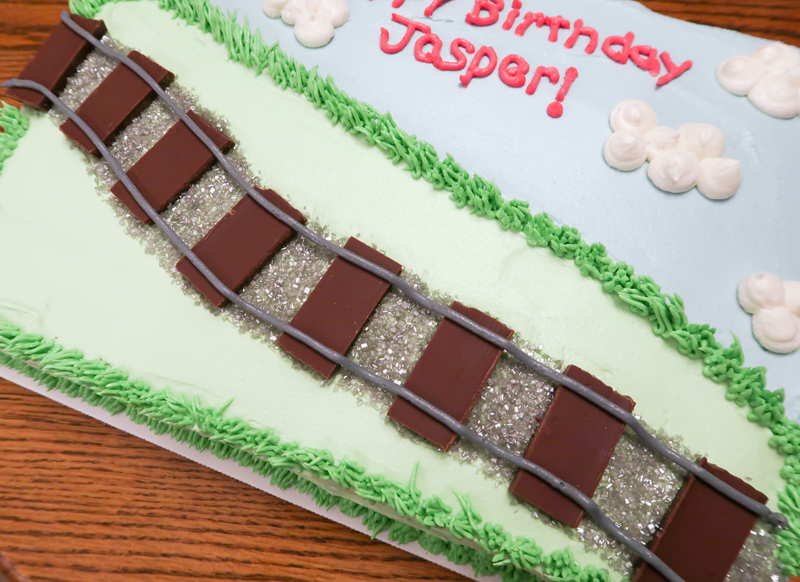
Using a #3 tip (or similar) and the grey frosting, pipe the rails in one continuous squeeze. If your train wheels are going to touch the rails, I recommend waiting to place the trains until the cake is ready to be displayed to avoid the risk of them falling off and marring the rest of your frosting.

And that's it, now you're all done!