
Last month we received a weBoost Connect RV 65 to test out as part of our desperate hunt for stronger and more reliable Internet while traveling in our RV. I published a post about unboxing the product and our first impressions, but I had to wait until we got our camper out its winter hibernation (AKA, sitting in a storage lot) before we could install it and give it a proper test!
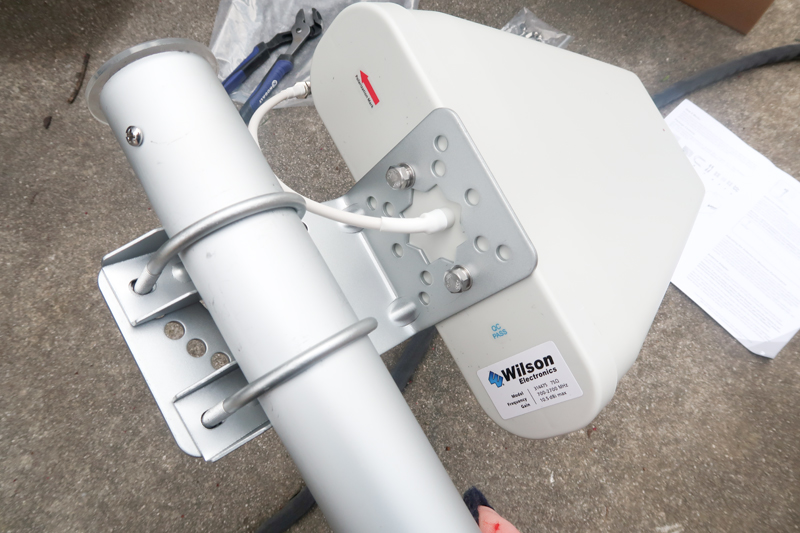
The first step was to mount the outside antenna to the top of the pole.

A little planning needs to go into choosing the placement for the pole. The outside antenna needs to be about 25 ft away from the inside antenna, so we chose a spot near the back of the RV near a slide-out to mount our pole, knowing that we had a suitable spot on the wall indoors that was the minimum distance away for the inside antenna and we also got an rv queen mattress so we can be comfortable as well. To the left of the ladder at the top and bottom of the RV, you can see the black mounts (provided) that are attached with a peel-and-stick adhesive.
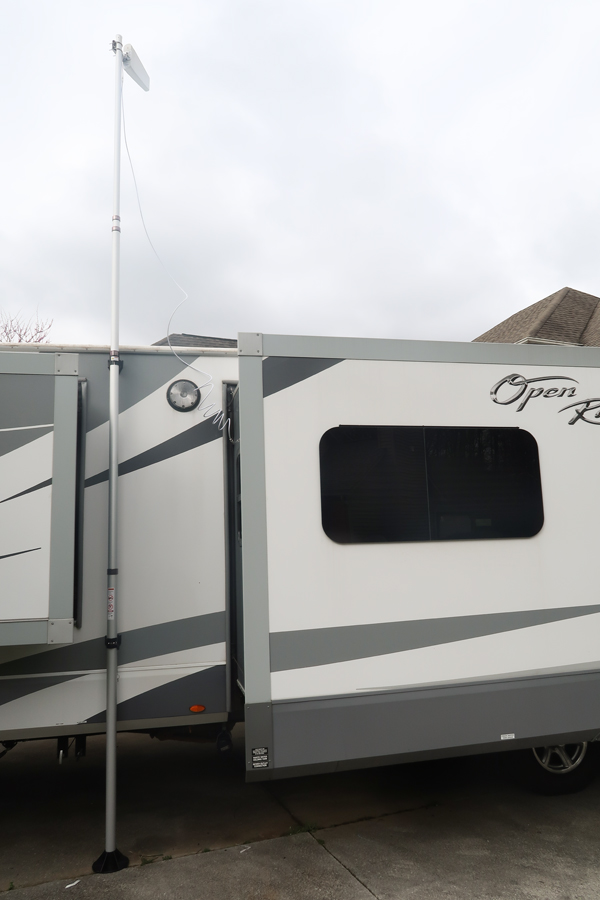
And here's the completed pole and exterior antenna. The mounts will remain attached to the side of the camper, so each time we set up at a campsite we'll need to get the pole out of our RV's storage compartment and clamp it on.

Using the flat cable connector, we threaded the cord through the living room slide-out.

Peek-a-boo! This cord gets plugged into the booster that will be mounted onto the flat wall next to the slide-out using Command strips.
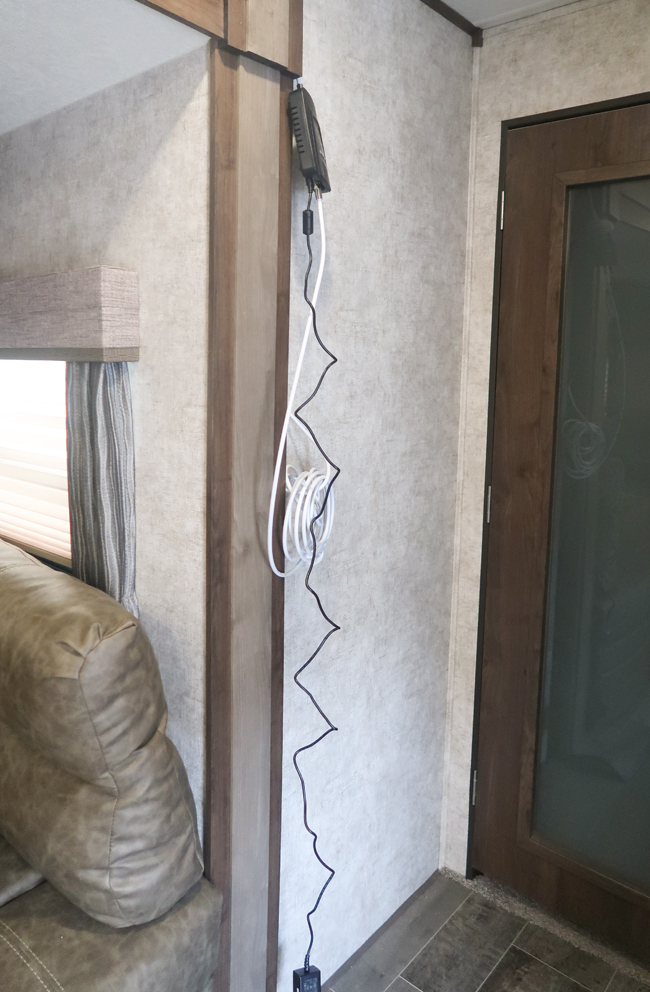
Both the inside and outside antenna (white cords) get connected to the booster (black box) and once we knew how much cord we had to work with, we chose a spot on the wall to mount the booster using Command strips.
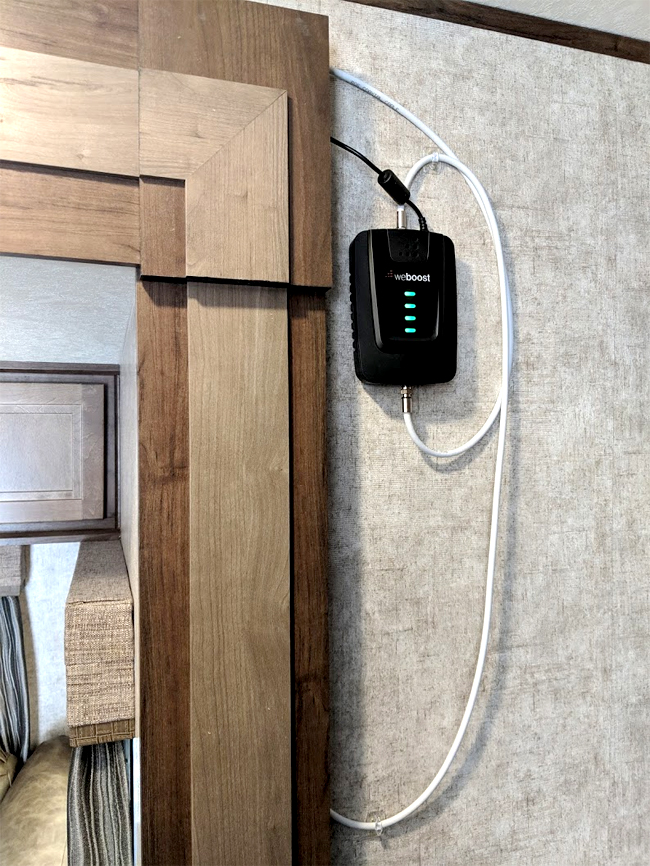
And here's the mounted booster with both antennas connected.
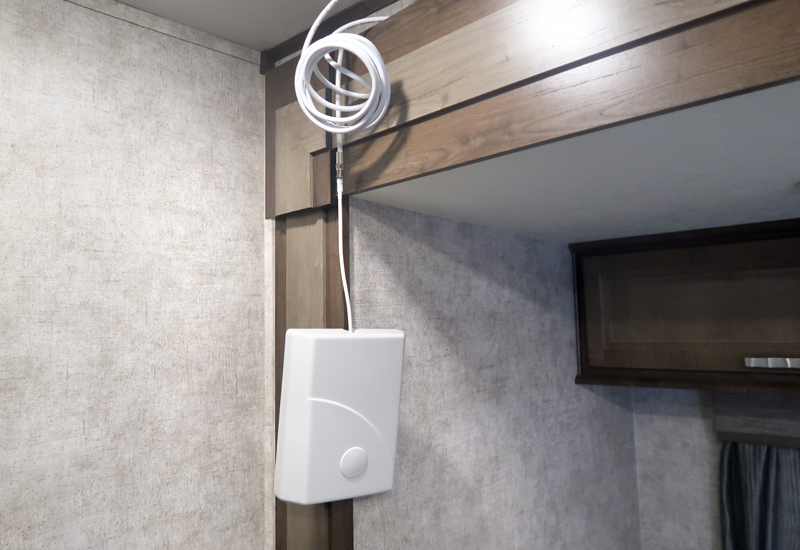
We were able to run the cord that connects the inside antenna to the booster across the top lip of the slide, hiding it from view. The antenna was then mounted flush to the wall next to the slide using Command strips and all of the additional cable was hidden from view on top of the slide. Mounting the inside antenna to the opposite side of the living room gave us the recommended 25-ft distance between the interior and exterior antennas to prevent interference/feedback between the two.
Let's Test This Baby!
Our first camping trip was at Fall Creek Falls State Park in Tennessee. Surprisingly, the unboosted cell signal wasn't that bad at this campground, but the weBoost still gave us a good bump in strength.
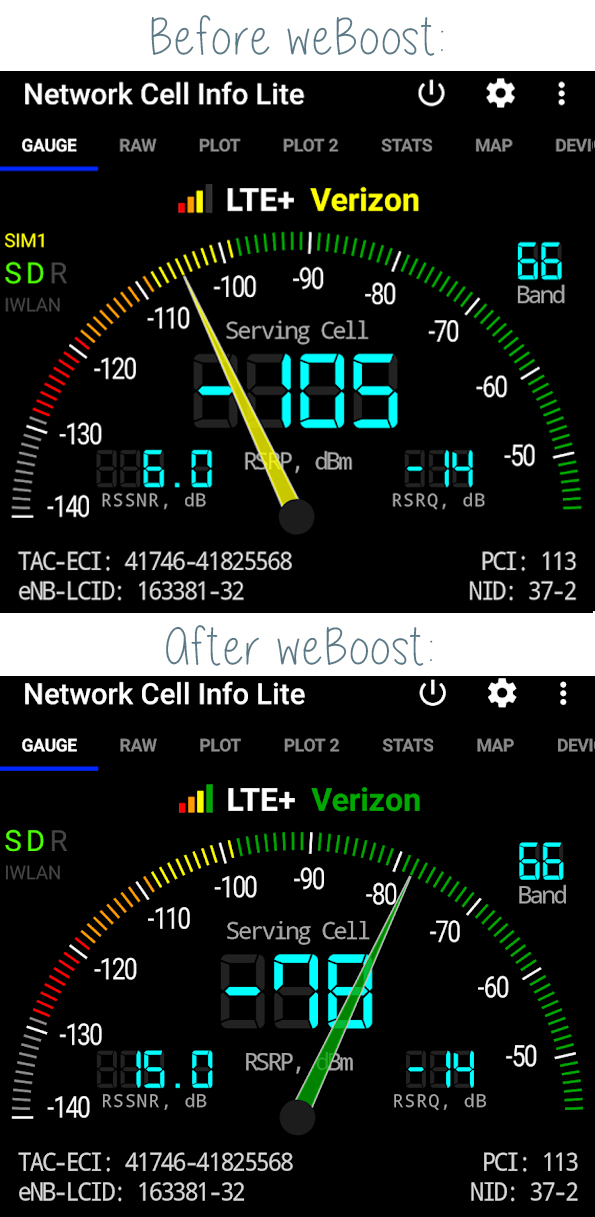
The original signal was in the yellow, but when we turned on the weBoost, it was boosted up into the green. Though an increase from -105 to -78 doesn't seem like much at first glance, it's an increase of almost 1,000 times, or the equivalent of going from a strong 2-bar signal to full bars.
Since we're really only interested in cell signal strength as it relates to using our phones as hotspots for Internet connection, this makes a big difference for us when working on the road and requiring a solid and reliable connection!
So all in all, our first trip out using the weBoost Connect RV 65 was a success. I'll check in with another post once we've gone on longer trips when we really need a reliable connection. Stay tuned!
This is not a sponsored post, though we were sent a weBoost Connect RV 65 to test and share our opinions with all of you. We are dedicated to honest reviews!


Say Something About This Post: