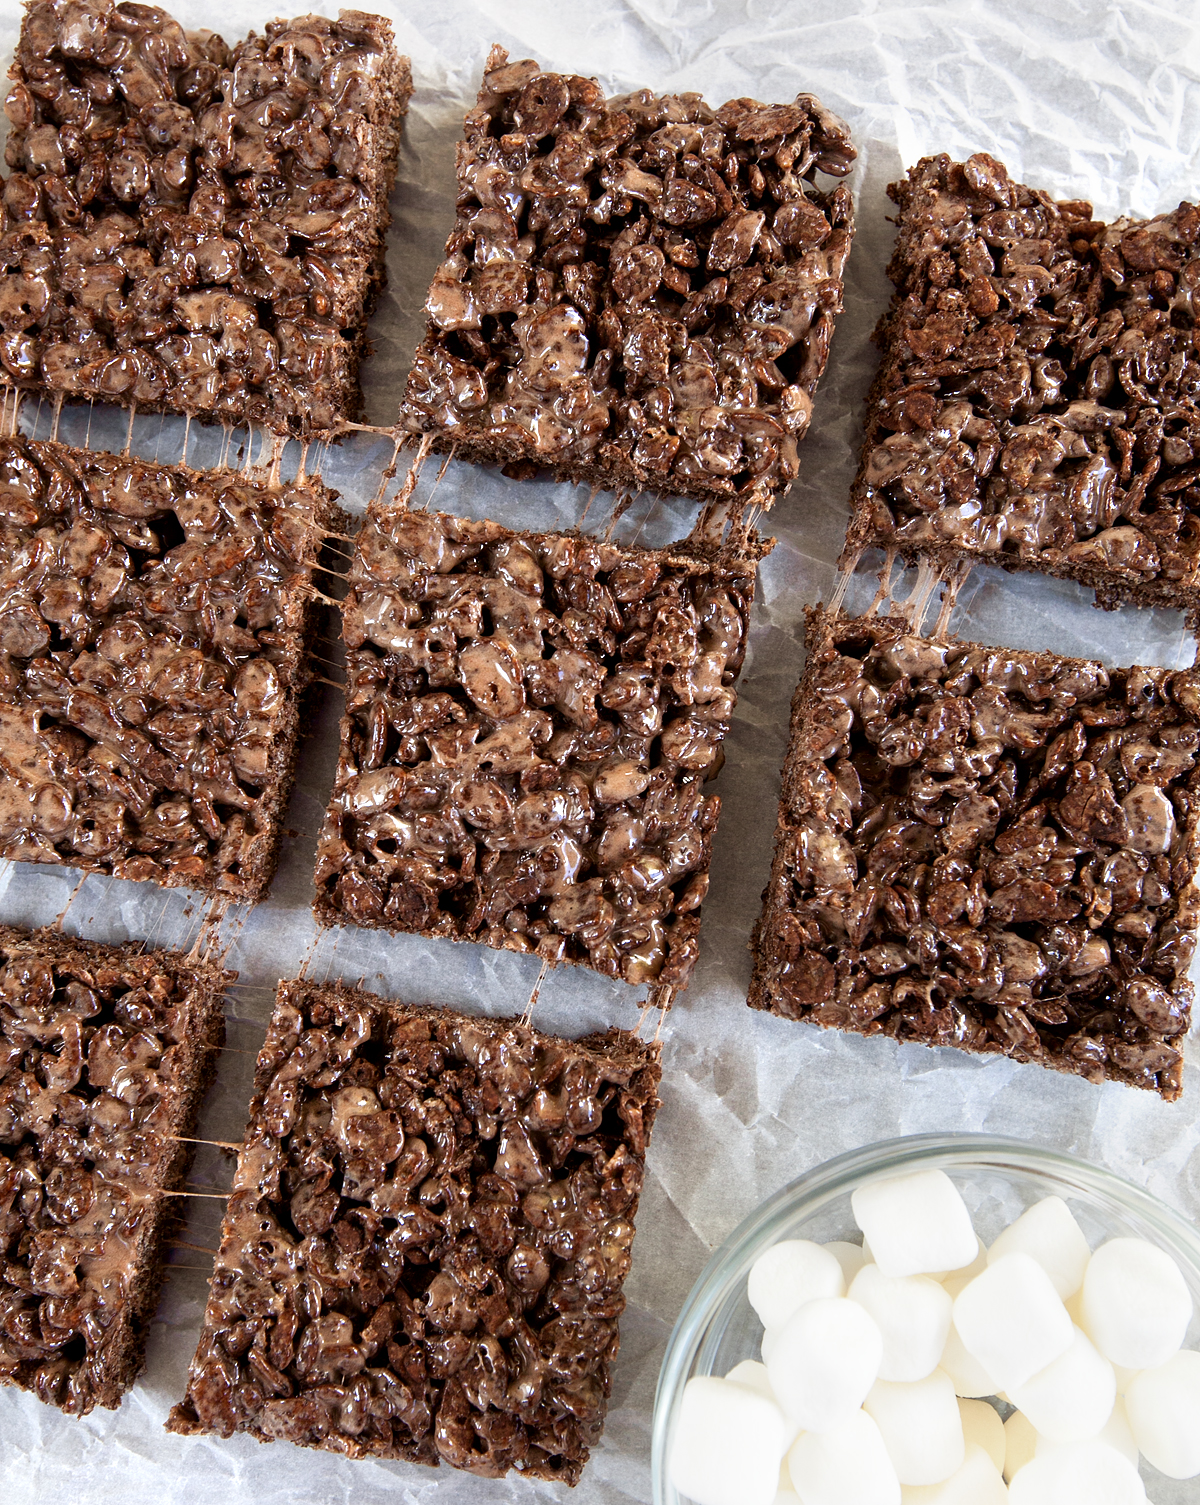
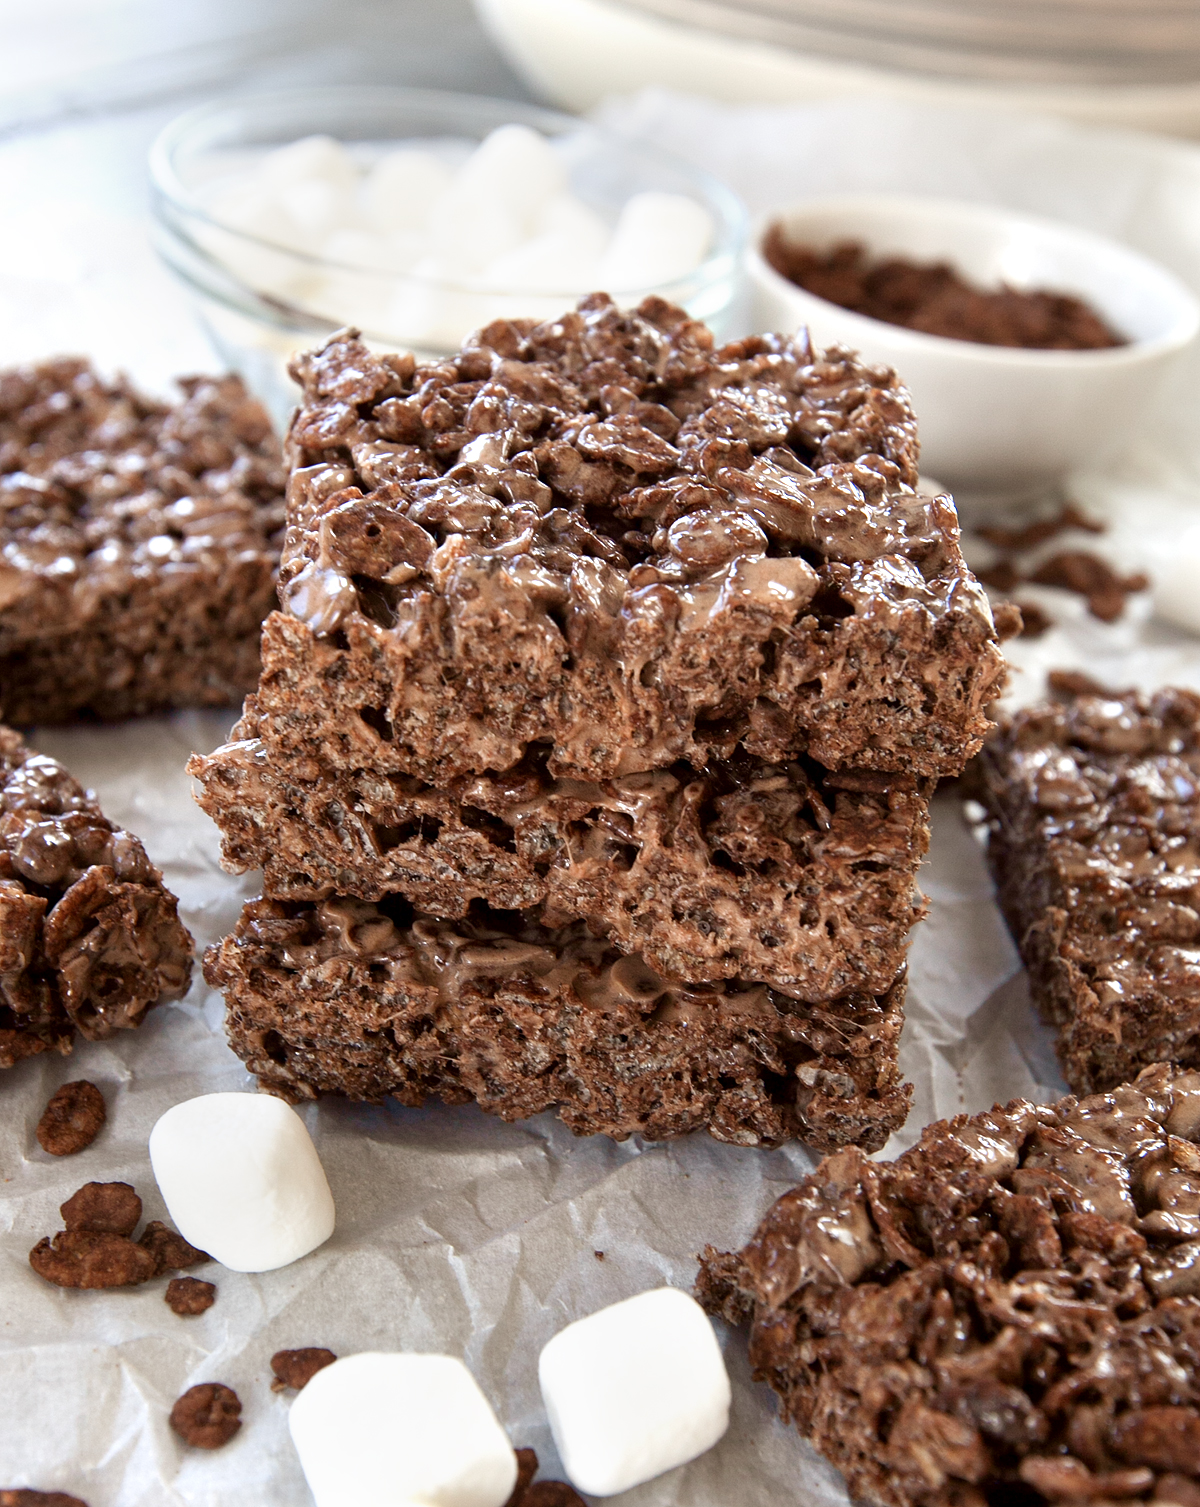
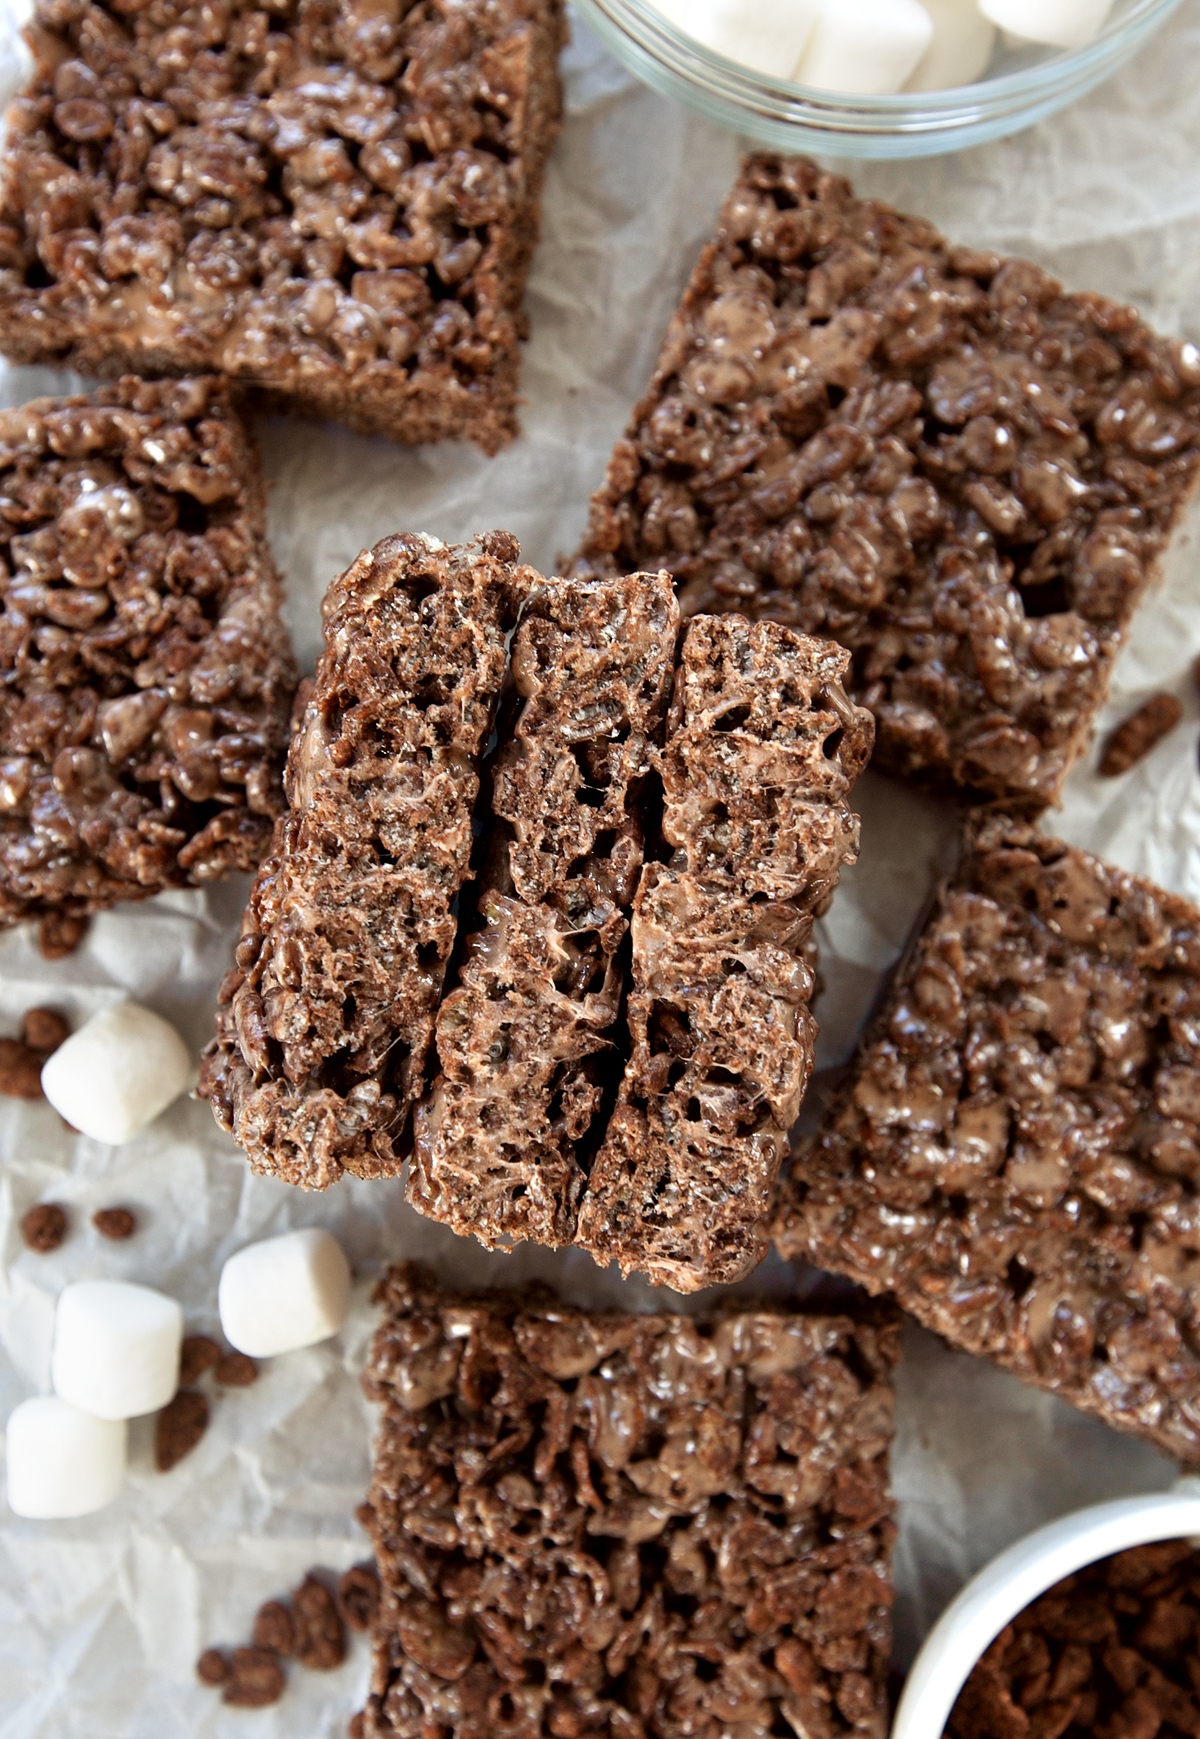
These ooey gooey cocoa pebbles treats get extra richness from melted chocolate, plenty of butter and marshmallows, and my secret ingredient... a pinch of salt!

Everyone loves classic Rice Krispies treats, so what's not to love about taking such a well-loved sweet and putting a few fun spins on it? These Cocoa Pebbles treats are so absolutely delicious, I know you will love them!
These treats swap out Rice Krispies for Cocoa Pebbles, instantly adding a chocolatey crunch. Then we up the ante a touch more by melting in some milk or semi-sweet (use your favorite) chocolate with the marshmallows. Finish it off with my secret touches - vanilla extract and a pinch of salt - and you'll be a fan for life.

Can I Make Chocolate Cereal Treats In The Microwave?
Yes, you can! Here's how to do it:
Instead of using your stovetop, place the butter, chocolate, and marshmallows into a microwave-safe bowl. Microwave on high for 45 seconds, stir, and repeat steps until the mixture is melted and totally smooth. This usually takes about 3 minutes, but may take longer or shorter depending on your microwave. Be sure to stir well after each increment and do not overcook.
Once the mixture is melted, add the vanilla extract and salt, stir, then add the cereal and proceed with the rest of the recipe as usual.
Tips For Success
- Add the cereal in 3 additions instead of all in at once. This makes the mixture easier to stir and get the cereal fully coated.
- Use fresh marshmallows. Stale marshmallows don't melt well and will result in hard treats instead of soft and ooey gooey.
- Don't overcook. Overheating the marshmallows or butter will result in hard, off-tasting treats. Keep the heat set to low, or if using the microwave, check often during the melting process.

What Size Pan Should I Use?
I made these Cocoa Pebbles treats in a quarter-sheet pan, or 9x13" cake pan. This size pan yields a treat that's not too thick or not too thin and will allow you to cut more treats to feed more people. For thicker treats, you can use a 9x9" square pan instead.
How Do I Store Leftovers?
I find that leftover Cocoa Pebbles treats hold up very well when stored properly. You will want to keep them at room temperature in an airtight container such as a plastic storage container or zip-top storage bag. They'll retain their texture and yumminess for about a week!
Can These Be Frozen?
Yes, you can freeze Cocoa Pebbles treats! Just separate the layers with wax paper and place them inside of a freezer safe zip-top bag. Freeze for up to six weeks for best flavor and texture, though they will be safe to consume after this time as long as they are kept properly frozen.
To thaw: take the desired number of treats out of the freezer and let them thaw on the counter. They'll thaw fast, so you won't be waiting long! Freezing cereal treats is convenient when you need to make lots of treats ahead of time for parties or gifts.

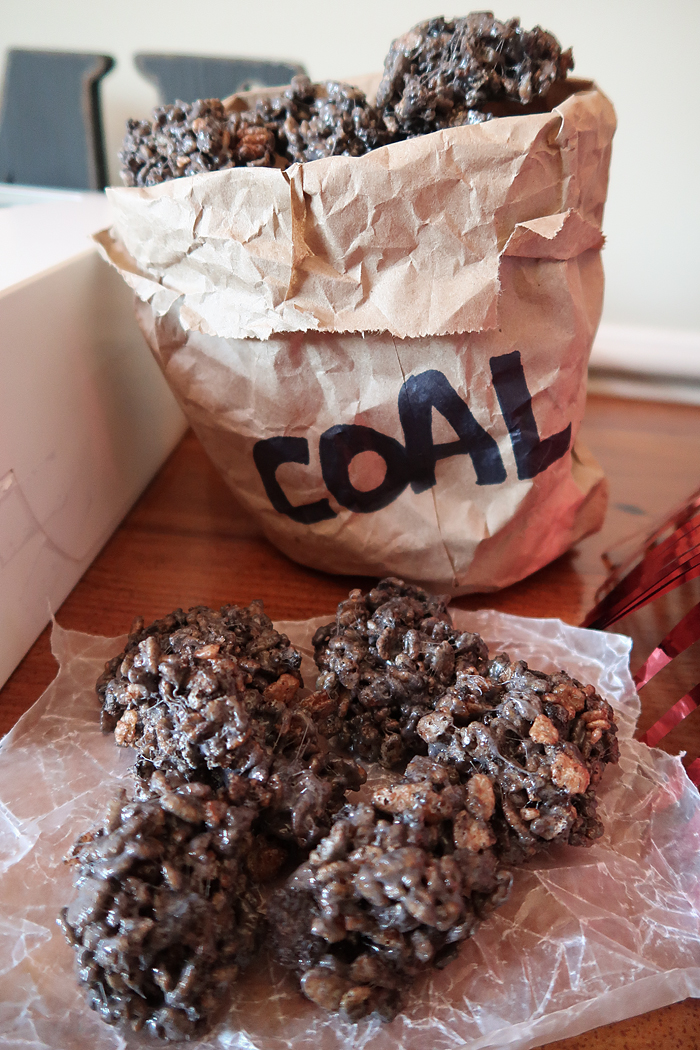
Need a fun way to serve Cocoa Pebbles treats? Instead of pressing the treats into the pan, form them into misshapen lumps for chocolate coal cereal treats! I did this for my son's birthday years ago and it turned out so cute!
Print
Cocoa Pebbles Treats
- Total Time: 20 minutes
- Yield: 12-18 squares 1x
Description
These chocolate cereal treats are extra ooey gooey from the addition of melted chocolate!
Ingredients
- 3 TBS butter
- 10 ounces (about 4 cups) of marshmallows
- ⅓ cup milk or semi-sweet chocolate chips (or broken up chocolate bar)
- Pinch of salt
- 1 tsp vanilla extract
- 6 cups Cocoa Pebbles cereal
Instructions
- Lightly butter a 9x13 pan and set aside.
- In a heavy-bottomed saucepan on medium-low heat, melt the butter. Add the chocolate and stir frequently until melted. Add the salt and vanilla extract and stir to combine.
- Add the marshmallows to the pan and stir frequently until fully melted and smooth. Remove from heat.
- Add the Cocoa Pebbles cereal and stir until fully coated. Use a sturdy nonstick spatula to transfer the cereal mixture to the prepared pan. Using the spatula or lightly buttered hands, press the mixture into the pan evenly, being careful not to press down too hard (this will create denser, stiffer, treats)
- Allow to set up and then cut and enjoy. Store leftovers in an airtight container in a cool place.
Notes
Make sure to read the post for tips and suggestions!
- Prep Time: 5 mins
- Cook Time: 15 mins
- Category: Dessert
- Method: Stovetop
Not making this recipe today? Make sure you can find it later! Use the photo below to Pin to your Pinterest boards. You can also use the buttons at the top and bottom of this post to share on social media so your friends can enjoy this recipe, too! Thanks for visiting!


These suck I followed the instructions exactly and they are hard and disgusting
Super chocolatey! Delicious!! Thank you.
Followed recipe exactly, turned out really good.