
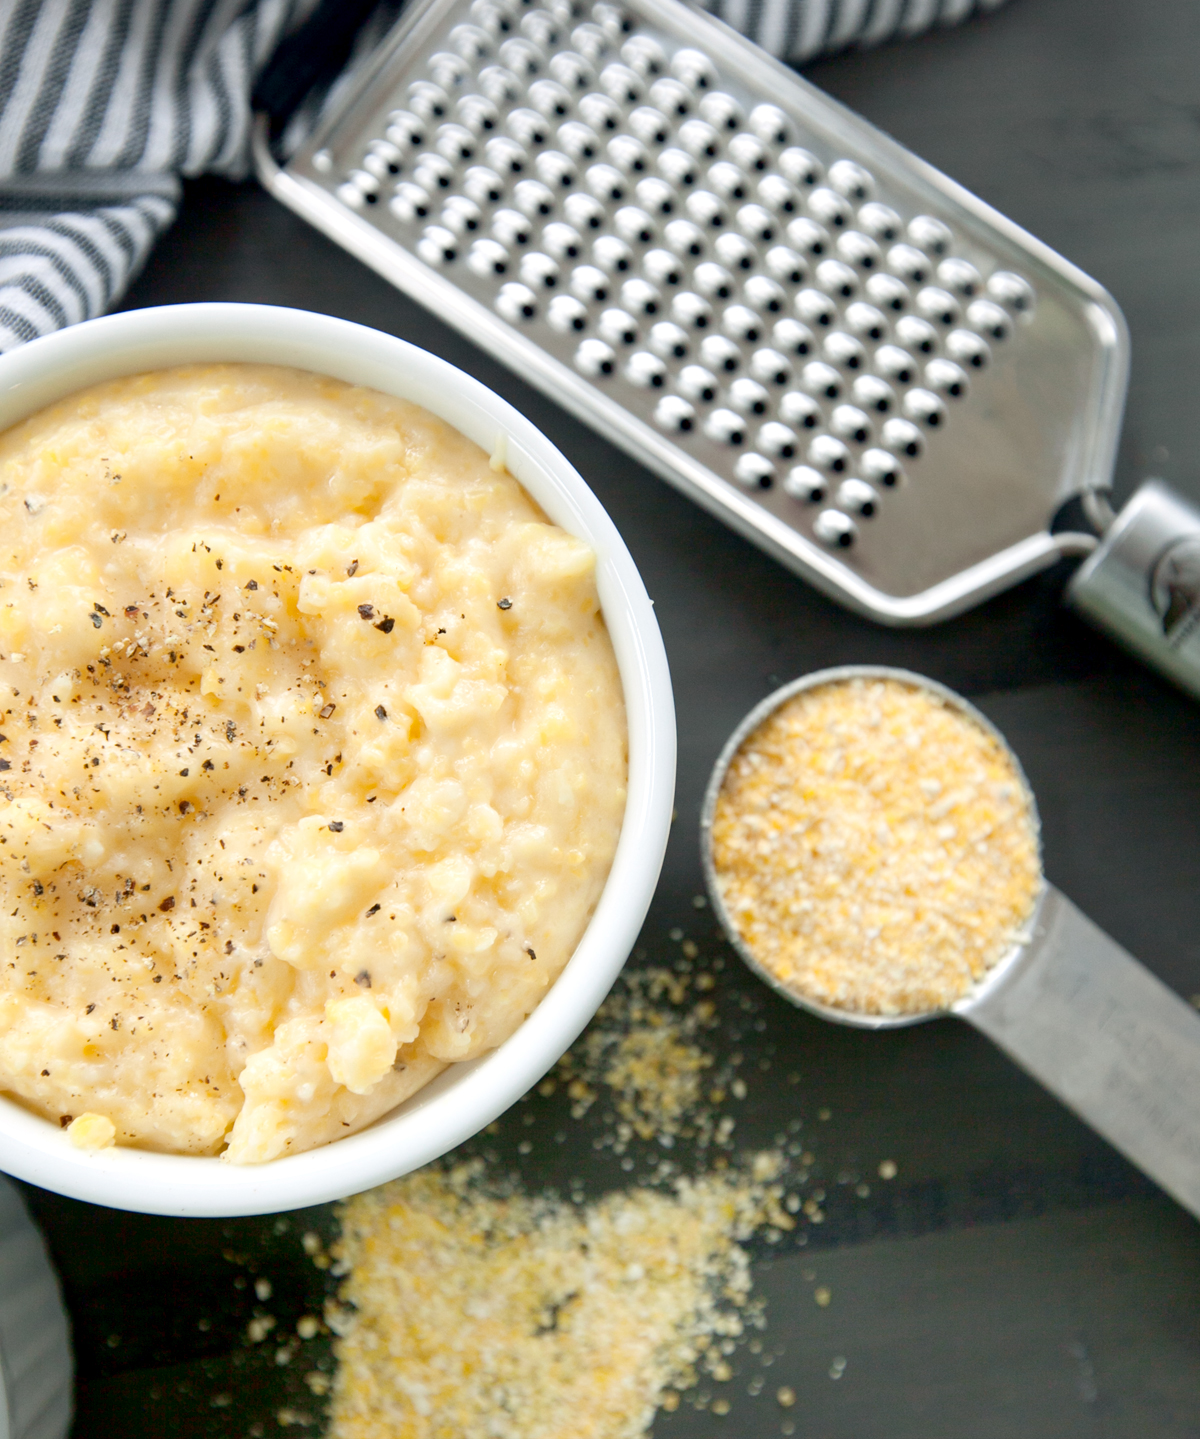
These are the creamiest homemade cheese grits ever! Smooth and cheesy with a toothsome bite from the use of coarse yellow grits and a zip of flavor from both pepper jack and sharp cheddar cheeses. Serve these grits for breakfast, brunch, or as a side dish at any meal.
Tips For Success
Milk - for the creamiest grits, a full fat whole milk is the ideal choice, but you can really use any milk you want here, including non-dairy options like soy or almond milk
Coarse Grits - make sure you DO NOT use instant or "quick cook" grits for this recipe. Also, make sure you're not using stone ground grits, as those can take up to an hour to cook and will be more chewy. I use regular coarse yellow corn grits which yields creamy grits that still have a bit of texture to them with a strong corn flavor. These are the grits I use and I find them at my regular grocery store.
Shred Your Own Cheese - Pre-shredded cheese has a coating that prevents the shreds from clumping in the bag. This coating also changes how smooth the cheese is when it melts. I recommend shredding the cheese right off the block for the creamiest, cheesiest, most delicousiest grits.

This grater is LIFE-CHANGING (find on Amazon)
Whisk, Whisk, Whisk - making homemade grits is a hands-on process, so don't plan on walking away from the stove for too long. The key to preventing lumps in your grits is to whisk the dog out of them, especially when adding the grits to the boiling milk and water. I shake the dry grits a couple of tablespoons at a time while constantly whisking with my other hand, and then I continue to whisk vigorously for an extra minute or two.

Can You Make Grits Ahead of Time?
If you're after perfectly creamy grits, I recommend serving them as soon as they are prepared. If you have leftovers and want to reheat them, place the cold grits from the fridge into a pot (they will be congealed - break them apart with a spoon), add a small amount of milk and heat on medium-low heat until grits have loosened up and are warmed through.
What Kind Of Cheese Is Best?
I chose to use both sharp cheddar and pepper jack cheeses to really give these grits a good cheesy bite. You can substitute other cheeses as long as it's a good melting cheese. Gouda, gruyere, and brie would be delicious options. Stay away from low-fat or "fat free" cheese as they do not melt well (if at all).
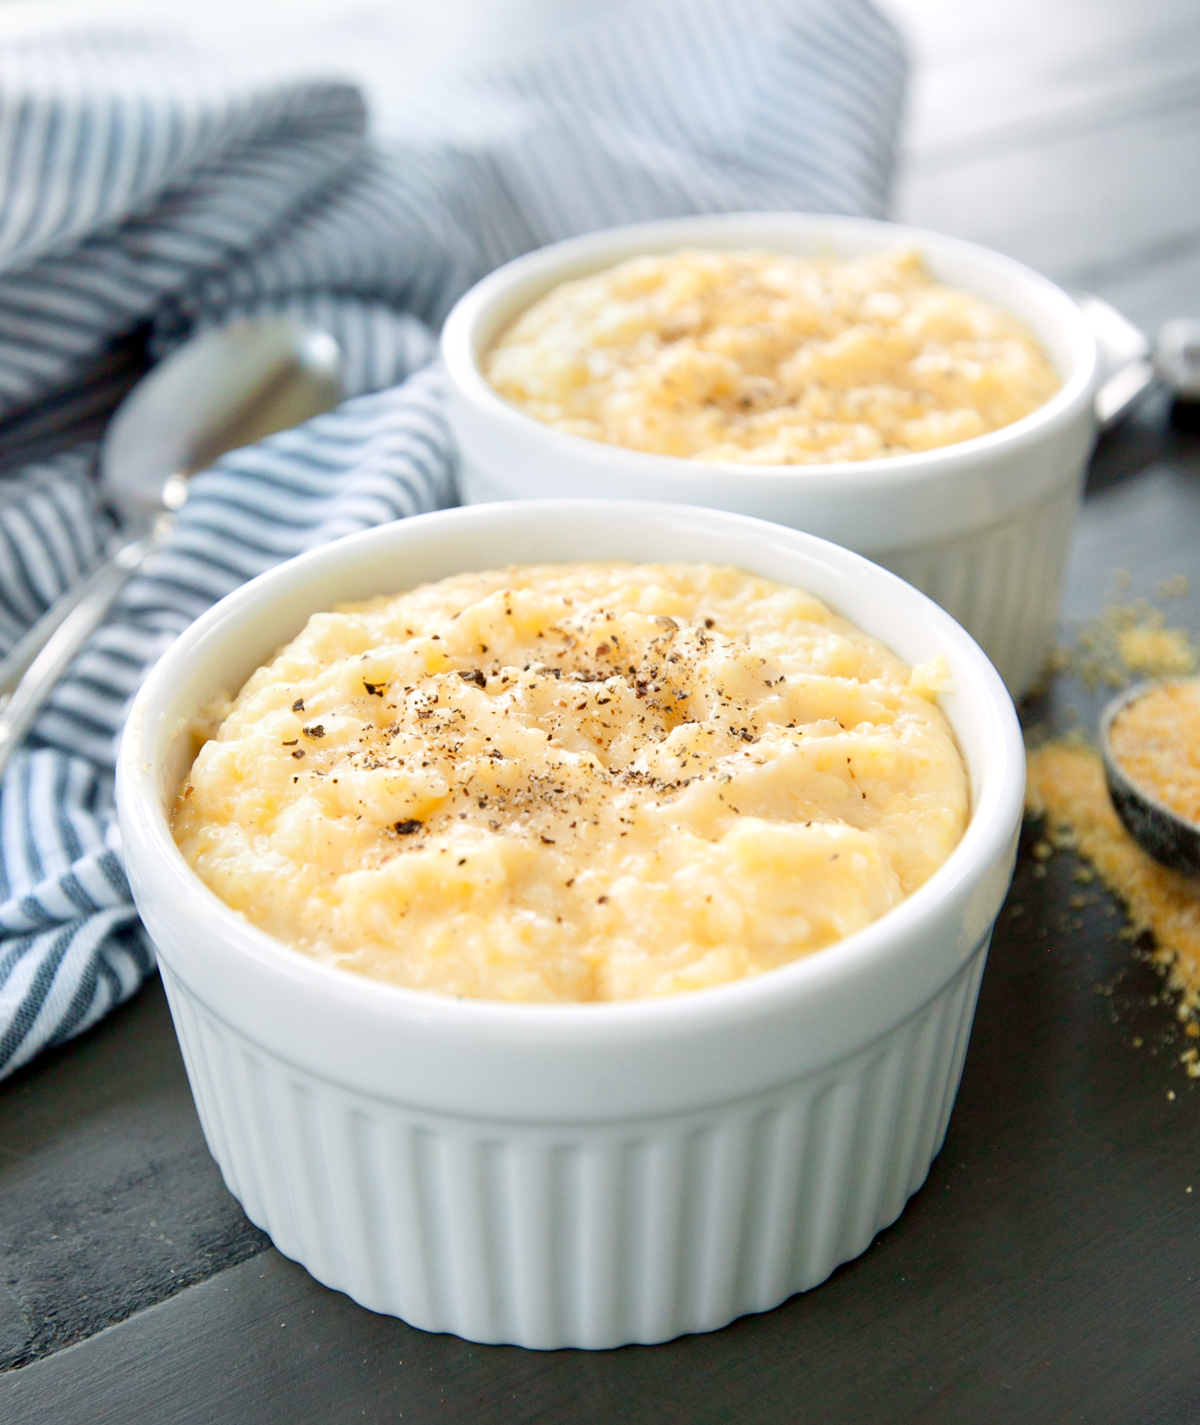

Creamy Cheese Grits
Rich and creamy homemade cheese grits with a nice toothy texture and a bit of a bite from the use of sharp cheddar and pepper jack cheeses.
- Total Time: 35 minutes
- Yield: 4 servings
Ingredients
- 2 cups milk
- 2 cups water
- 1 ½ tsp salt
- 1 cup coarse yellow corn grits
- 4 TBS unsalted butter
- 2 oz sharp cheddar, shredded off the block
- 2 oz pepper jack cheese, shredded off the block
- Black pepper
Instructions
- In a large heavy bottom pot, add the milk, water, and salt. Bring to boil.
- Add the cornmeal a little bit at a time while whisking vigorously with the other hand to prevent lumps from forming. Continue whisking for an extra 1-2 minutes after all cornmeal is added.
- Reduce heat to low and cover the pot.
- Whisk every few minutes and scrape the sides of the pot. Repeat for 20-25 minutes until grits are creamy and have thickened.
- Remove from heat and add the butter and both cheeses. Stir until everything has melted and grits are smooth. If grits are too stiff, drizzle in a little extra warm milk or water a tablespoon at a time.
- Taste and add a little more salt if needed.
- Top with a twist of black pepper and serve.
Notes
Pre-shredded cheese has a coating that prevents the shreds from clumping in the bag. As a result, it doesn't get as smooth when melted. I recommend shredding off the block for the creamiest texture.
- Prep Time: 5 mins
- Cook Time: 30 mins
Do you love this recipe and want to be able to find it later? Use the image below to pin to your Pinterest boards, or share with your friends on social media by using the buttons at the top and bottom of this post. Thank you for visiting my blog!

Say Something About This Post: