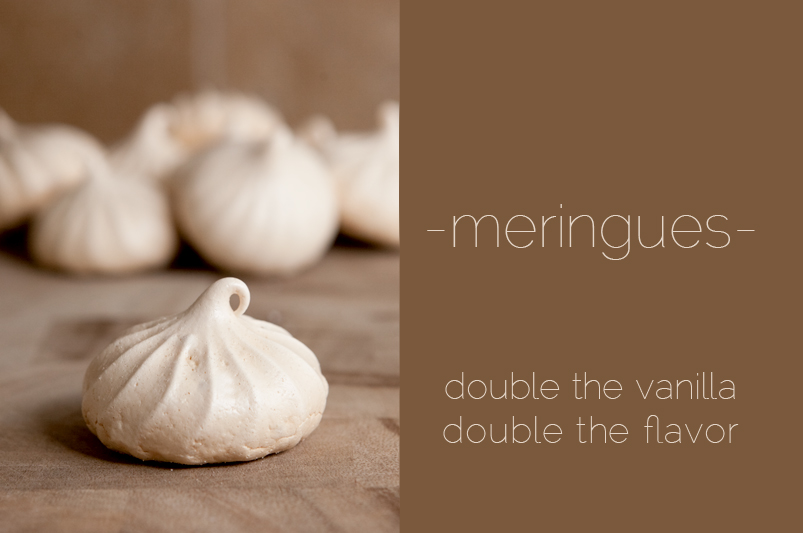
I knew that if I had a snowball's chance in heck of attempting a batch of perfect meringue cookies, I would have to do it soon. In East TN, the oppressive summer humidity is knocking on our door, ready to blanket all of us in a permanent layer of sweat until October.
And the meringues? Meringues do not like humidity.
I like to do a bit of research before beginning a new kitchen project, especially when that project involves something that I have struggled with in the past. I've had my fair share of droopy meringues. I've felt the disappointment of peering into the oven only to see that my previously perfectly peaked (how's that for alliteration?) meringues have fallen flatter than a pancake.
It's very sad.
I figured instead of only sharing the recipe for these delicious, impossibly light meringues, I would also pass along a few tips that could help you avoid some pitfalls along the way.
1. Use Clean Equipment
Meringues don't play well with any kind of additional grease, and any residues on your mixing bowls or utensils can cause your egg whites to not reach full volume when whipped. Wash all of your equipment with very hot water and dry thoroughly before starting.
2. Use Eggs That Are 3-4 Days Old
Eggs fresh from the chicken won't whip up into peaks as readily as eggs that have been sitting in the fridge for a few days.
3. Use (almost) Room Temperature Egg Whites
I recommend separating your eggs while cold (because it's easier), but after you've done that, set the whites on the counter for a bit to take the chill out. Cold white will whip up super fast, which is fine, but warmer whites will take longer to form stiff peaks, and that results in more volume as well!
4. Use Parchment Paper
This is where I hit my first possible pitfall. I forgot to buy parchment paper. D'oh! Since meringues don't like grease, I used an old trick and lightly spritzed my pan with cooking spray, and then dusted it with powdered sugar. By the way, parchment paper is not the same thing as wax paper. Never put wax paper in the oven.
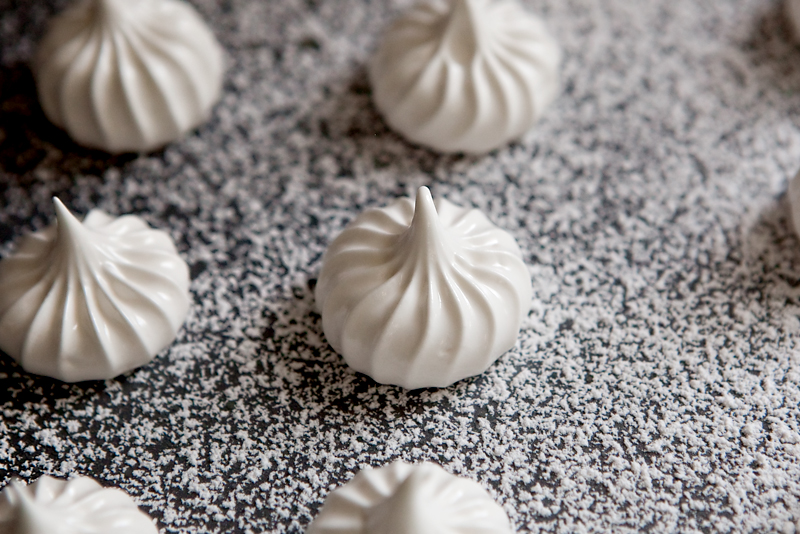
I loved the way the dusted pans looked. Christmasy and wintry. We had a pitiful winter around these parts - nary a snowstorm to be seen. The warmer weather was nice and pleasant, but I want to see the world covered in white at least once throughout those dead winter months.
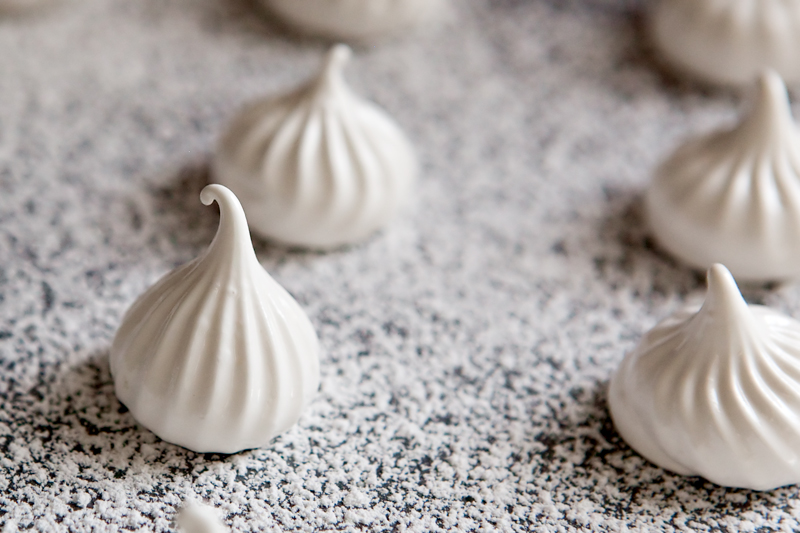
5. Add The Sugar Slowly
Sugar helps stabilize the whipped egg whites, but it also decreases the lightness and volume. Add it in small amounts while your mixer runs to avoid deflating your meringue.
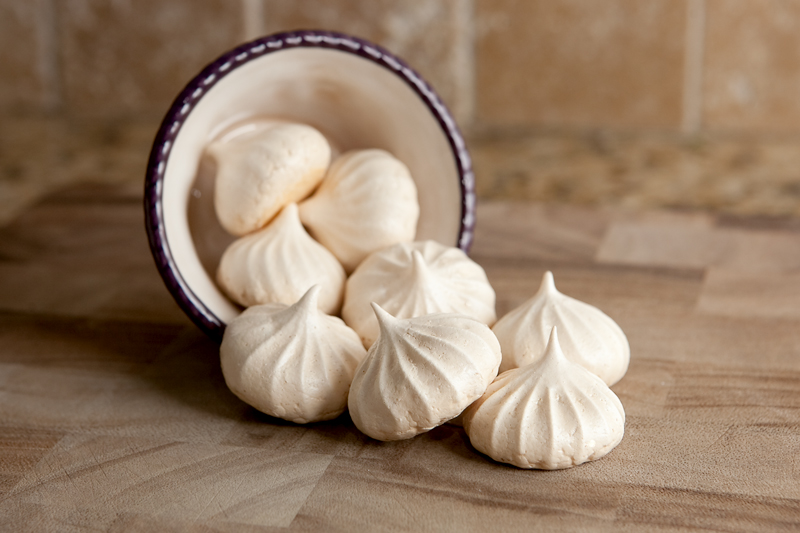
6. Don't Remove From Oven Too Soon
Meringues need to dry out completely while in a closed oven, heat turned off, before they should be removed. This ensures that they are sapped of their moisture and it's how you get that unbelievable melt-away texture. They will easily absorb any moisture in the room where they are stored so if they don't start out dry, you'll end up with sweaty, sticky cookies.
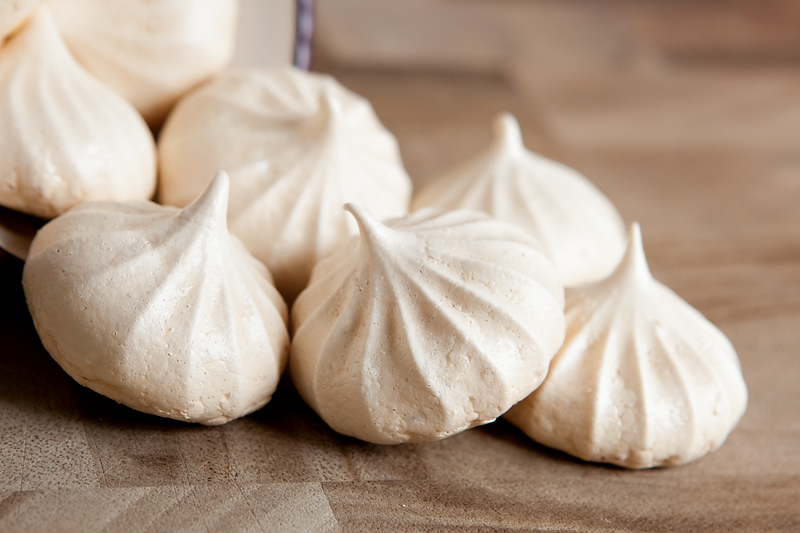
7. Store in Airtight Container
Mentioned above, these little guys love to drink up any moisture around, so make sure they are sealed tightly in an airtight container and kept away from humidity.
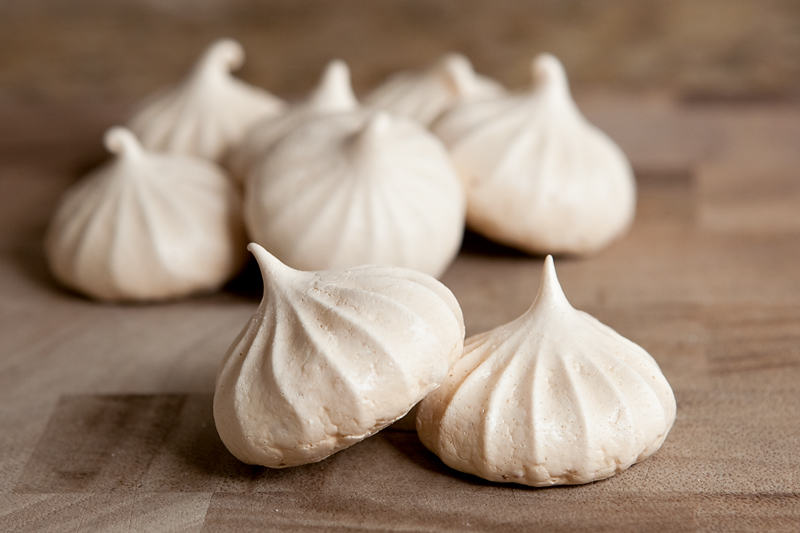
A little extra care during the preparation of these delightful sweets will go a long way. They truly are delicious.
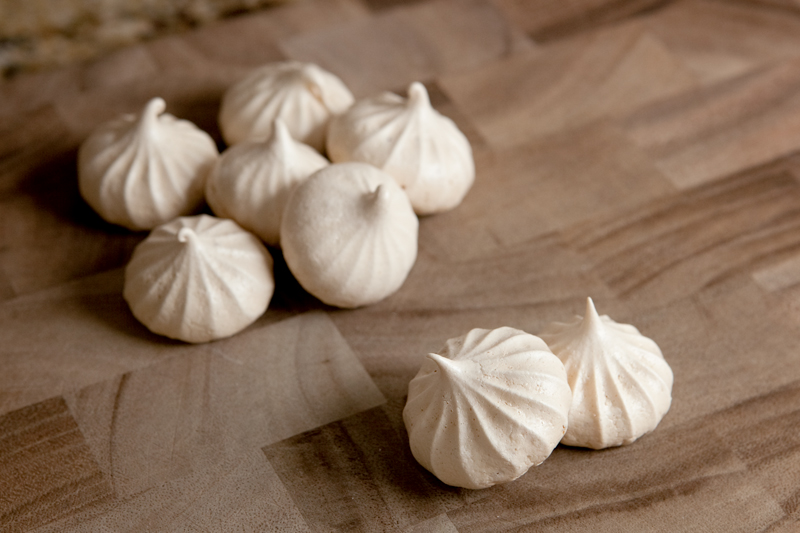
If you've never had a meringue cookie, you're really in for a treat. The texture cannot accurately be described in words. You'll just have to try one.
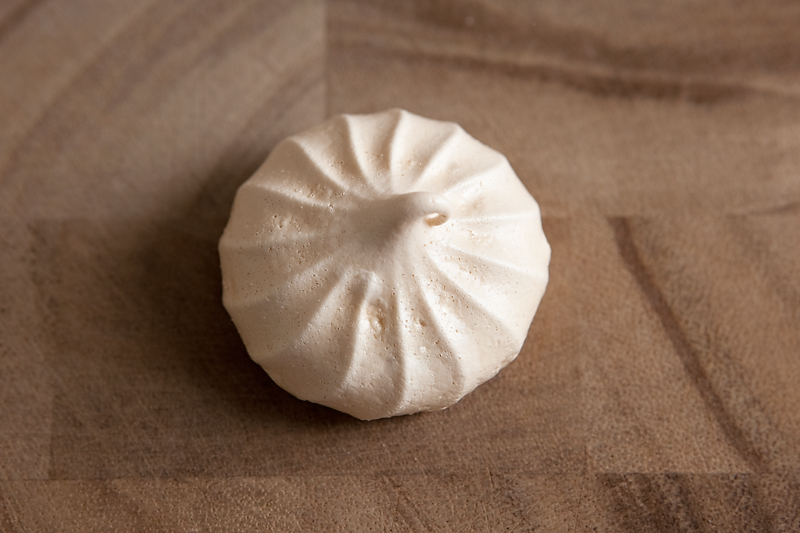
And they're totally cute, to boot.
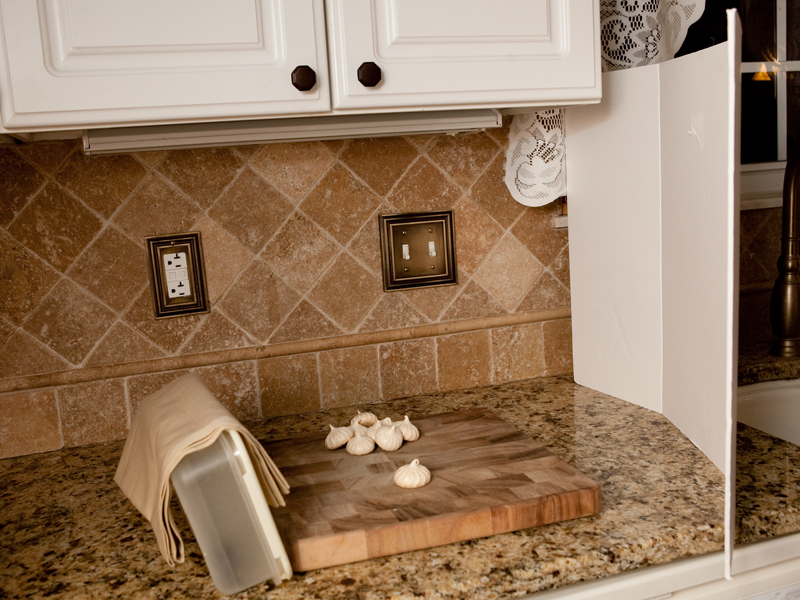
As a bonus, here is a zoomed out photo of my set-up for taking the photos above (except for the dusted pan shot). It was well past dark O'clock by the time the meringues were dry and ready for their photo shoot, so I had to resort to a flashed image. I keep a big piece of scored foam core in my kitchen for reflecting natural light back on the food that I photograph, so I set that on the counter to the right of the cookies.
Using an external flash mounted to the hotshoe of my camera, I aimed it at the foam core, so that the light would be bounced back and would hit the cookies from the side (side light is much more attractive than a direct light source when photographing food)
So that was acceptable, but then I decided I needed a little more light coming from the left to fill in the shadows. There was an empty tupperware container and a napkin sitting on the counter, so I turned it up on its edge on the opposite side. The napkin and lid of the container caught some of the light being bounced off of the foam core and threw it back onto the cookies, filling in the shadows just a bit on the left side.
You don't need a lot of fancy equipment for a MacGyvered lighting set up. Any ole white or light surface can be used for bouncing and directing your light where you want it!
Oh, but don't go just yet.. here's your recipe!
PrintDouble Vanilla Meringues
- Yield: 50-60 meringues 1x
Ingredients
- 1 vanilla bean, split lengthwise
- 1 TBS vanilla extract
- 4 large egg whites, fresh and at room temperature
- ¼ tsp cream of tartar
- ½ cup white sugar
- ⅔ cup powdered sugar
Instructions
- Preheat oven to 225º.
- Cover 2 large cookie sheets with parchment paper. If you don't have any, you can lightly spray with cooking spray and then dust with powdered sugar.
- Scrape the delicious insides from the vanilla bean. Save the outside - you may be able to use it for something else.
- Place egg whites and cream of tartar in bowl of mixer, and mix at medium speed until soft peaks form.
- Increase speed to high, and start slowly adding the white sugar, followed by the powdered sugar, 1 tablespoon at a time.
- Beat on high until stiff peaks form.
- Add vanilla bean insides and the vanilla extract. Fold into mixture until just combined.
- Spoon batter into a pastry bag fitted with a large star tip. Pipe 60-70 dollops onto prepared cookie sheets.
- Bake at 225º for about 90 minutes.
- Turn oven off and allow meringues to cool and dry in the closed oven for an additional 90 minutes, or until dry.
- Carefully remove the meringues from paper and store in airtight container in a non-humid area.


??????, ????? ??????, ??? ????????????? ????????? ????????? ???? ??????? ?????? ?????. ??? ??????? ?????? u.to/95M2DA
A lot flatter than other meringues I have made.....
How I can get torrent XRumer + SocPlugin???
It's really new powerful tool for SEO, I'm need it, so help me please if it possible... Thank
At first, I need SocPlugin - it unique tool for Facebook promotion, break all captchas and protections....
(it's included in XRumer 12 official package, so please help me to find it! Thank you again!)
Hi! Your meringues are beatiful!!!! I'm sure they taste great as well! Can you tell me which tip/piping nozzle did you use? Thanks!
Thank you! 🙂 My tip says it is "9FT" but tip "848" would work as well - they are the jumbo size ones!
I loved as much as you will receive carried out right here.
The sketch is tasteful, your authored subject matter stylish.
nonetheless, you command get bought an impatience over that you wish be delivering the following.
unwell unquestionably come more formerly again as exactly the same nearly a lot often inside case you shield this hike.
ok can't wait to try the recipe but the only thing is i'm making little party favors i'll freez them then put them in pink pastic wrap for a girl baby shower how long will they stay soo people can take them home after the baby shower
Would love to try your meringues They look amazing. For the 225 degrees, is it F or C? Thanks.
Your meringues turned out so pretty! I have a tupperware full of egg whites that are sitting in my fridge from making ice cream the other day. Now I know what to do with them! Thanks for the recipe and the tips 🙂
Oh my goodness, those are such perfect meringues! I love the perfect piping and the absolutely gorgeous dusted base!
Oh, your meringues look puh-fect I can imagine some with jam nestled under them or dotted with cocoa nibs. I do make a decent pav, but there are times when the top gets a little too brown. Will give these a try.
Noms. I <3 meringues