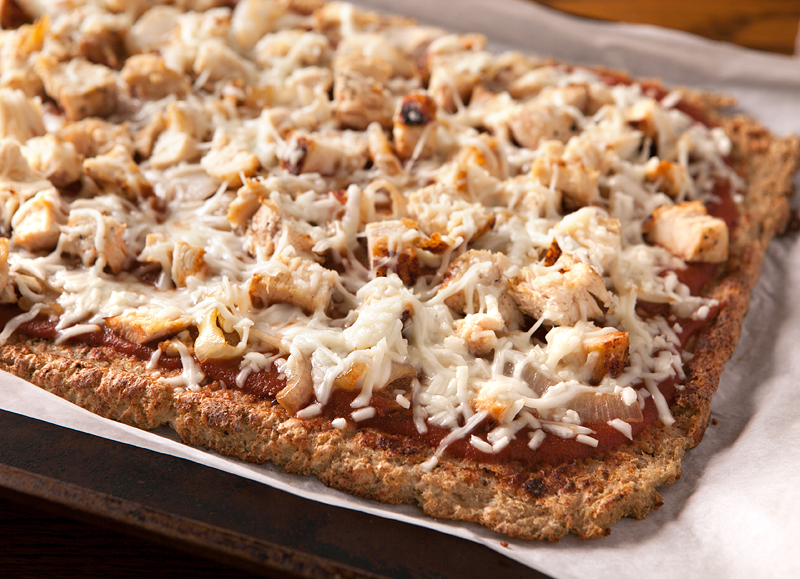
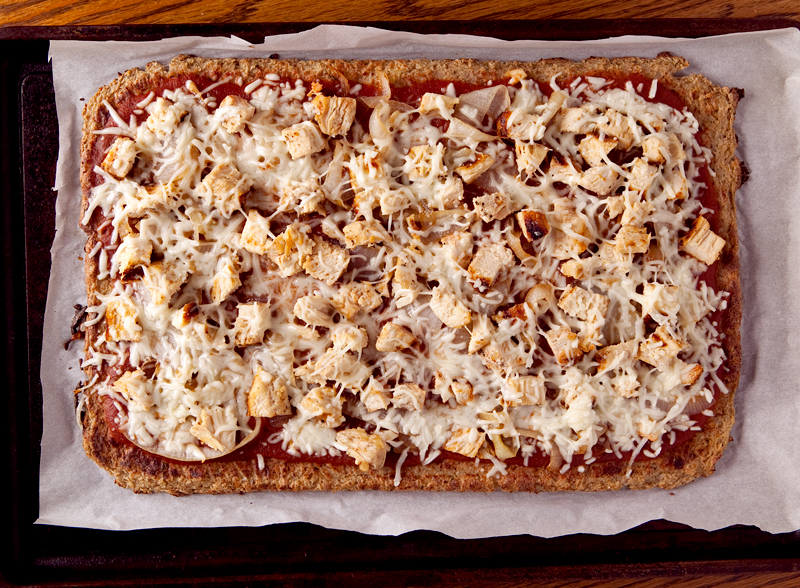
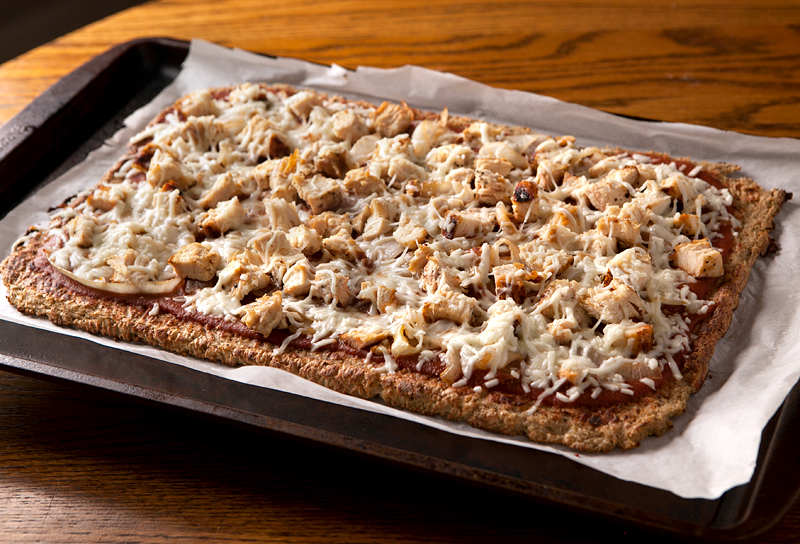
I finally got around to adapting a cauliflower pizza crust, and you know what? We kinda dug it. What a great way to satisfy a mid-week pizza craving without all of the extra calories and carbs.
I'll be honest, this crust tastes like cauliflower, so you'll need to be a cauliflower fan to like it. It's not bread, so it won't taste like bread. Matt and I love cauliflower, so we thought this pizza turned out really tasty and we'd absolutely make it again. I kept my crust a little on the thicker side so it stayed pretty soft and the resulting pizza needed to be eaten with a fork. If you press it out onto a bigger pan and keep the raw dough thin, however, it'll crisp up nicely for you.
This crust takes a little more active prep time than a traditional pizza crust, but if you love cauliflower and you're looking for a way to cut the carbs and calories and still enjoy your pizza, give this crust a try some time!
Print
Low Carb Cauliflower Pizza Crust
- Total Time: 1 hour 5 mins
- Yield: 1 pizza crust 1x
Ingredients
- 2 pounds frozen cauliflower, thawed
- 1 egg, beaten
- ½ cup part-skim ricotta cheese
- ¼ cup grated parmesan cheese
- 2 tsp dried oregano
- 2 tsp garlic powder
- 1 tsp dried basil
- ½ tsp salt
- Sauce and pizza toppings of choice (I used cooked onions and seasoned chicken with part-skim mozzarella and a low sugar red sauce)
Instructions
- Preheat oven to 400F. Line a baking sheet with a piece of parchment paper and set aside.
- Using a food processor, pulse cauliflower in batches until finely-processed. The mixture should look similar to rice.
- Transfer half of the cauliflower pulp to the center of a dry, clean dishtowel. Twist and squeeze the towel over a sink to release as much liquid as possible. Repeat with second half of pulp. A lot of liquid will be released and the pulp should look pretty dry when you are finished.
- Place the dry pulp into a large mixing bowl and add the remaining ingredients, stirring well to combine.
- Transfer the dough onto the prepared baking sheet and use your fingers to press the dough into a uniform rectangle, between ¼ - ½ inch thick depending on the size you want your pizza to be. The thinner the crust, the crispier it will be. The thicker the crust, the softer it will be.
- Be sure to press together any cracks or holes that you see so that the crust remains solid when baked.
- Bake on center rack of oven until the top of the crust looks dry and golden. While the crust is baking, prepare a second baking sheet of the same size by lining with parchment paper.
- Remove crust from oven and invert the second baking sheet (with paper) over the crust. Using oven mitts, quickly and carefully flip the sheets over and remove the hot baking sheet from the top.
- Return the crust to the oven for an additional 5-10 minutes until it has a pretty golden color but isn't getting too dark.
- Top with your favorite pizza toppings and return to oven for an additional 10-12 minutes or until toppings are heated and cheese is melted.
- Prep Time: 15 mins
- Cook Time: 50 mins
Save this recipe for later! Use the pretty Pinterest-ready image below. Just hover your mouse over the image and use the button that pops up!


Say Something About This Post: