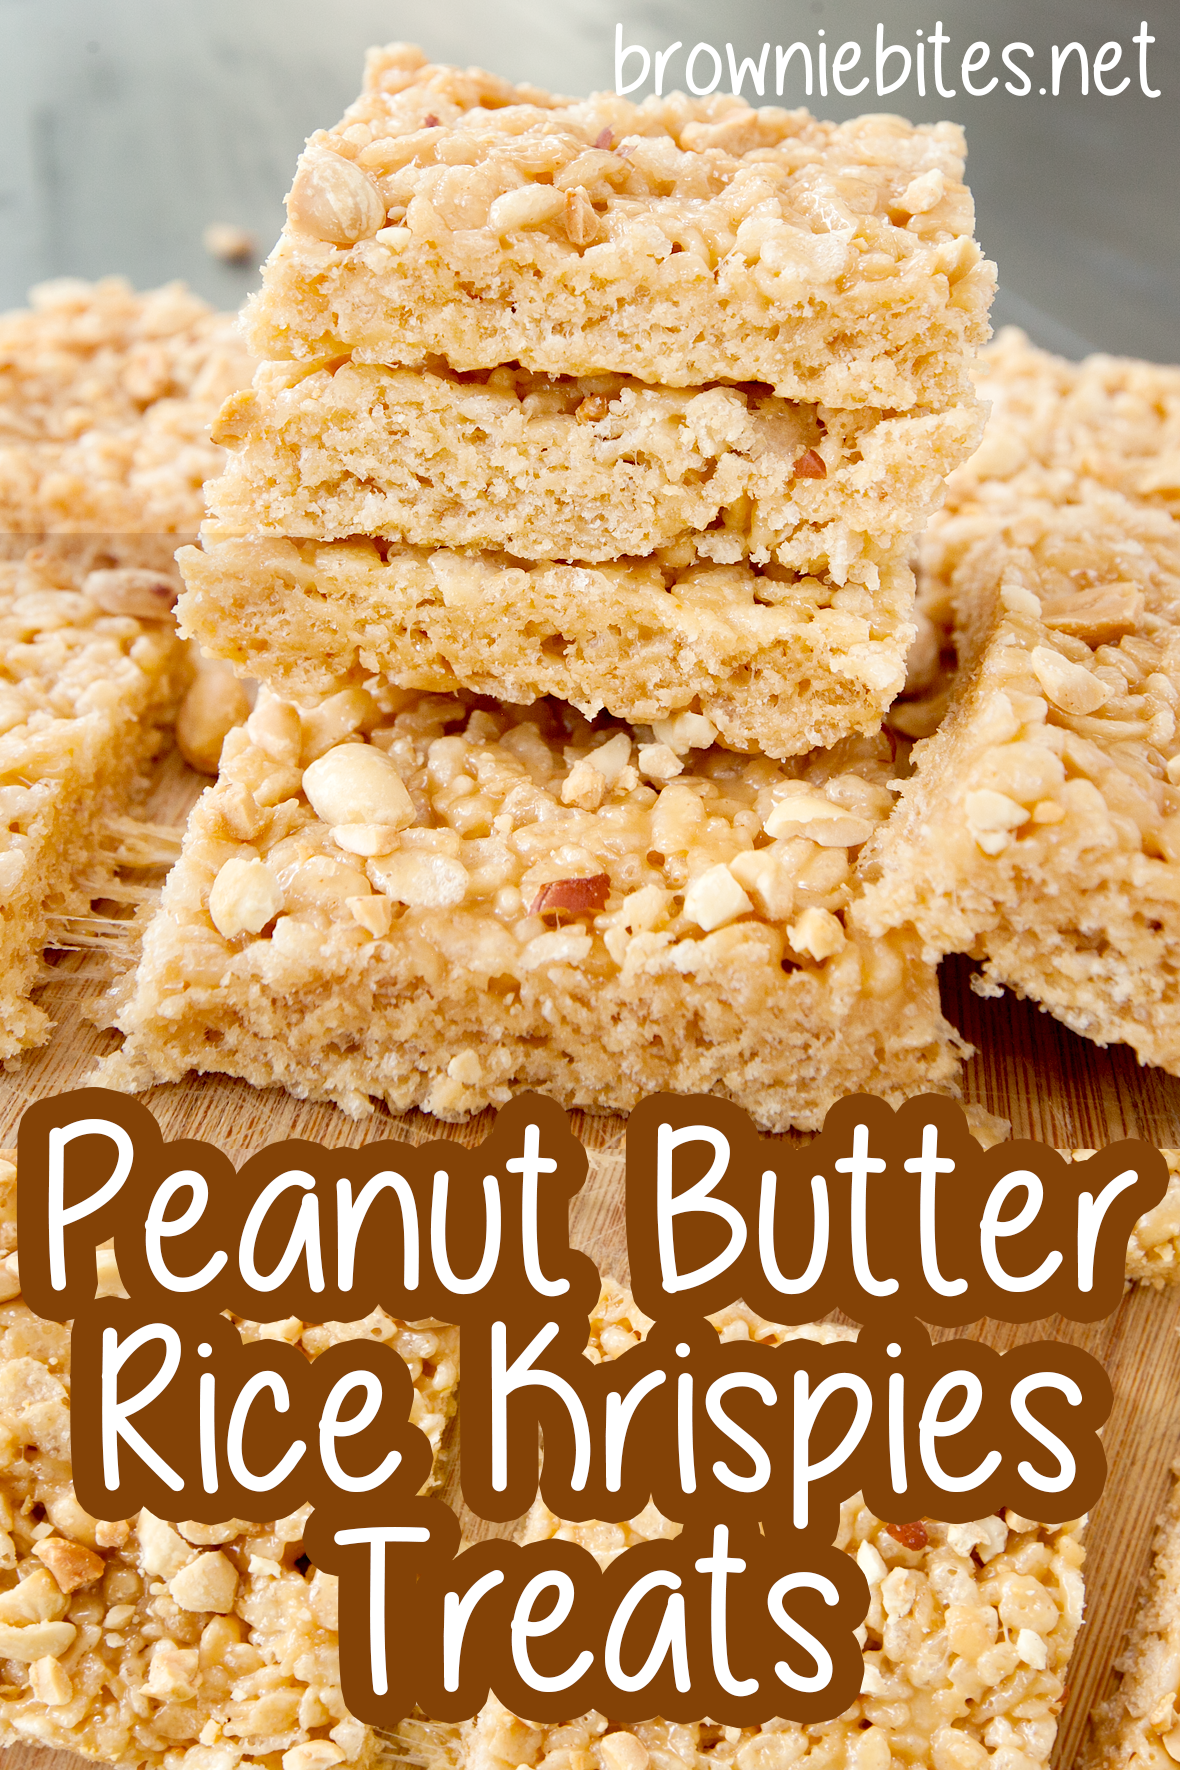
These peanut butter rice krispie bars are chewy, ooey gooey, and filled with robust peanut flavor.
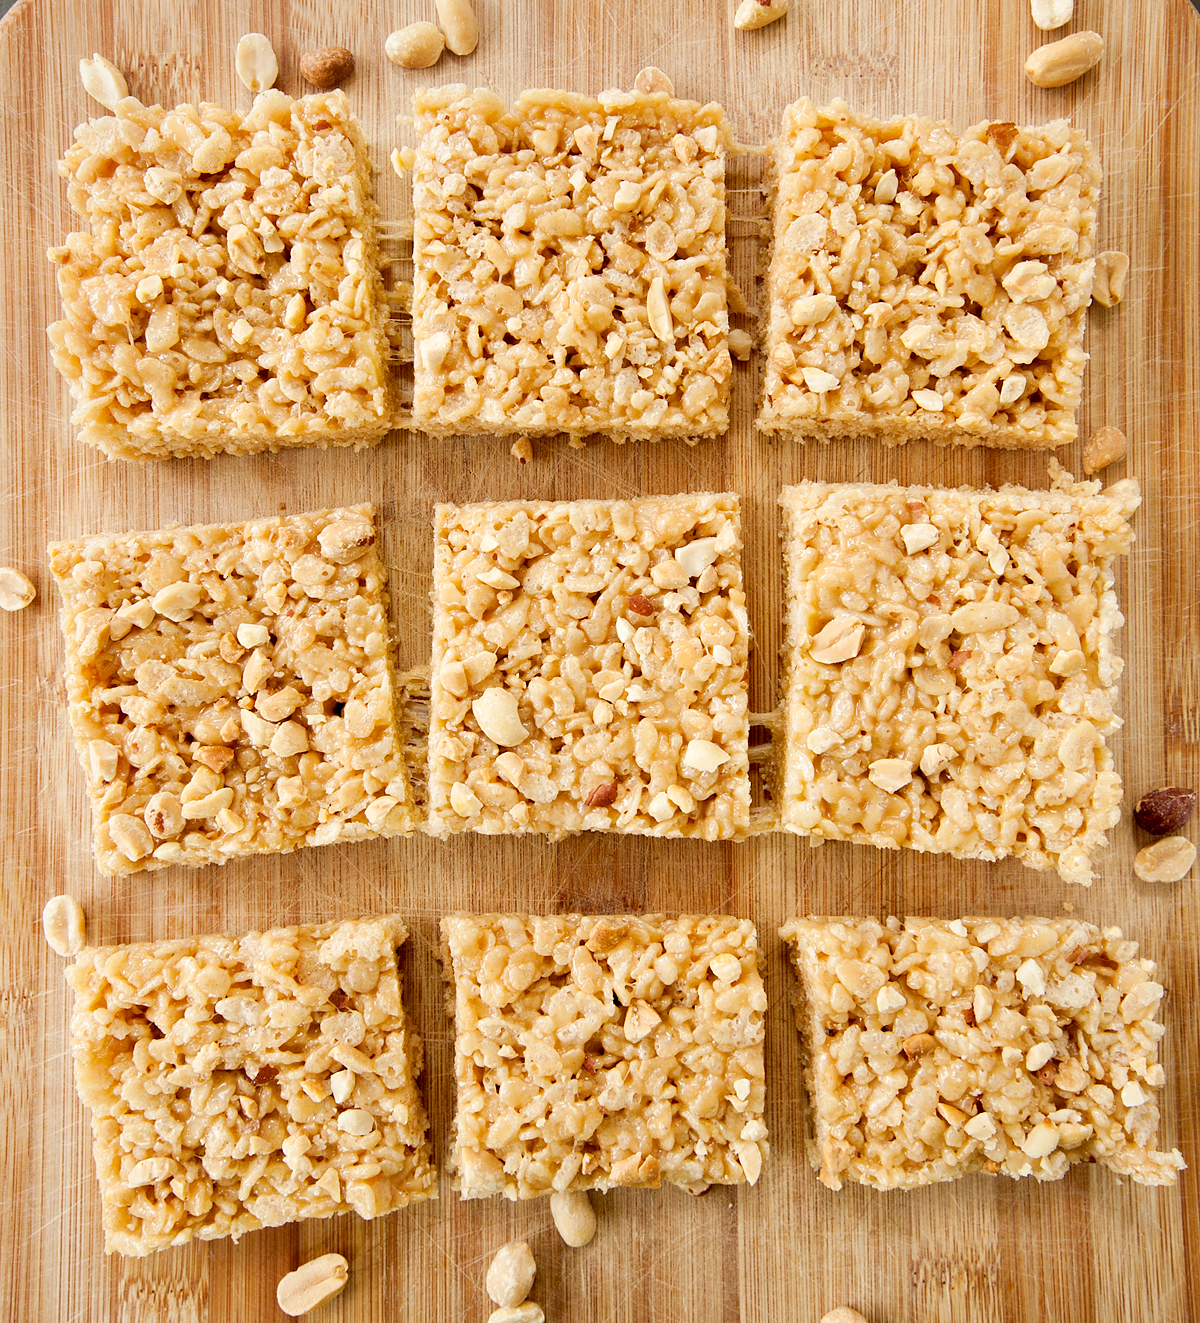
Rice Krispies treats are an easy, basic cookie bar base that's ripe for adding all kinds of flavorings, additions, and decorations to make so many different fun variations. These peanut butter Rice Krispie bars get a heaping helping of warm, melty peanut butter that adds some extra oomph to these sweet, well-loved treats.
Can I Only Use Peanut Butter?
Any kind of nut butter will work for this recipe. Here are some ideas:
- Almond butter
- Cashew butter
- Sun butter
- Hazelnut-chocolate spread (for an extra rich treat!)
You can use natural peanut butter to make these bars. I prefer the taste of unsweetened natural peanut butter since you get lots of great roasted peanut flavor without adding too much sweetness. A tip for working with natural peanut butter: purchase the "no stir" versions or make sure the oil is well-incorporated so it's not too runny.
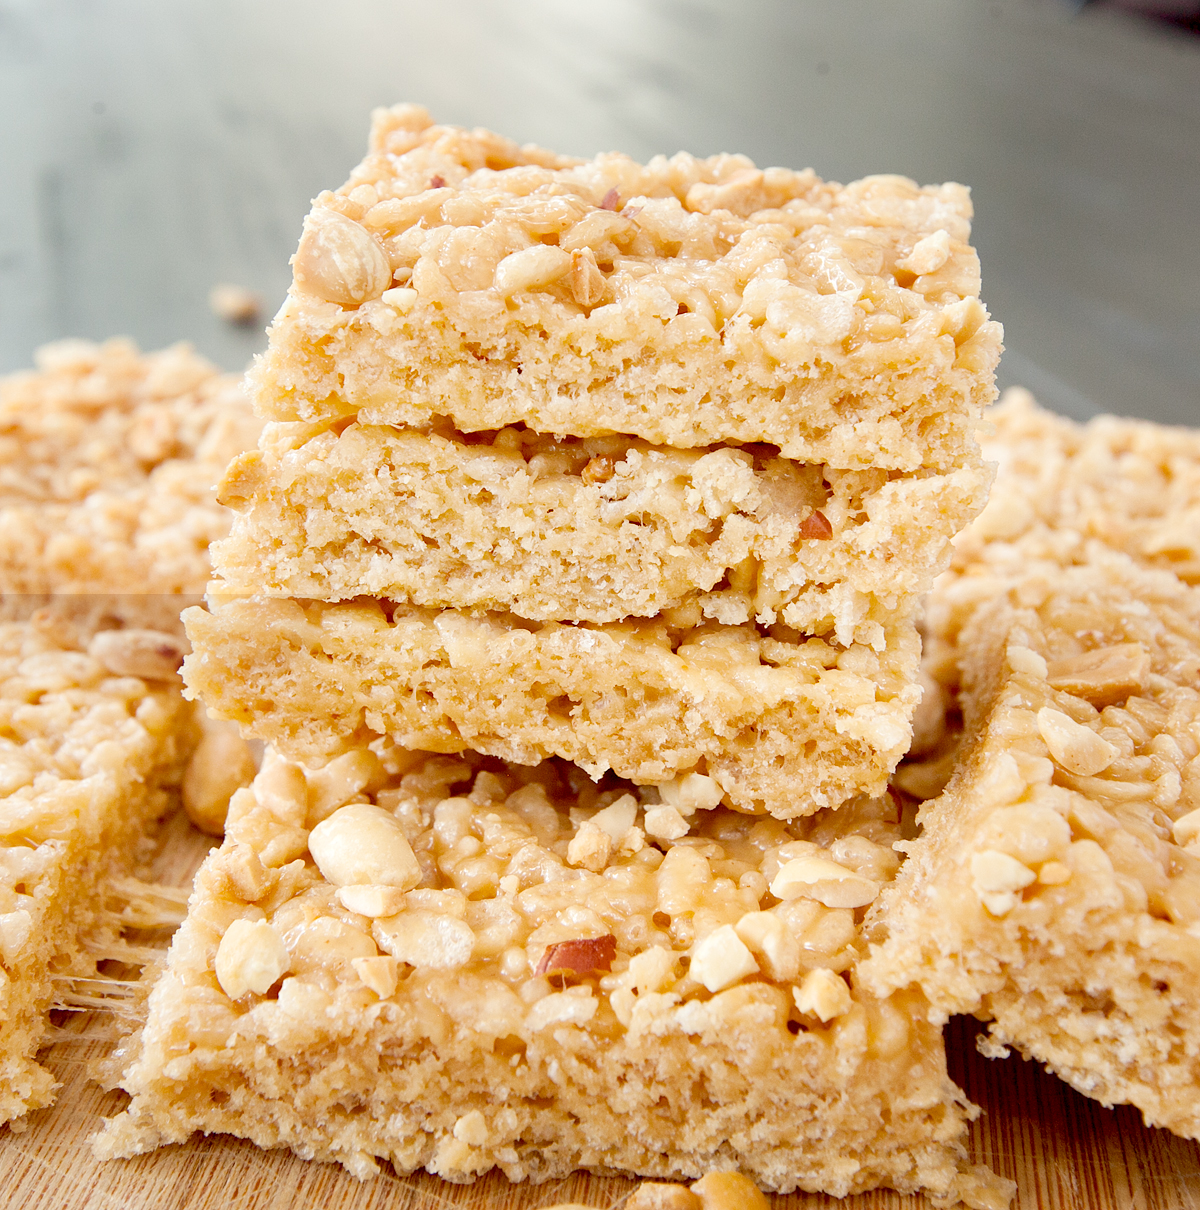
Can You Make Rice Krispies Treats In The Microwave?
Yes, you can! Here's how:
Instead of using your stovetop, place the butter, peanut butter, and marshmallows into a microwave-safe bowl. Microwave on high for 1 minute, stir, and repeat the process until the mixture is melted and smooth. This usually takes about 3 minutes total, but may take longer depending on your microwave. Make sure to stir well after each minute and be careful not to overheat.
Once the mixture is melted, add the vanilla extract, stir, then stir in the cereal and proceed with the rest of the recipe as usual.
Tips For Success:
- Add the cereal in 3 additions instead of dumping them all in at once. It'll be much easier to stir and get the cereal coated if you go a bit at a time.
- Use fresh marshmallows! Stale or dried out marshmallows don't melt well and will result in hard treats.
- Don't overcook. Overheating the marshmallows or butter will result in hard treats instead of the gooey treats that you're really after. Keep the heat low, or if using the microwave, check and stir often during the melting process.
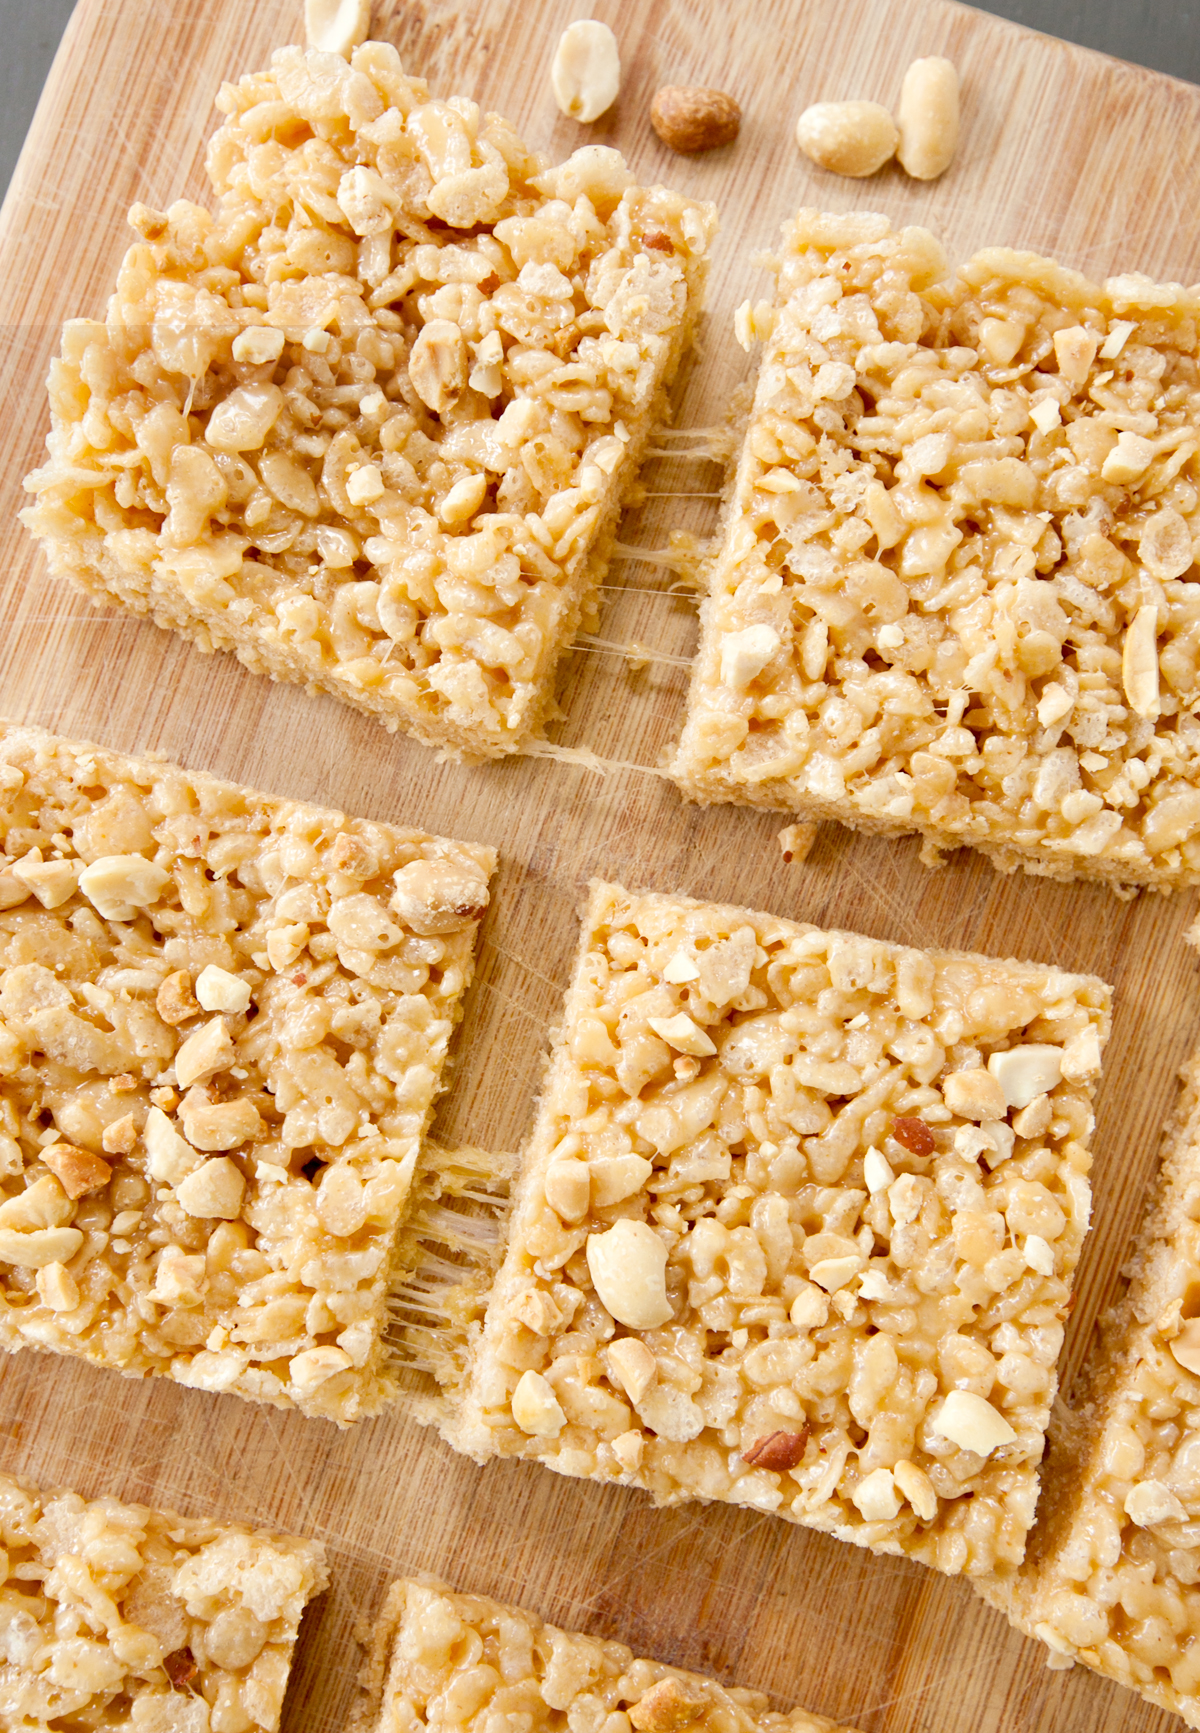
What Size Pan Is Best?
I made these peanut butter rice krispie bars in a quarter-sheet pan, or equivalent to a standard 9x13" cake pan. I find this size pan yields a treat that's not too thick or not too thin. Plus, they're very easy to cut at that thickness. For thicker treats, you can use a 9x9" square pan instead.

I like these straight edge pans the best! (buy here)
I hope you all enjoy this fun new twist on Rice Krispies treats! Let me know in the comments how they work out for you!
Peanut Butter Rice Krispie Bars
- Total Time: 10 mins
- Yield: 12 treats 1x
Description
Perfectly chewy yet soft peanut butter Rice Krispie bars add a robust roasted peanut flavor to a simple universally-loved treat.
Ingredients
- 4 TBS salted butter
- ½ cup smooth peanut butter
- 1 10-ounce bag mini marshmallows
- 5 cups crispy rice cereal (Rice Krispies or similar)
- 1 tsp pure vanilla extract
- Chopped peanuts for topping. optional
Instructions
- In a heavy-bottomed pan over low heat, melt the butter and peanut butter.
- Add the marshmallows and stir with a non-stick spatula until fully melted. Add the vanilla extract and mix until combined.
- Remove from heat and add the cereal in 3 additions, mixing with the non-stick spatula until cereal is fully coated.
- Lightly press into the prepared pan. Add chopped peanuts to the top, if using, and lightly press down to get them to adhere.
- Allow to chill for an hour or so and then slice into squares.
- Store leftovers at room temperature in an airtight container.
Notes
If using unsalted butter, add a small pinch of salt to the melted butter and peanut butter.
You can use natural peanut butter, just make sure it's the "no stir" variety or that it is well-stirred into the oils.
- Prep Time: 5 mins
- Cook Time: 5 mins
- Category: Dessert
- Method: Stovetop
Do you love this recipe and want to be able to find it later? Use the image below to pin to your Pinterest boards, or share with your friends on social media by using the buttons at the top and bottom of this post. Thank you for visiting my blog!


Say Something About This Post: