
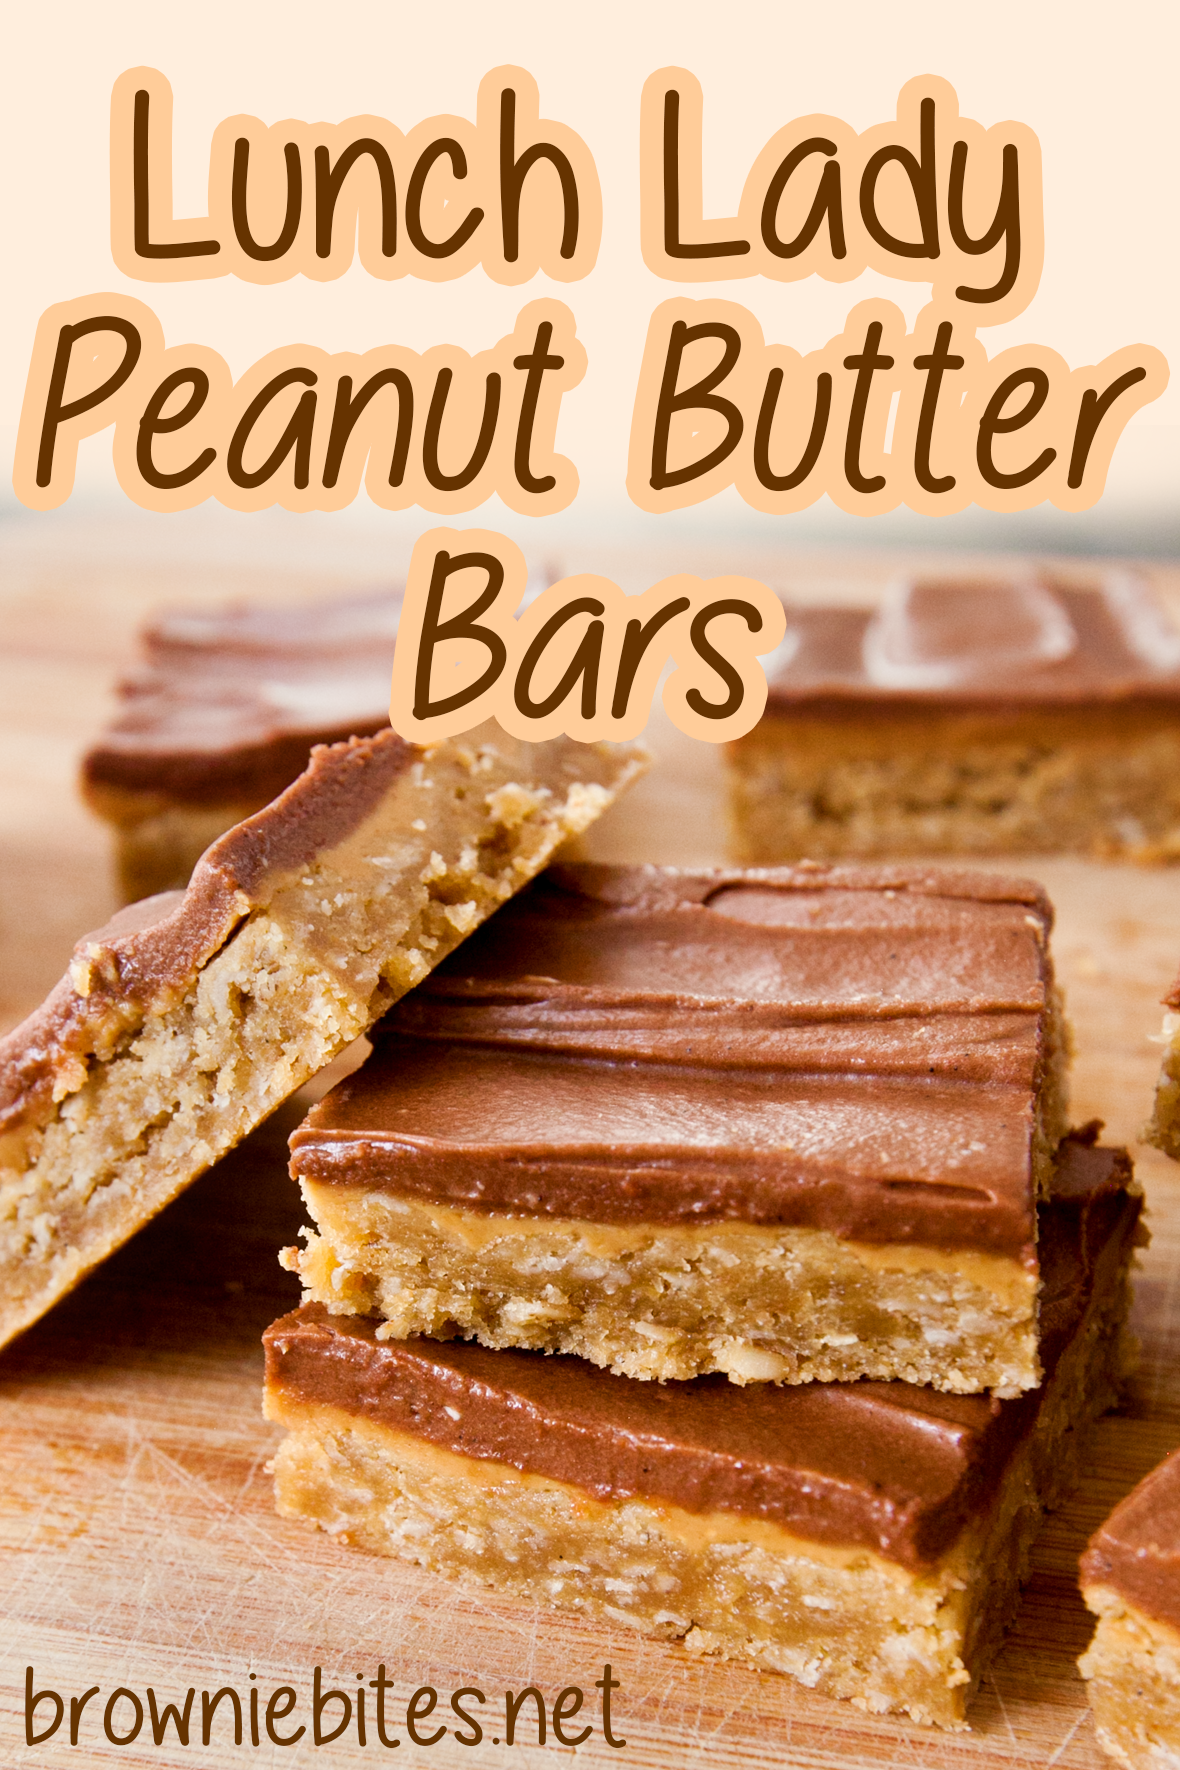
A nostalgic school cafeteria dessert! These lunch lady peanut butter bars are an easy, rich, and delicious dessert that's perfect for sharing with a friend or three.
Simple to prepare, way too easy to eat.
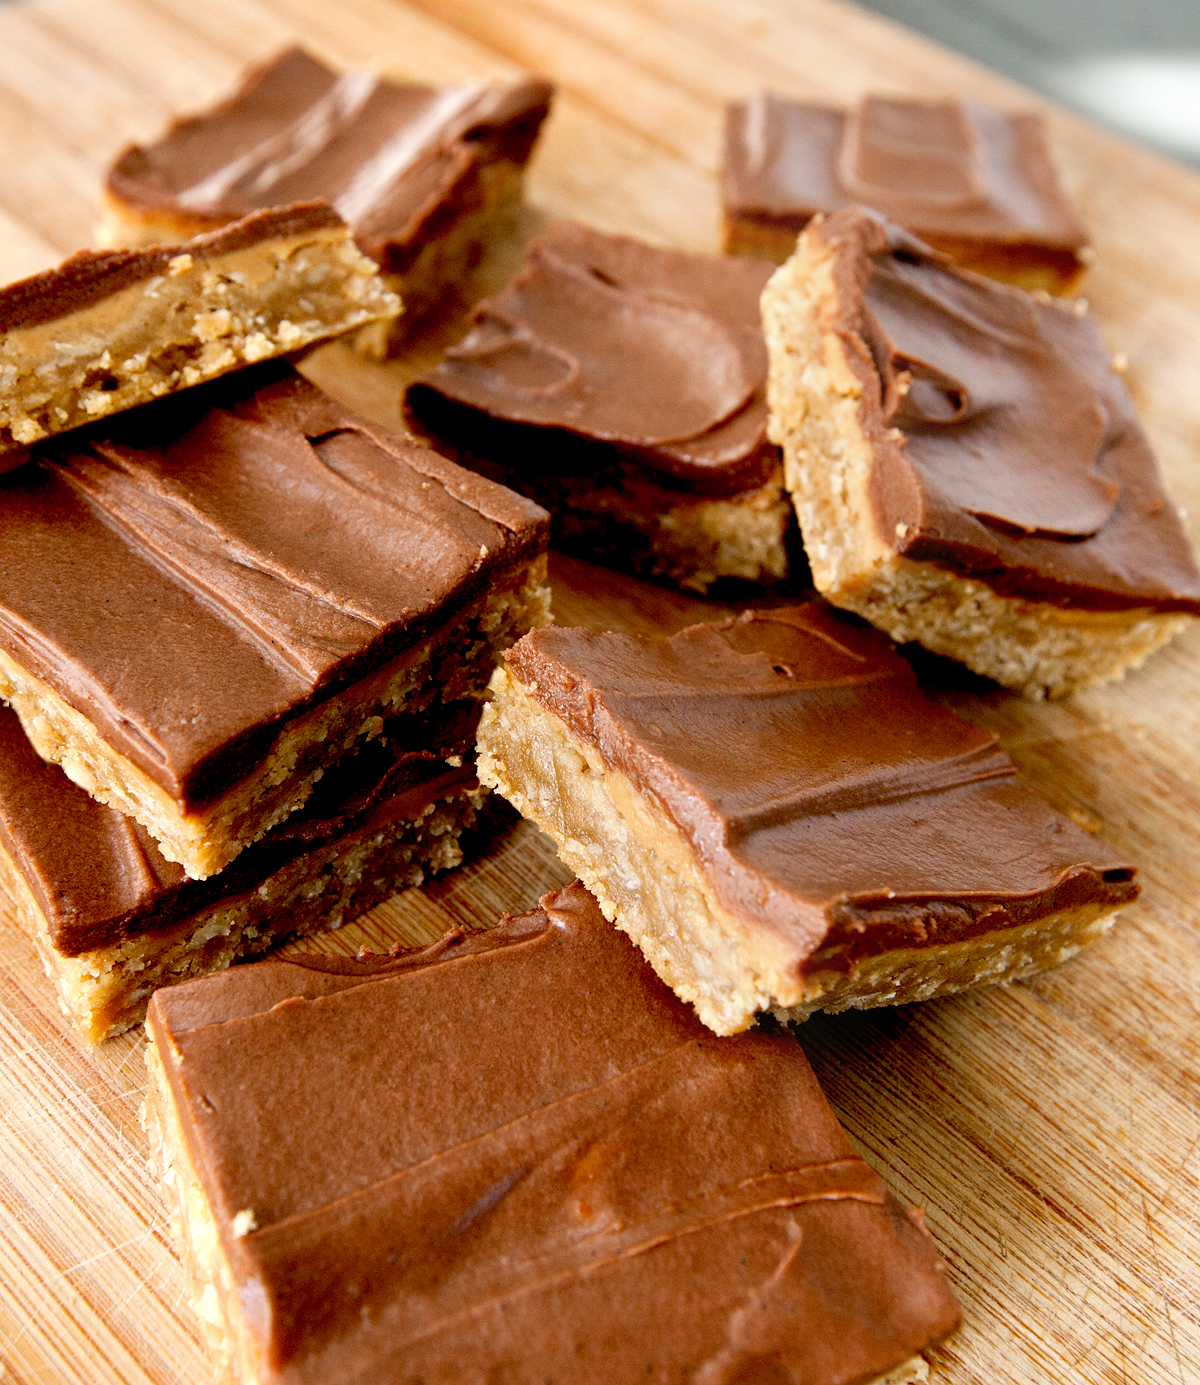
Were you lucky enough to have these treats served in your school cafeteria? If so, now you can make them in your own kitchen! These lunch lady peanut butter bars start with a layer of chewy peanut butter oatmeal cookies. Next, a thin layer of warmed peanut butter is spread on top. Finally, the bars get coated in creamy chocolate frosting. Need I say more?
Oh, and if these weren't a staple in your school lunchrooms (they weren't in mine!) then you're in for a real treat. Give 'em a try!

That oatmeal cookie layer is the kicker.
What Kind Of Peanut Butter Is Best?
Desserts featuring peanut butter as a main ingredient are rich, to say the least. One way to control just how rich a peanut butter treat is is to ensure that it does not get too sickly sweet. My favorite way to do this is to only use natural peanut butter with no added sugar. Doing that, you'll be adding lots of great roasted peanut flavor to the dessert without adding a ton of unnecessary sweetness. For best results, use no-stir varieties of natural peanut butter or at least make sure that you give it a good thorough stirring so that it's not too runny.
Can I Use Instant or Quick Cook Oats?
This recipe calls for old fashioned oats because they hold their texture well throughout the cooking process. If you only have instant or quick-cook oats on hand, however, you can use them as well. The instant cook oats will get softer in the cookie bar layer, but you'll still have a comparable flavor.

Bet you can't resist digging right in!
What Kind Of Pan Do I Need?
This recipe is sized for a quarter-sheet pan, or a 9x13 baking dish. You can also double the recipe for use in a half-sheet pan (18x13 inches). Doubling the recipe is a great choice when making these bars for a potluck or other large gathering.
This is a great quarter-sheet pan for bars like these
If you double the recipe, use half-sheet pan like this!
How Many Bars Does This Recipe Make?
Following the recipe as written, you can get 18-24 lunch lady peanut butter bars depending on how big you cut them. I think these bars are rather rich, so I find that a smaller square is just the right serving.
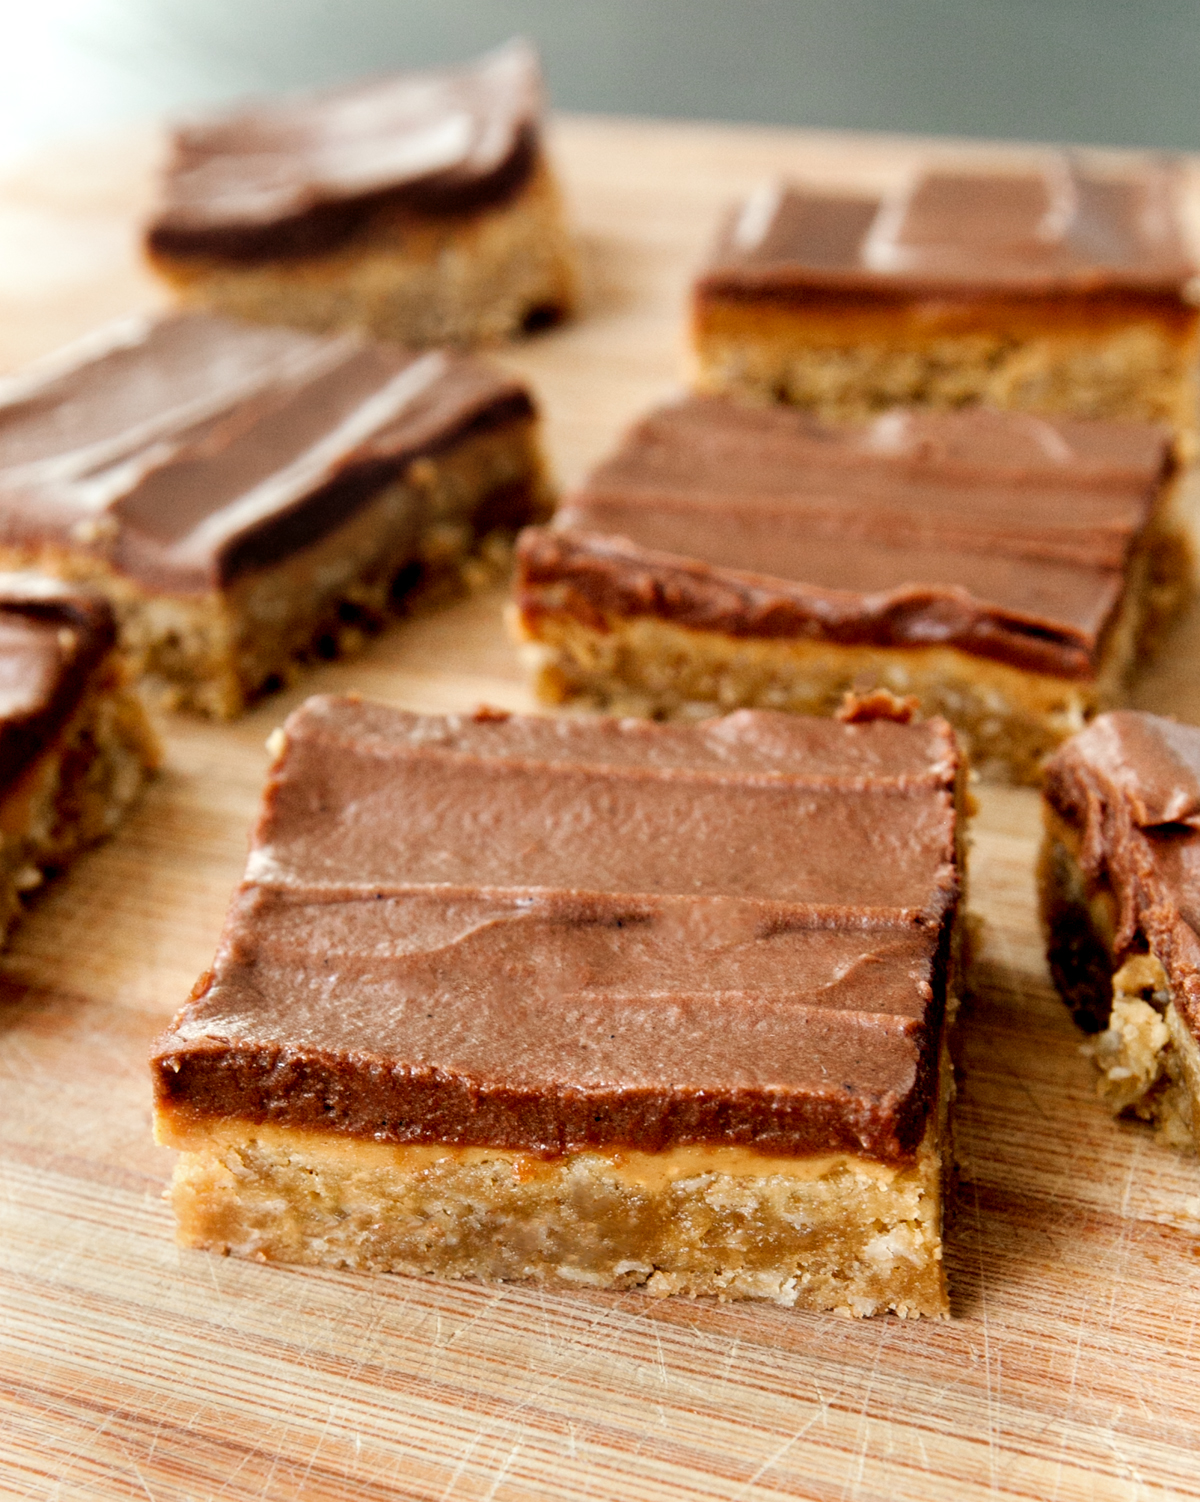
3 layers of yummy.
Can You Make These In Advance and Freeze Them?
Yes, you can. The key to freezing frosted baked goods is to make sure that no air gets to them while they are kept frozen. Because the chocolate frosting used on these bars will stay a little soft at room temperature, I recommend flash freezing to help keep the frosting from getting smushed in the freezer.
How To Freeze:
- With the bars still in the pan, cut into bars of desired size, but leave them in the pan.
- Place the entire pan into the freezer for one hour to set the frosting.
- Individually wrap the bars in plastic wrap and then place inside of freezer-safe gallon bags.
- Freeze for up to 6 months. To thaw, allow bars to come to room temperature on the counter.
I hope you all enjoy these tasty bars - leave me a comment if you have any questions or if you want to share your experience!
Print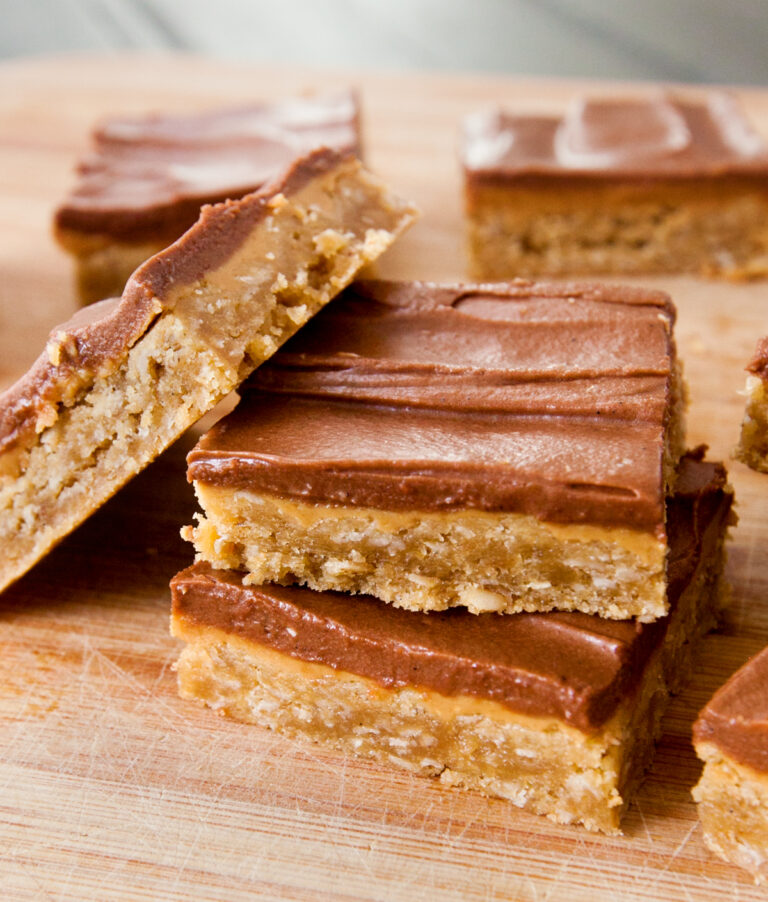
Lunch Lady Peanut Butter Bars
Layers of peanut butter oatmeal cookies, even more peanut butter, and chocolate frosting make these bars a rich, delicious treat.
- Total Time: 45 minutes + time for chocolate to set
- Yield: 18-24 bars, depending on size
Ingredients
Peanut Butter Oatmeal Cookie Layer:
- ½ cup (1 stick) unsalted butter, softened
- ½ cup white granulated sugar
- ½ cup light brown sugar, packed
- ½ tsp pure vanilla extract
- 1 large egg
- 1 ¼ cups creamy peanut butter, divided
- 1 cup old-fashioned oats
- 1 cup all-purpose flour
- ½ tsp baking soda
- ½ tsp salt
Chocolate Frosting
- ¼ cup (4 TBS) unsalted butter, softened
- 2 TBS milk, any kind
- 1 tsp vanilla extract
- 2 TBS cocoa powder
- 1 ½ cups powdered sugar, sifted to prevent lumps
Instructions
- Preheat oven to 350F. Lightly grease a 9x13 baking pan and set aside.
- Using a stand or hand mixer, cream the butter with white and brown sugars for 5-6 minutes.
- Add the vanilla, eggs, and ½ cup of the peanut butter. Mix until combined.
- Add the oats, flour, baking soda, and salt and mix just until combined - do not overmix.
- Spread dough into the prepared baking pan and press into an even layer.
- Bake for 15 minutes and remove from oven.
- While the cookies are still hot, drop the remaining ¾ cup of peanut butter over the top and let it sit for a few minutes to get soft and melty. Spread peanut butter into an even layer. Allow to cool.
- While the pan is cooling, make the chocolate frosting. Combine the butter, milk, vanilla extract, cocoa powder, and powdered sugar and mix until smooth and not lumpy.
- Spread chocolate frosting over the top of the bars and let it sit for an hour or two to set up (the frosting will always be a little soft).
- Use a hot knife (run the blade under hot water) to cut into squares. Store leftovers in an airtight container.
Notes
I recommend using natural peanut butter with no added sugars to keep the bars from becoming too sweet (use no-stir varieties or make sure you stir it well)
You can use quick or instant oats if you do not have old-fashioned, but they will be softer in the cookie layer.
You can double this recipe for use in a half sheet pan.
- Prep Time: 10 mins
- Cook Time: 15 mins + cooling
- Category: Dessert
- Method: Oven
Do you love this recipe and want to be able to find it later? Use the image below to pin to your Pinterest boards, or share with your friends on social media by using the buttons at the top and bottom of this post. Thank you for visiting my blog!
Nickey Poulson
Perfect every time! ?
Raemie Norrish
Great recipe and my family loved it.
Monica
I haven't ate them yet, but what do you do if they are to soft in the middle. After 15min I took them out, the middle is to soft to put peanut butter on yet. I'm putting it back in for a couple more min. I will let you know.
Rylie
Your recipe instructions do not include when to add the flour!
Erin
Thank you so much for pointing that out! You will add the flour with the other dry ingredients in step 4. I will fix the typo!