This beautiful tiger butter fudge homemade candy looks way more difficult than it is! Just 3 ingredients and a few minutes of melting and you have a rich, tasty treat that will look beautiful on your candy trays.

Why Is This Called Tiger Butter?
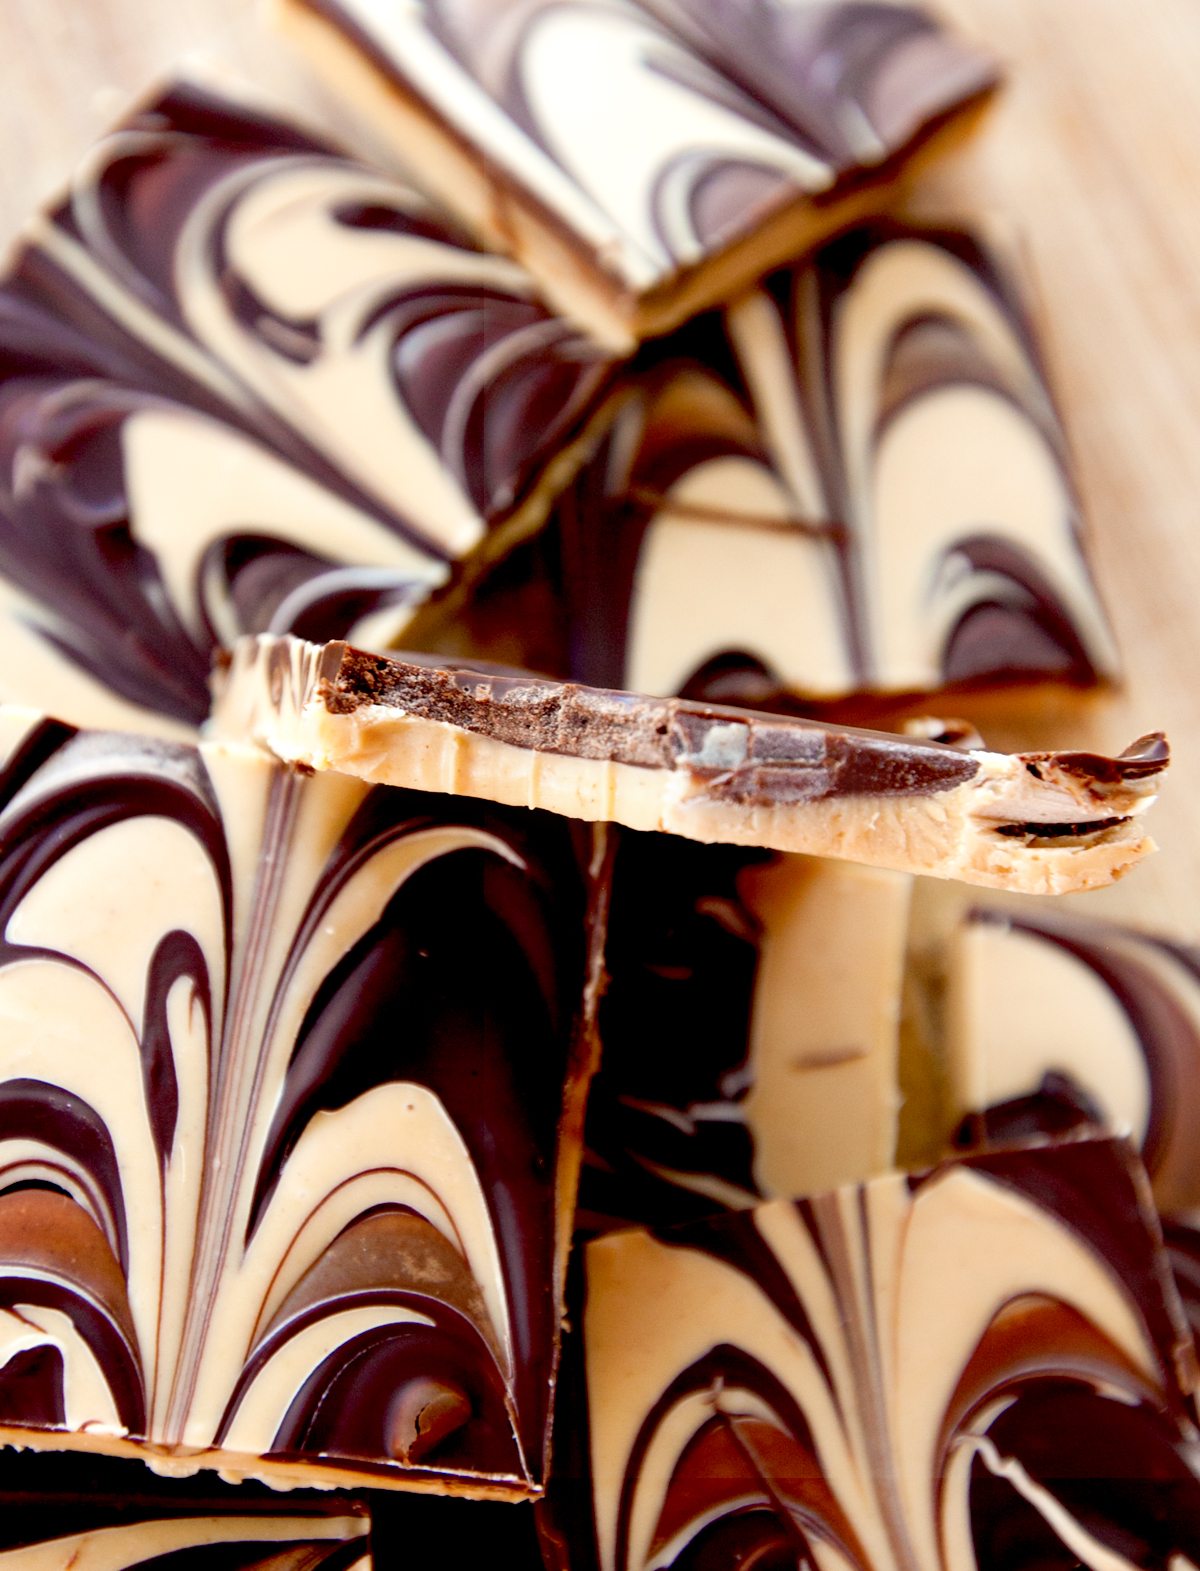
The name tiger butter fudge comes from the fact that the finished treat resembles the cream and dark stripes of a tiger. You'll often see this treat called a bark or a fudge, even though the recipe is the same. Or you can just call it "tiger butter" and be done with it!
Only 3 Ingredients
You only need 3 basic ingredients to create this recipe:
- White Chocolate or Vanilla Chips - use 2 cups, or one 12-ounce bag.
- Semi-Sweet Chocolate Chips - 1 cup is all you need. If this dessert seems a bit rich for you, you can use dark chocolate instead.
- Peanut Butter - ¾ cup of creamy peanut butter will do you fine. Again, if this dessert is too rich for you, try using a natural peanut butter with no added sugars to bring down the sweetness level.

How To Make It
Full instructions are available in the recipe below, but making tiger butter fudge takes nearly zero effort.
First, melt the white chocolate chips using a double boiler or microwave.
Then, stir the peanut butter into the melted chocolate and stir to combine.
Next, you'll spread the white chocolate peanut butter mixture into a pan lined with aluminum foil.
Then, you'll melt the semi-sweet chocolate chips and drizzle it in lines across the white chocolate peanut butter in the pan.
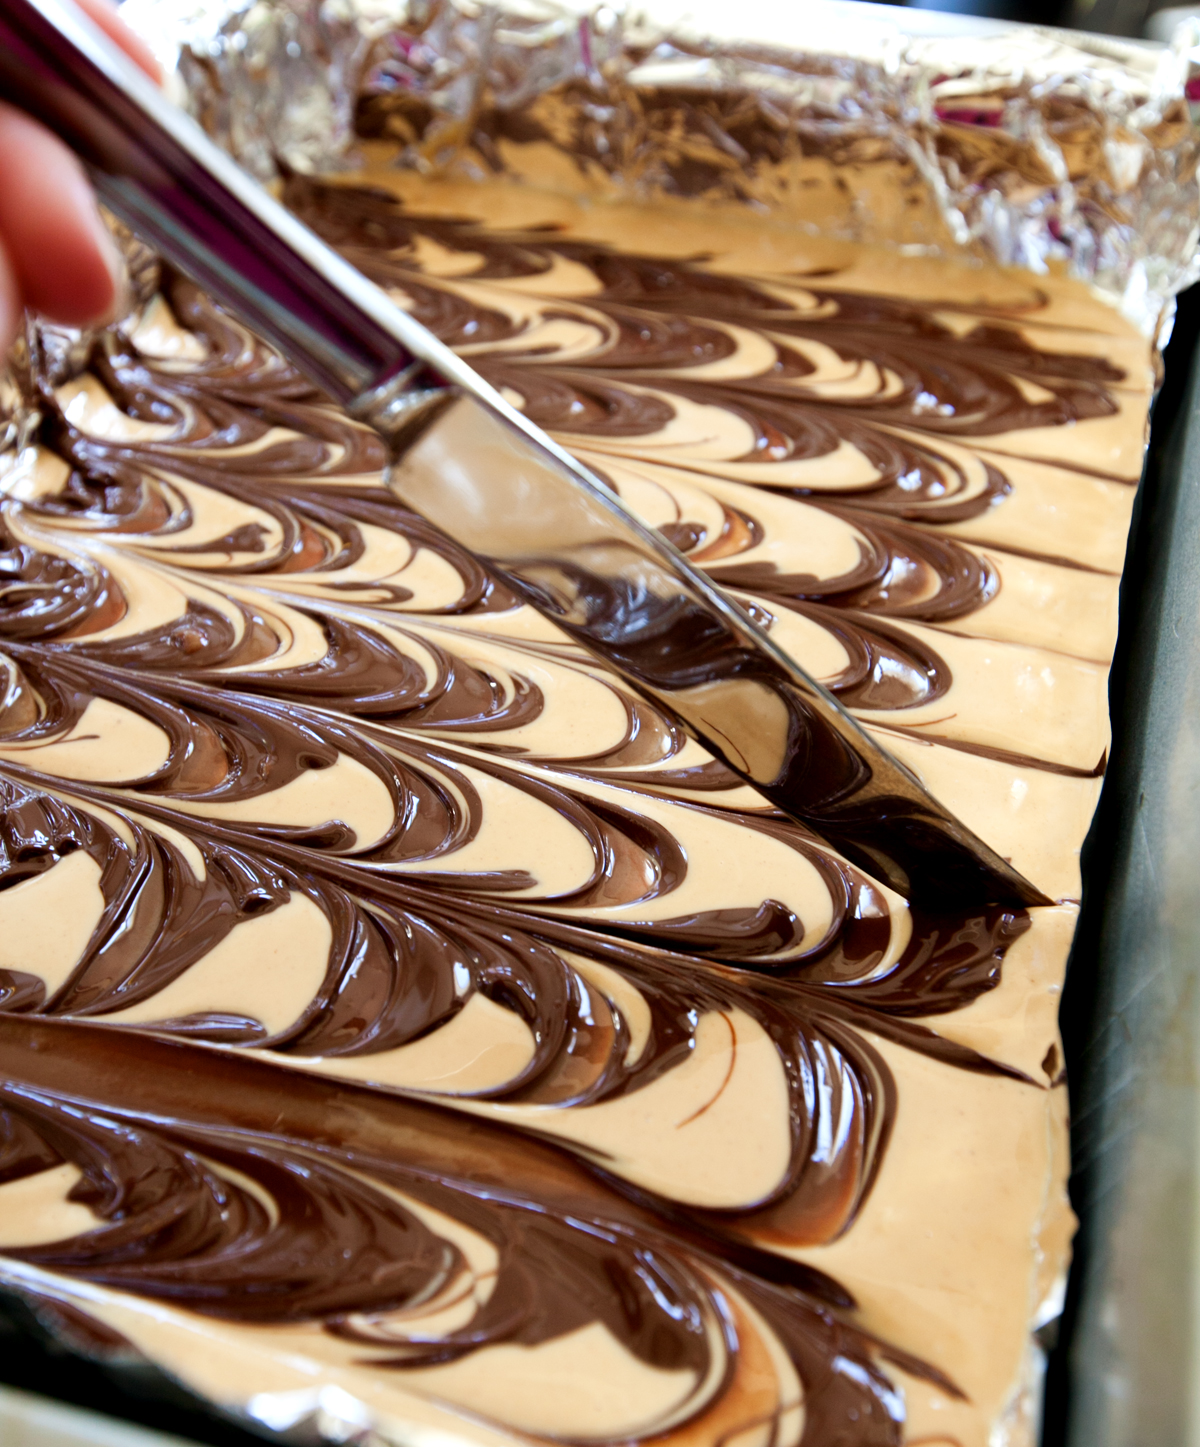
Finally, you use the sharp edge of a butter knife to pull lines through the mixture in the opposite direction of the semi-sweet chocolate stripes, creating the marbles (see photo above). Let it set up, break or cut, and serve.
That's it!

Can I Make This In A Smaller Pan?
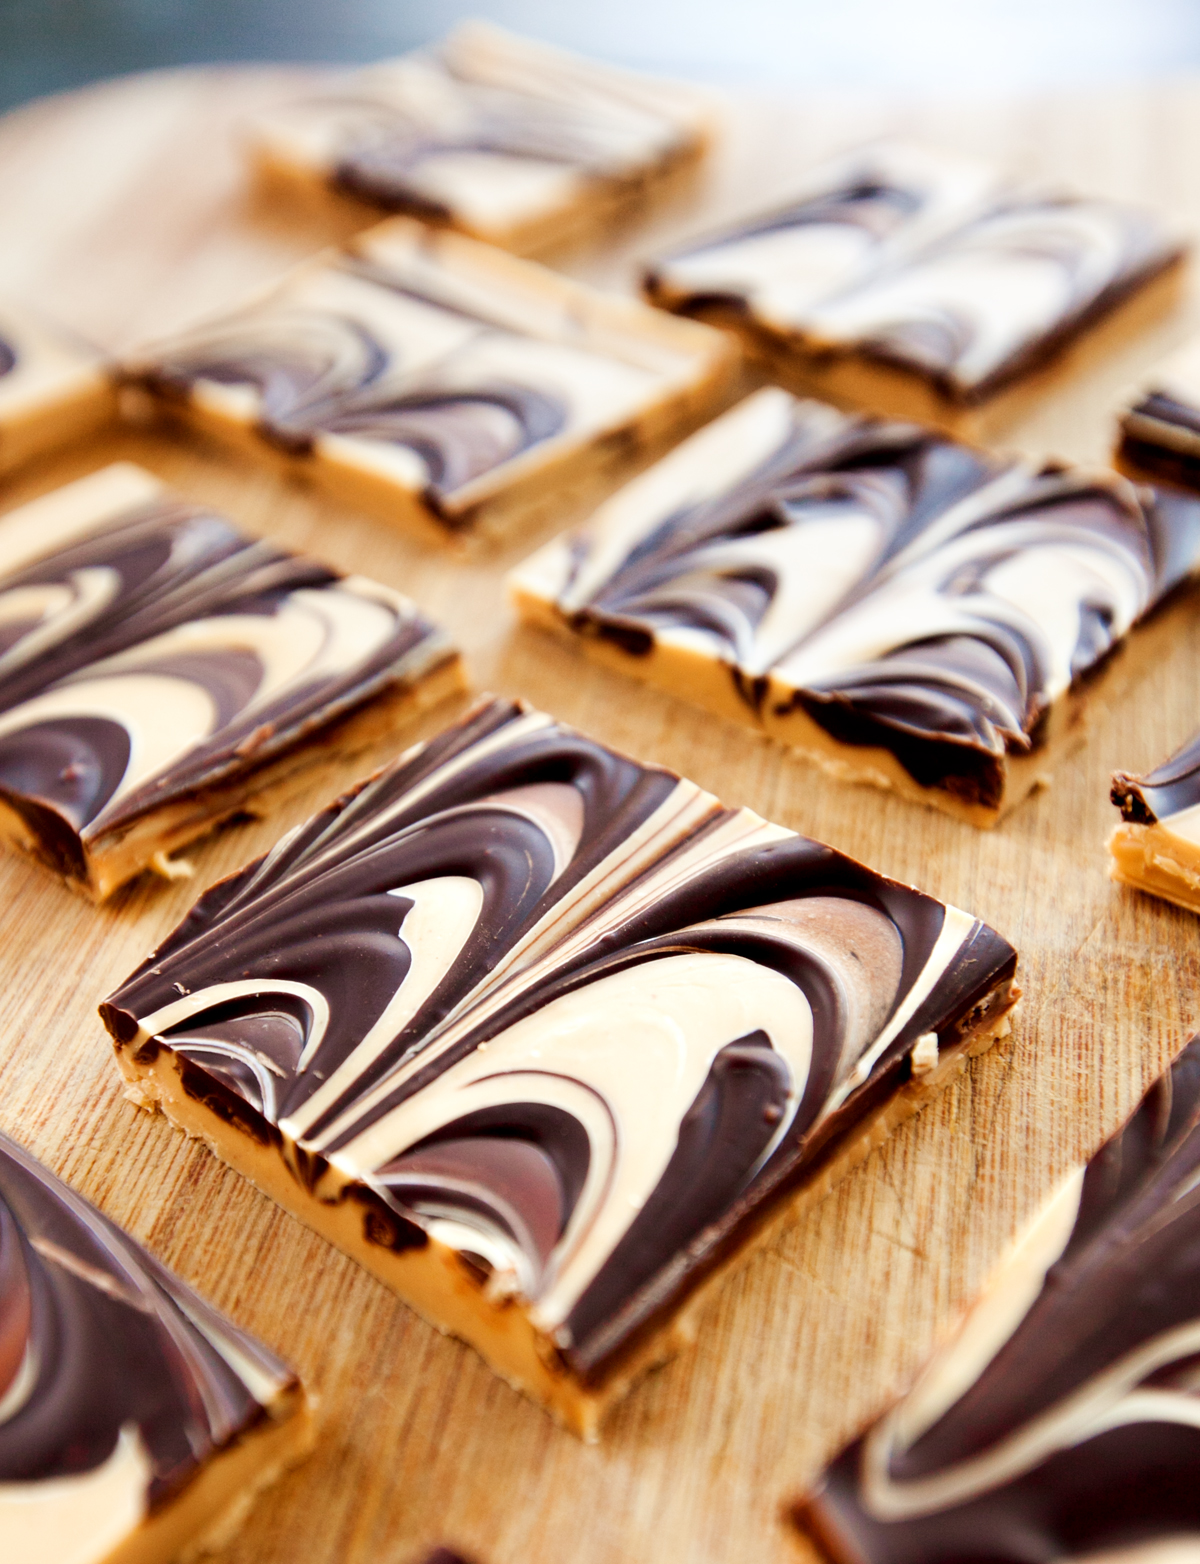
Yes. I used a 9x13 pan to make thinner tiger butter fudge - it's actually more like a bark at this thickness. I wanted to be able to cut the squares a little larger to show the pretty marbling, but because this treat is quite rich, I thought large thick squares would be way too overpowering.
You can choose to use a 9x9 square pan instead, but I recommend cutting smaller squares.
Can I Make This In Advance?
Yes, you can! This is a great recipe to make ahead of time, especially when prepping for a party or for the holidays. Just keep the finished tiger butter in the refrigerator or in the freezer, and make sure to keep the air away from it to avoid it picking up other "fridge smells" or growing freezer burn.

Variations
- Nut Butter - try different nut butters such as almond or cashew butter. Flavored peanut butters would work, too!
- Almond Bark - some folks swear by using almond bark instead of white chocolate chips to help the tiger butter fudge stay harder at room temperature.
- Extracts - try adding a few drops of an oil-based extract to try different flavors (think peppermint extract in the chocolate)
- Sprinkles - add some festive sprinkles to the chocolate while it's still liquid to add some extra fun.
Ideal For A Last Minute Treat!
It's so fast and easy to create a batch of tiger butter fudge, making it a good choice for when you have some little sugar monsters begging for treats and you need to deliver stat! Place the baking pan into the fridge or even the freezer to help it set up even faster.
Print
Tiger Butter Fudge
- Total Time: 15 mins
- Yield: 1 9x13 pan. 1x
Description
Gorgeous marbles of chocolate and peanut butter make up this rich dessert. It only takes a few minutes to make and looks like you put way more effort in it than you did!
Ingredients
- 1 12-ounce bag of white chocolate or vanilla chips
- ¾ cup creamy, natural peanut butter
- 1 cup semi-sweet or dark chocolate chips
Instructions
- Line a 9x13 cake pan or rimmed baking sheet with aluminum foil, making sure the foil comes up the sides an inch or two. Set aside.
- Fill the bottom pan of a double boiler with 2 inches of water and bring to a good simmer. Place the top bowl onto the top and fill with the white chocolate or vanilla chips.
- Stir frequently until melted - I find using a nonstick spatula to scrape the sides works well.
- Add the peanut butter and stir until smooth. Add the mixture to the prepared pan and give it a few whacks on the counter to spread it out evenly.
- IMPORTANT NOTE: When you lift up the top of the double boiler, there will be condensation on the bottom of the bowl. Dry this with a dish towel before attempting to pour the mixture into the pan. Any water droplets that touch the chocolate will cause it to seize up.
- Add the semi-sweet chocolate chips to the double boiler (it's okay if there's a few little streaks of the white chocolate and peanut butter still in the bowl). Stir frequently until melted.
- Drizzle stripes of the melted semi-sweet chocolate onto the white chocolate and peanut butter in the pan. Insert the sharp edge of a butter knife to pull the stripes into the opposite direction from one side of the pan to the other, creating the marbled pattern.
- Allow to fully set up either on the counter or in the fridge. Once set, break apart into bark-like pieces or use a hot, sharp knife (run it under hot water) to cut into squares.
- Keep tiger butter in the fridge to keep the chocolate snappy, or it can be stored at room temp.
Notes
Recommended Equipment
Microwave: You can use the microwave to melt the chocolate instead of a double boiler - melt at 50% power in 25 second increments, stirring well after each one until melted. Proceed with other steps as written.
Make sure to read the post for more tips and tricks!
- Prep Time: 5 mins
- Cook Time: 10 mins
- Category: Dessert
- Method: Stovetop
Not making this just yet? Make sure you can find it easily later! Use the image below to Pin to your Pinterest boards! Also, you can share with your friends on social media by using the buttons at the top and bottom of this post. Thank you for visiting!


Say Something About This Post: