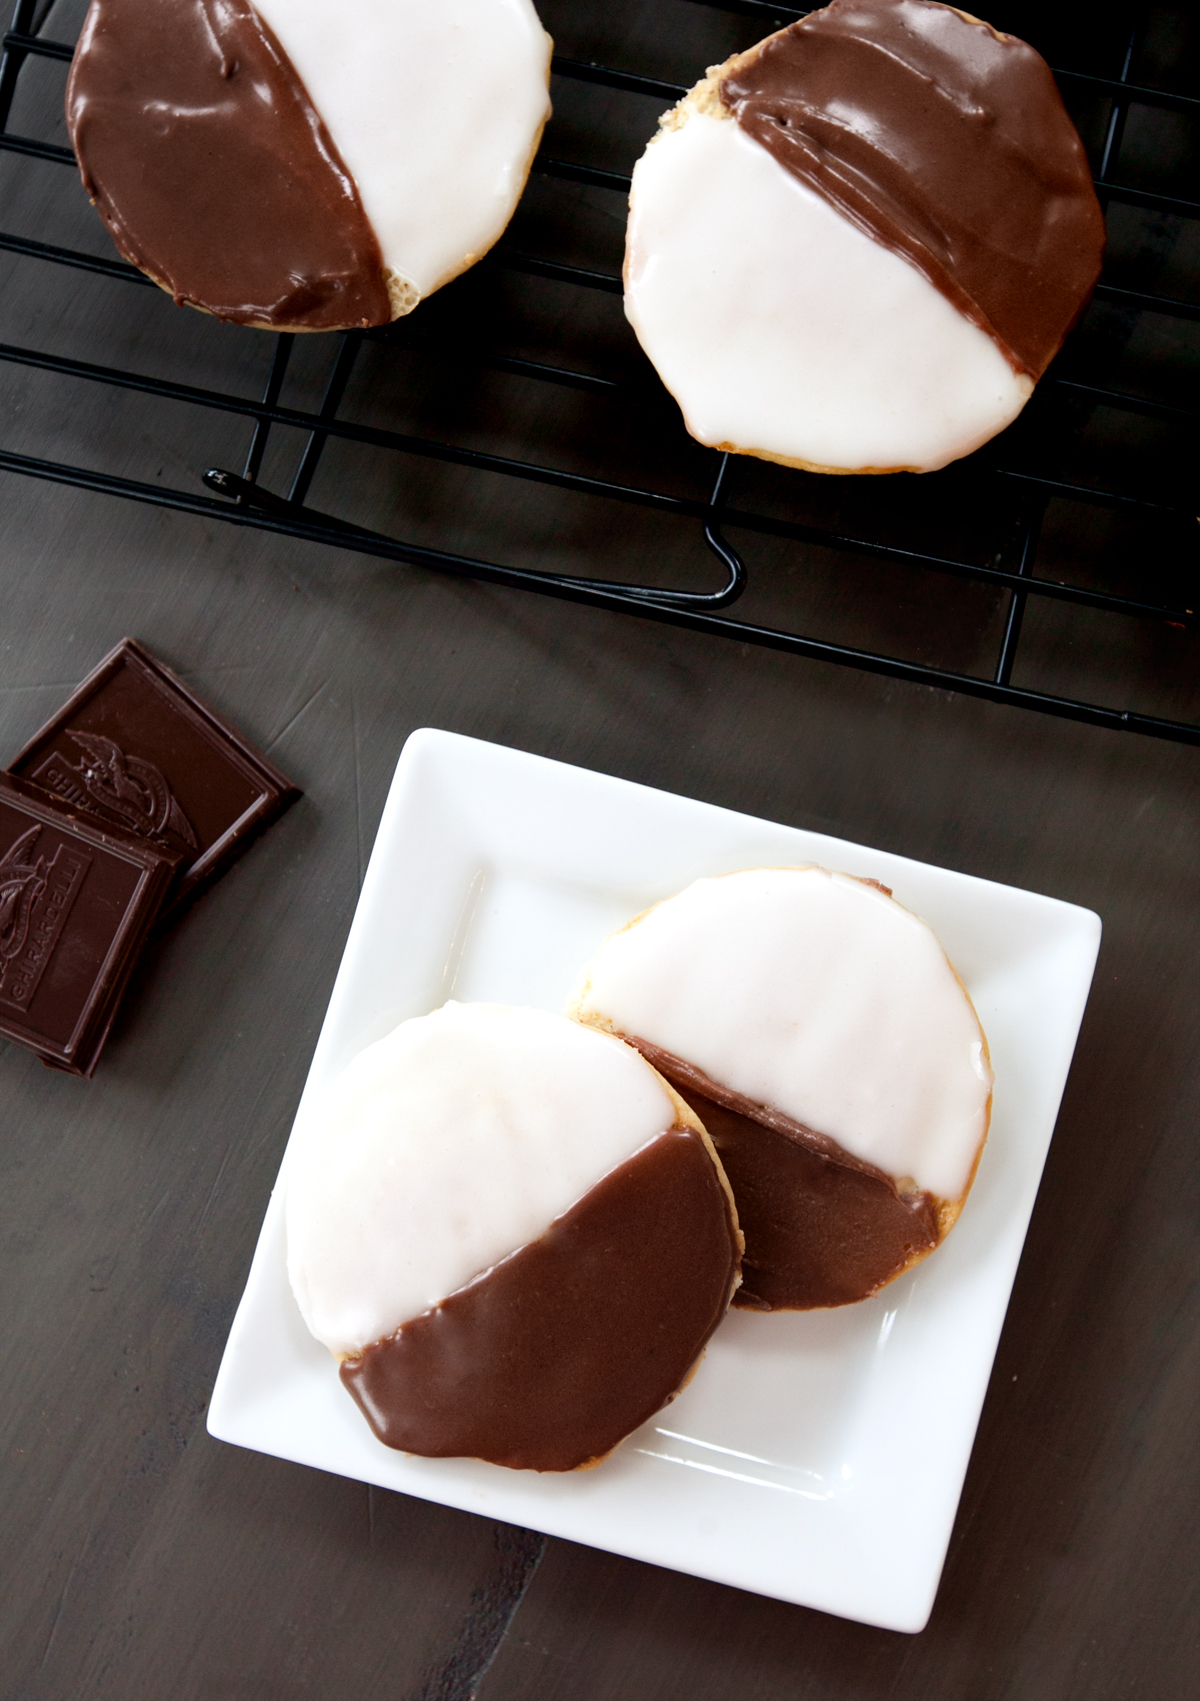
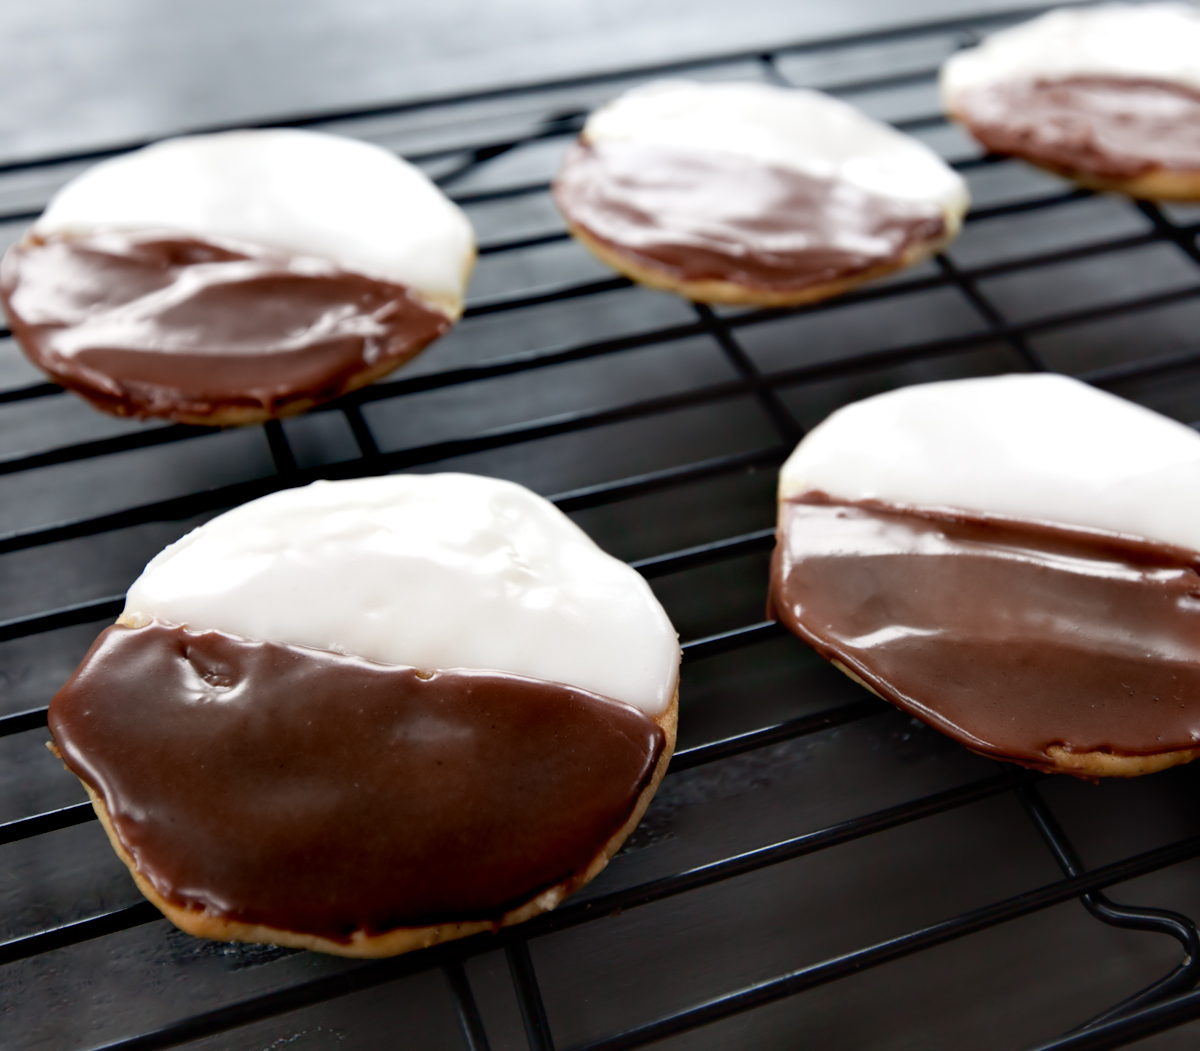
This classic half moon cookie recipe is comprised of a thick, cake-like vanilla cookie topped with chocolate and vanilla icing split right down the middle. Also known as black and white cookies, these classic New York City treats will delight any dessert lover.

What is the History Half Moon Cookies?
These striking bi-color confections are frequently traced back to New York City's Glaser's Bake Shop, founded in 1902 in Manhattan by Bavarian immigrants. As with the evolution of most things, the absolute true origin of the half moon cookie recipe varies from story to story, but there's a widely held belief that bakers were trying to capitalize on the late 19th century trend of mixing dark and light colors in baked goods, such as putting chocolate frosting on a white or vanilla cake. It didn't take long for this trend to skip from cake to cookies, and thus, the half moon cookie (also commonly known as black and white) was born.

What Do They Taste Like?
Technically, a half moon cookie recipe produces a confection closer to a small cake than a cookie. The batter looks more like cupcake batter than a cookie dough with just enough structure to keep it from falling apart when its scooped onto the baking sheet. The puffy, cake-like vanilla cookie - often flavored with a bit of lemon - is topped with half vanilla and half chocolate frosting split right down the middle.
If you went to New York right now and started sampling black and white cookies, you'd find that each bakery makes their cookies just a lil' bit different than the next. Leske's Bakery serves a black and white cookie topped with a fluffy frosting that looks like it'd be right at home on top of a cake. Russ & Daughters takes a more classic approach with a thinner, pourable fondant and a hint of lemon in the cookie. William Greenberg Desserts is known for their massive black and whites, also with a thick and cake-y base and thin fondant frosting.
One constant that I noted across the many bakeries and recipes that I researched while creating this post: the icing is spread onto the bottom - the flat side - of the cookie. This technique seems to have originated with the half moon cookie recipe, as you typically see cookies frosted right side up.

The soft cake-y cookie settled a bit when I set up the photo above, but I promise the frosting was placed on the bottom, flat side of the cookie.
What Do I Need To Make Them?
The ingredients for the cookie base is pretty standard (scroll to recipe card for the full list) and includes basic items that you likely already have knocking around in your kitchen right now. I chose to use a buttermilk-based batter and took the lead from many of the New York bakeries with the addition of lemon zest. A bit of citrus just adds a bit of something special to what is otherwise a simple vanilla cookie.
For the icing, I chose to use the thinner version - a pourable fondant made with:
- Powdered sugar
- Light corn syrup
- Hot water
- Vanilla Extract
- Lemon juice (for the white side)
- Melted bittersweet or very dark chocolate (for the black side)
The icing will set up firm at room temperature, but it won't be hard or crunchy. It'll be just dry enough to be able to hold the cookie without being too mess, but will still be soft to bite into.
What If The Chocolate Isn't Dark Enough?
As you can see from my photos, the chocolate side of my cookies is pretty dark, but not 100% black. If you want to have stark, black frosting, go ahead and add a few drops of an oil-based (not water-based) black food coloring to the chocolate frosting. Just be aware that black food coloring can taste quite bitter and may alter the flavor of your chocolate frosting.

Are They Freezer Friendly?
You can freeze this half moon cookie recipe easily. First, let the icing on the frosting fully set up and harden. Place the cookies side-by-side on a baking sheet and place them into the freezer for an hour. Finally, transfer the cookies to a freezer-safe Ziploc-style bag and place back into the freezer.
To thaw, take the cookies out of the freezer and allow them to come to room temperature on the counter - this will not take very long. For best flavor and texture, I recommend consuming the cookies within 2 months, though they will remain safe to eat after being frozen much longer than that if constantly kept at 0 degrees F.
Print
Half Moon Cookie Recipe
- Total Time: 0 hours
- Yield: 16 large cookies OR 3 dozen small cookies 1x
Description
A New York City Classic! These cake-like vanilla cookies have just a hint of lemon flavor and are covered in vanilla and chocolate icing split right down the middle.
Ingredients
For the Cookies:
- 14 TBS unsalted butter, room temperature
- 1 cup white sugar
- 2 large eggs + 1 large egg yolk
- 1 TBS pure vanilla extract or vanilla bean paste
- 3 cups all purpose flour
- ½ tsp baking powder
- ½ tsp baking soda
- ½ tsp salt
- Zest from one lemon (about 1 TBS)
- ¾ cup buttermilk
For the Icing:
- 3 ¾ cups powdered sugar
- 2 TBS light corn syrup
- 2 tsp clear vanilla extract
- 4-6 TBS hot water
- ½ tsp fresh lemon juice
- 2 ounces bittersweet or very dark chocolate, chopped
Instructions
- With a hand or stand mixer, cream the room temperature butter with the sugar until pale and fluffy, about 4 minutes.
- Scrape the sides of the bowl and add the eggs and egg yolk one at a time, mixing well after each addition. Stir in vanilla extract.
- In a separate bowl, stir together flour, baking powder, baking soda, salt, and lemon zest.
- Add the dry ingredients and the buttermilk in 3 additions, alternating each one and keeping the mixer on low speed. Stop when just a few flour streaks remain.
- Use a nonstick spatula to scrape the sides and bottom of the bowl, folding the mixture gently until remaining flour has been combined.
- Chill dough for 1-3 hours.
- Preheat oven to 350F and position rack in the center of oven. Prepare 2 or 3 large baking sheets with parchment paper. Do not grease.
- For huge cookies: Use a ¼ cup ice cream scoop and place level scoops of dough onto a prepared baking sheet, leaving ample space (at least 3 inches) between each one. You'll probably only be able to get 4 or 6 cookies per sheet. Bake for 8-10 minutes or until the cookies spring back when you gently press on the top.
- For Regular Cookies: Use a medium cookie scoop (1.5 TBS capacity) to place level scoops of dough on baking sheet, leaving at least 2 inches between each one. Bake for 8-10 minutes or until the cookies spring back when you gently press on the top.
- Let the cookies cool for a few minutes on the sheet while you prepare the next batch with a cool sheet. After a few minutes, transfer cookies to cooling rack to finish cooling and complete steps until all batter has been used. Return dough to refrigerator between batches to keep the dough chilled.
- Allow the cookies to completely cool before attempting to frost them.
Make the Icing:
- Mix the powdered sugar, corn syrup, vanilla extract, and hot water together until fully combined. The mixture should not be too thick, but should not be watery. If it's too thin, add a little extra powdered sugar. If it's too thick, add a little extra hot water.
- Transfer half of the icing into a second bowl. Add lemon juice to one of the bowls and stir - this will be the white frosting.
- Melt the chocolate in a microwave-safe bowl in 30-second increments, stirring after each one, until totally melted. Cool for a minute, and then stir into the second bowl of icing.
Frost the Cookies:
- On wax paper, flip the cookies over so that the flat side is facing up. This is the side you will frost.
- Use a small frosting spatula to scoop up a small amount of the white frosting and frost one side of each cookie.
- Let the frosting set for at least 10 minutes and then frost the other side with the chocolate frosting. You may need to give the frosting a good stir to keep it loose.
- Let frosting set up fully and then store cookies in an airtight container with sheets of wax paper between layers.
Notes
Recommended Equipment: ¼ cup ice cream scoop or medium cookie scoop, small frosting spatula, AirBake cookie sheets
If the chocolate frosting is not dark enough for your liking, add a few drops of an oil-based black food coloring until desired color is reached.
Use a clear vanilla extract to keep the vanilla frosting pure white, but know that those are mostly the imitation varities and will affect flavor.
- Prep Time: 10 mins (plus chill time)
- Cook Time: 8-10 mins per batch
- Category: Cookies
- Method: Oven
Do you love this recipe and want to be able to find it later? Use the image below to pin to your Pinterest boards, or share with your friends on social media by using the buttons at the top and bottom of this post. Thank you for visiting my blog!


The cookie part of these is so good, soft and cakey just like the real thing. Thanks for the recipe!
As usual, this recipe looks SOOO good! Will make a batch soon. Thank you!