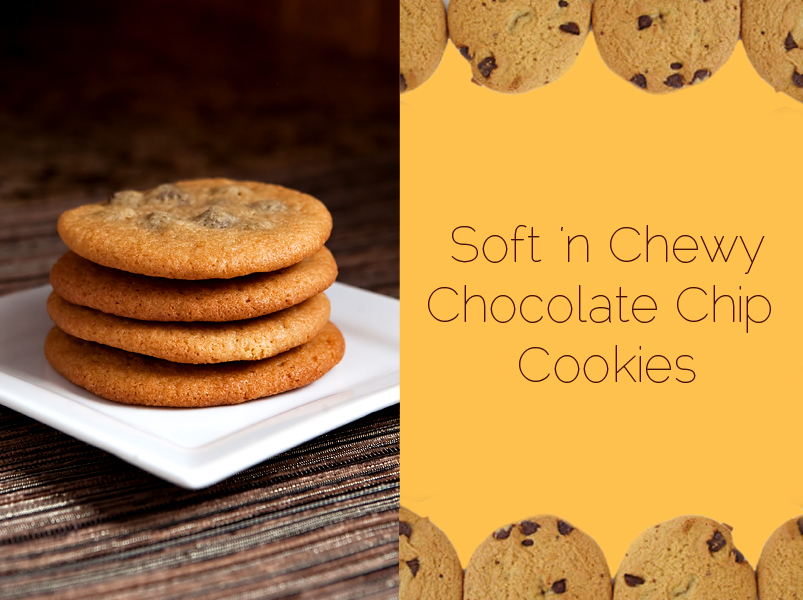
Ah. The chocolate chip cookie. The most basic of baked sweets, and arguably a universally loved treat. The search for the "perfect" chocolate chip cookie is a journey that most bakers take, but what exactly defines a perfect cookie?
There are big, puffy cookies with a light, cake-like texture inside.
Or how about a crunchy cookie, perfect for dunking in a big ole glass of milk?
Then there are the moist, chewy cookies that melt in your mouth.
Oh, and how about add-ins? White chocolate, dark chocolate, milk, or semi-sweet? How about the size of the chocolate? Regular chips? Minis? Big ole chunks? Nuts? No nuts?
Or perhaps your cookies never even make it to the oven and you end up eating the entire bowl of dough? (Seriously, what IS it about cookie dough? It's nature's perfect substance)
I guess the easiest answer to 'What is the BEST chocolate chip cookie?' is that all of the things I listed can be a part of that perfection, depending on your personal preferences. To me, setting a goal in mind for the outcome of your cookies and reaching it means that you have succeeded in your perfect cookies. So if your goal is to create a batch of charred over-baked hockey pucks, and that's what you get? Congratulations, you've baked the perfect cookie!
Ok, maybe not.
For this post, I want to share some techniques for creating my favorite type of chocolate chip cookie - moist and chewy, without being under-baked.
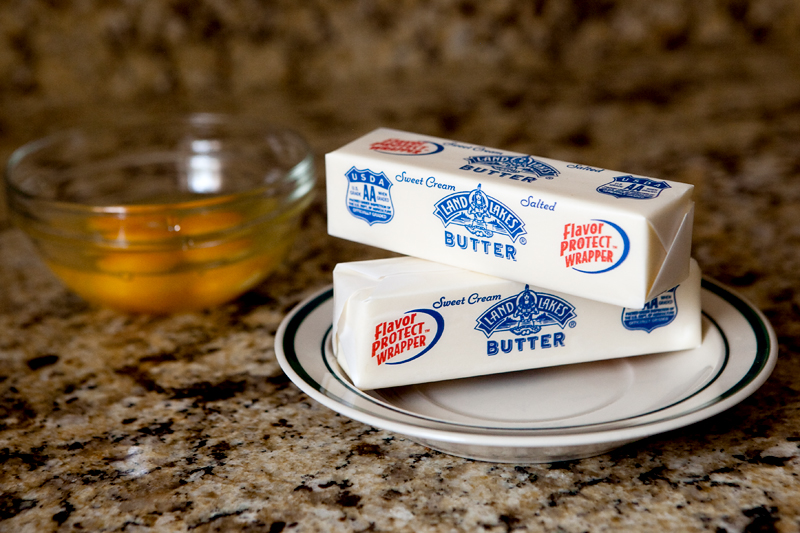
First, let your butter and eggs sit on the counter until they are room temperature. This is really important! The temperature of your ingredients plays a big part in the outcome of any baked good. Be patient - this step can take a little while. I know you have some vacuuming to do. Maybe some laundry? How about that wood floor that's covered in pawprints?
Or you could just veg out on the couch and watch a couple of movies. That's probably what I would do.
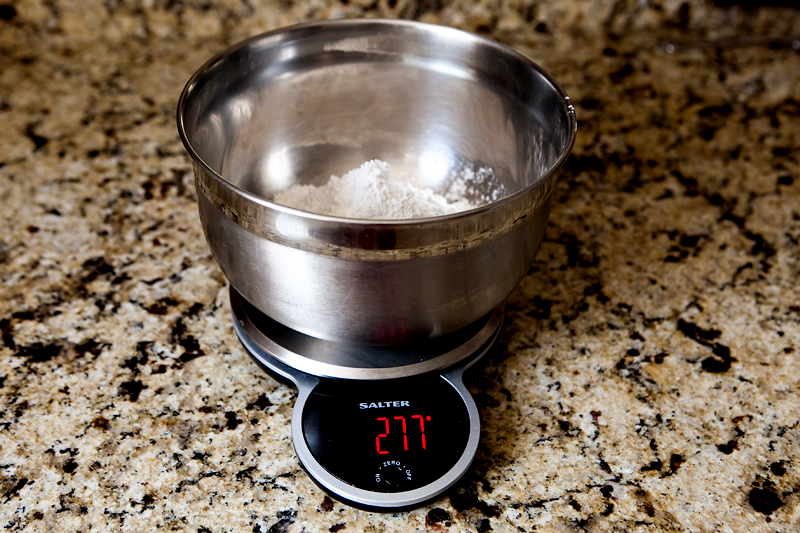
While your butter and eggs are warming up, you could go ahead and measure your dry ingredients.
Did you know that improperly measuring your flour is one of the main reasons (right up there with using butter/eggs that are too cold or hot) that baked goods don't turn out the way they should? If you dunk your measuring cup directly into your canister of flour, you could end up with up to 25% more flour being added to your dough. Remember that baking is a science, and that extra flour will make a big difference!
I recommend investing in a food scale for measuring flour. Most scales will allow you to switch between ounces and grams, so you can be sure you're getting the perfect amount of flour every time. Make sure you zero the scale after you put the empty bowl on top, and before you add the flour. I know I'm being Captain Obvious with that one, but I want this tutorial to be thorough. If you're looking for a place to get high quality kitchen scales, I recommend that you check out scaleszen.com.
Here are some common weights for different flour types:
All-purpose flour: 123 grams per cup
Whole wheat flour: 120 grams per cup
Bread flour: 127 grams per cup
Rye flour: 102 grams per cup
(the brand of flour you use can cause variances in actual weights, but these numbers should be pretty close)
Make sure you're using the type of flour that your recipe calls for, as different flours hold different amounts of moisture and react differently when combined with your other ingredients.
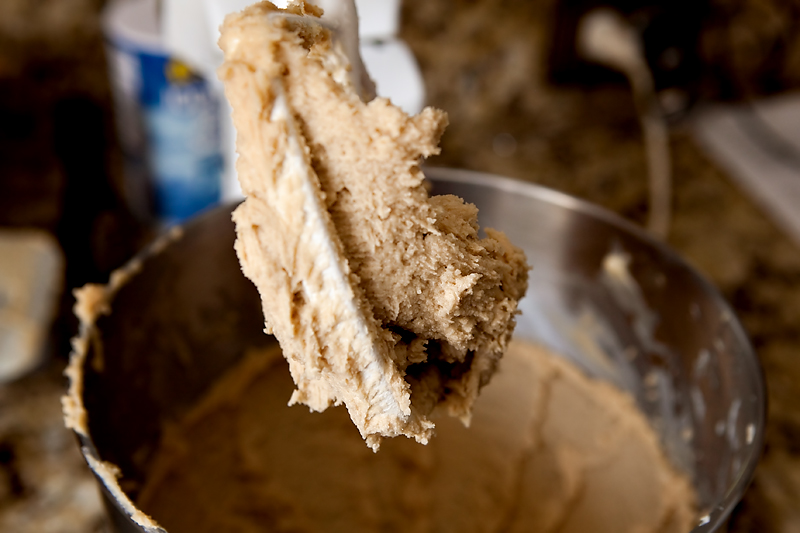
Once your butter is at room temperature, it's time to cream it with some white and light brown sugar (packed). I found that for many years I was not spending enough time on this step. As soon as the butter and sugar were combined, I would move on.
I recommend setting your mixer to medium speed and scraping down the bowl a few times. It may take 2-3 solid minutes of mixing, but you'll notice an obvious shift in the texture of the mixture when it's finished.
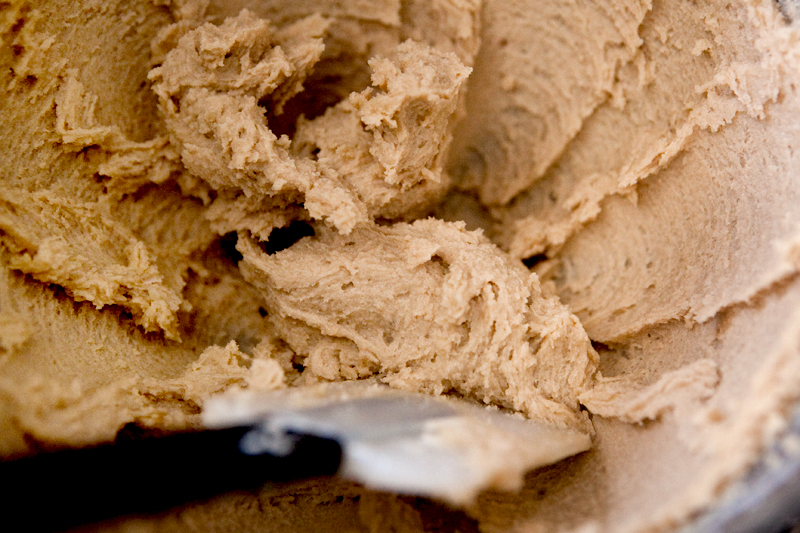
Light and fluffy - ready for the next step!
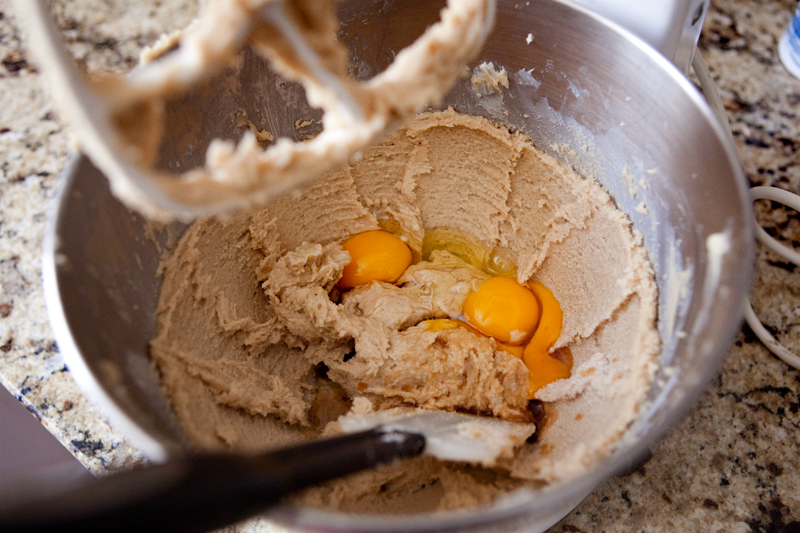
Next, you'll add the salt, vanilla extract, and eggs.
If your recipe calls for unsalted butter and you use salted, cut the amount of salt you add to the dough by half.
For these cookies, I started with Martha Stewart's version of chewy chocolate chip cookies, which calls for 2 whole eggs. I wanted to make sure these cookies were nice and moist, and that they stayed that way after baking, cooling, and storing. To achieve this, I added an extra egg yolk. Egg whites dry out baked goods, so having more yolks than whites ensures a softer texture.
A note about vanilla - use pure extract. If you want the best, then spring for some Nielsen Massey Madagascar Bourbon Vanilla. Pricey but delicious.
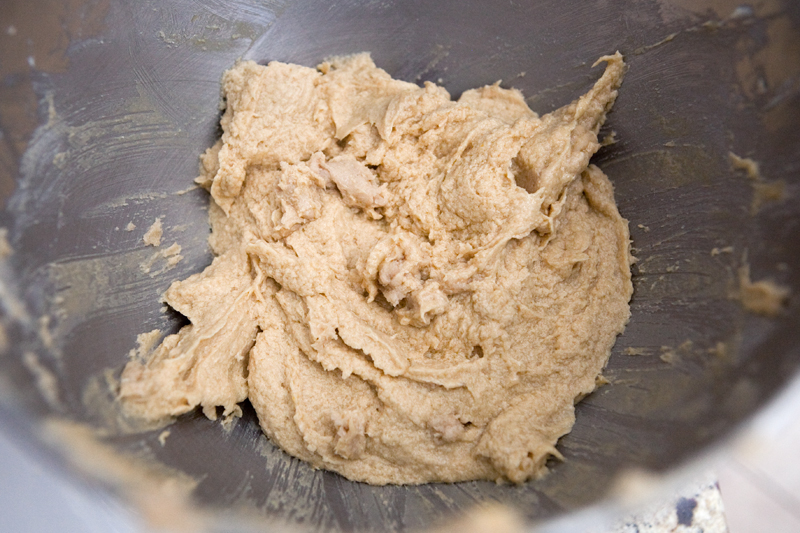
Beat the new ingredients and you'll end up with a wet dough.
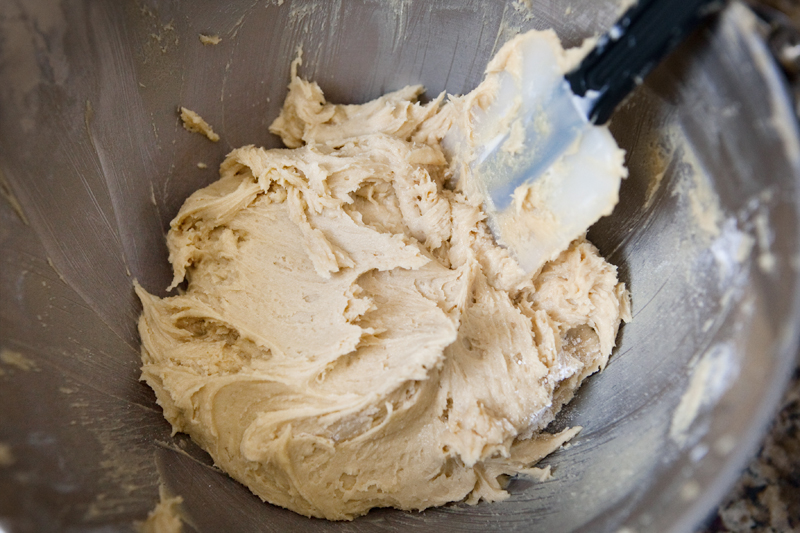
Gradually add the rest of your dry ingredients - flour and baking soda - and don't over-mix. I stop when my dough is mostly smooth, but there are still just a couple of visible flour streaks.
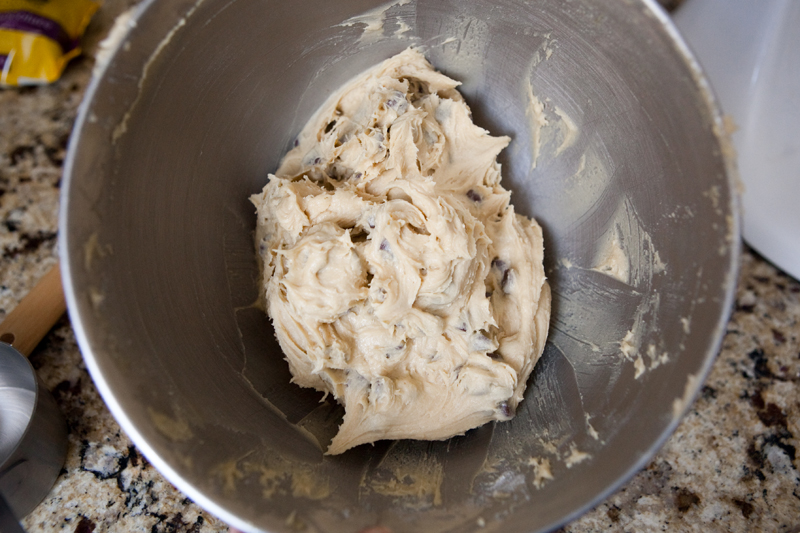
Now it's time to add the chocolate chips. I fold them in gently by hand using a non-stick spatula, which smooths out the remaining flour streaks and ensures that your dough is not over-mixed, which can add toughness to your cookies. I used milk chocolate chips (my preference) and added a bit less than the original recipe called for. Milk chocolate chips are much sweeter than semi-sweet, so you can adjust according to taste.
Ok, now please don't hit me when I tell you this next step: cover your dough with plastic wrap and put it into the fridge for about 24 hours.
I know, I know, I know! First I make you wait hours for your butter and eggs to reach room temperature, and now I'm telling you that you have to wait a whole DAY before these things go into the oven!
I promise I have a good reason for this madness. Letting the dough chill for an extended period of time gives the gluten in the mixture time to relax, which plays a big role in the texture. (I keep talking about texture - it's all about texture!) The longer it chills, the more it will relax. Also, putting chilled dough into the oven prevents the cookies from spreading out too much while baking.
Fast forward 24 hours...
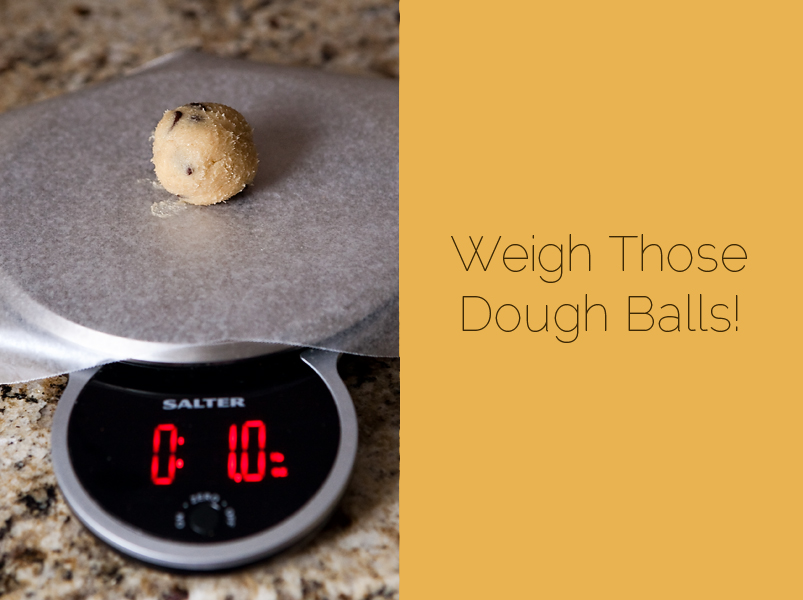
Finally, it's time to bake! Now we have the challenge of making sure that our cookies bake properly and are relatively the same size. Whatcha gonna do? Pull out that food scale again! (Have I convinced you yet to buy a food scale?)
For cookies that are roughly 2.5 - 2.75 inches in diameter, I rolled the dough into 1oz balls. If the thought of weighing each and every cookie is maddening to you, don't worry. You'll quickly get the hang of how big 1 oz is, and you'll be cranking out uniform balls in no time.
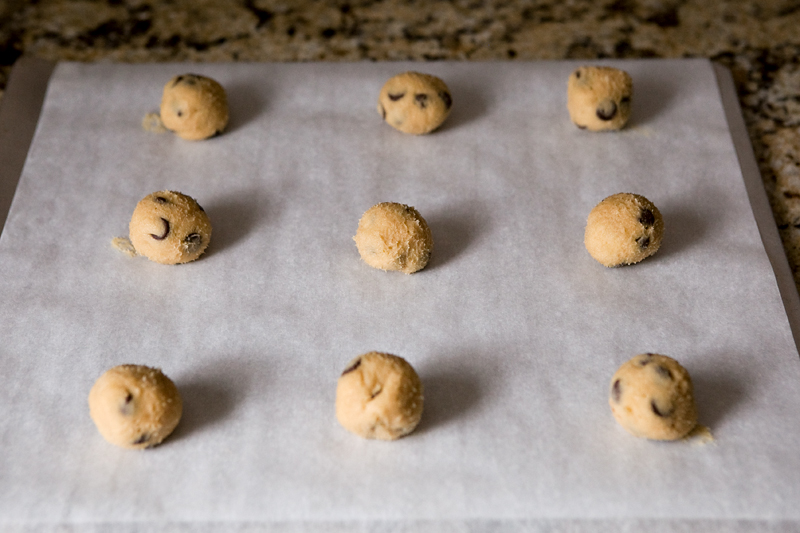
Place the balls at least 2 inches apart (I gave them a little more room than that) on a cookie sheet covered with parchment paper (better than a greased pan, trust me)
Bake them in a 350F oven for 10-12 minutes. You want to take them out when the edges are just started to turn golden brown, but the tops are still soft and slightly puffy. They'll settle down when you take them out of the oven. Don't wait until they're totally golden before taking them out of the oven, or you may end up with over-baked cookies.
Also, know the quirks of your own oven. I know that mine bakes slightly faster in the front than in the back, so halfway through the baking time, I rotated the pan. This extra step guaranteed that my cookies would have a uniform color.
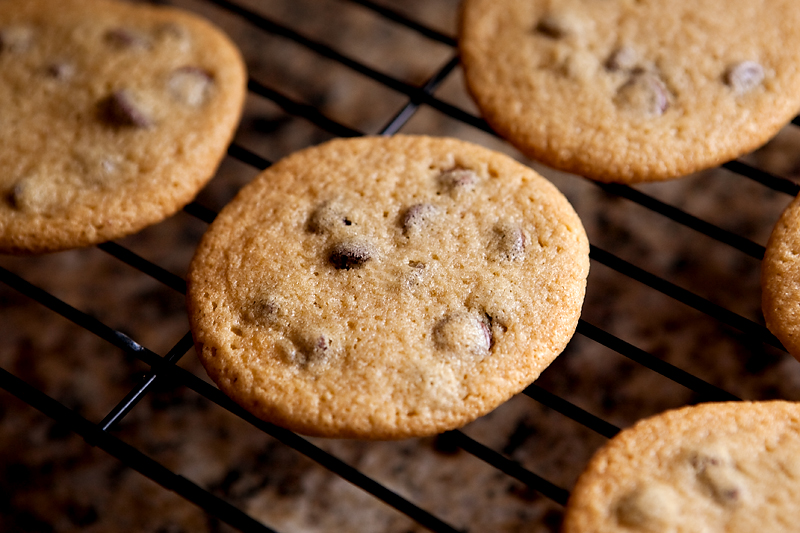
Let the cookies rest on the cookie sheet for about a minute so they don't fall apart when you try to move them. Using a metal spatula, gently transfer them to a wire rack and allow them to cool.
For the rest of the dough, make sure you either use a new cookie sheet or let the first one cool completely before adding the dough balls. Placing dough onto a hot pan before placing it into the oven will cause the cookies to start spreading prematurely.
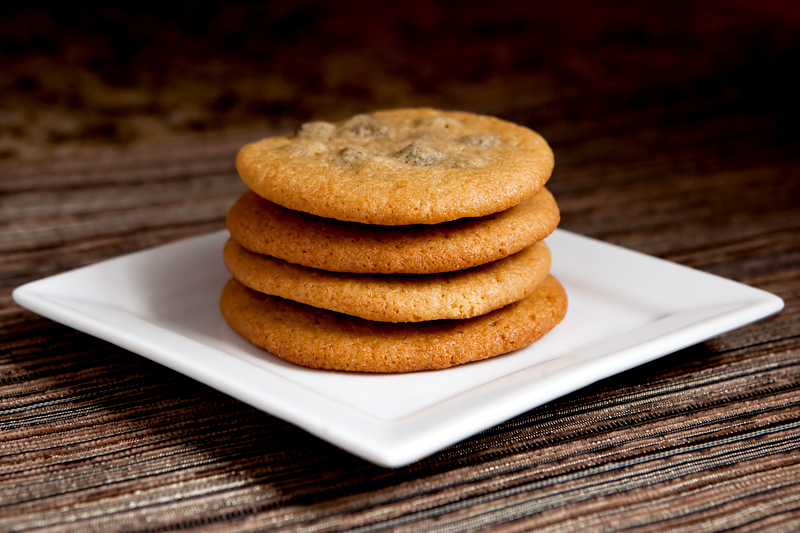
Wasn't the attention to detail worth the effort? Look at these cookies - absolutely delicious!
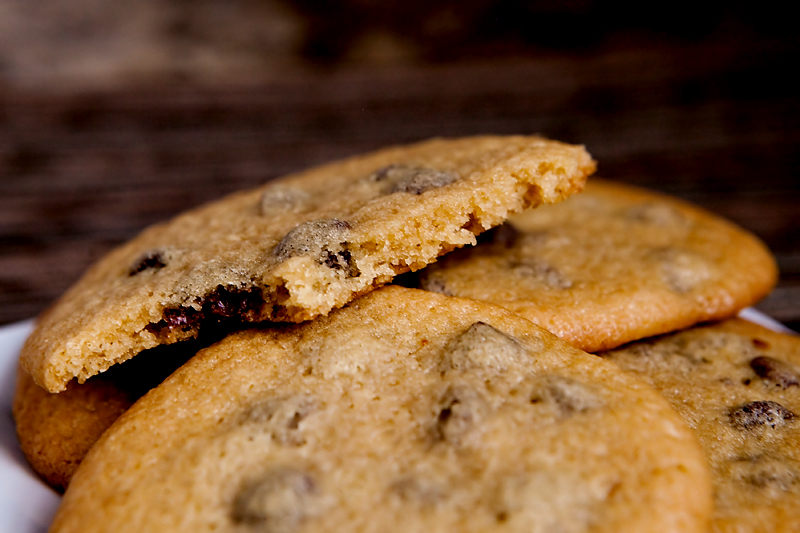
Moist and chewy on the inside, but not under-baked.
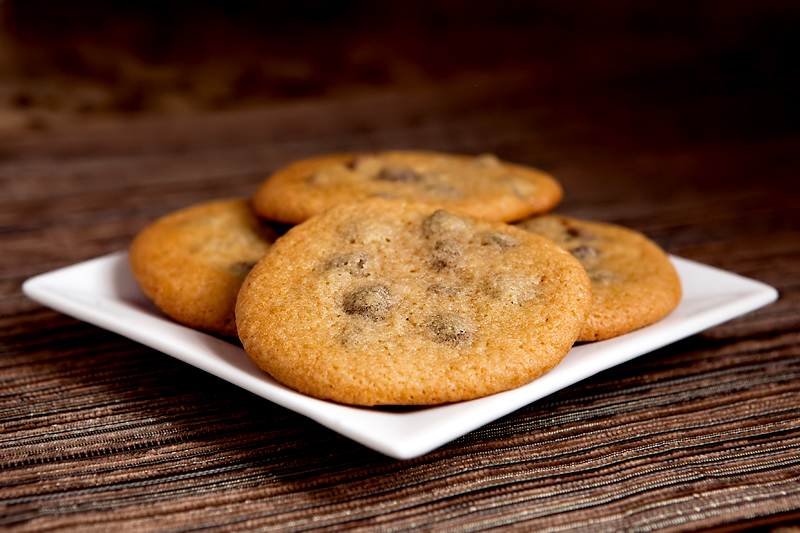
Now your only problem will be not eating the entire batch!
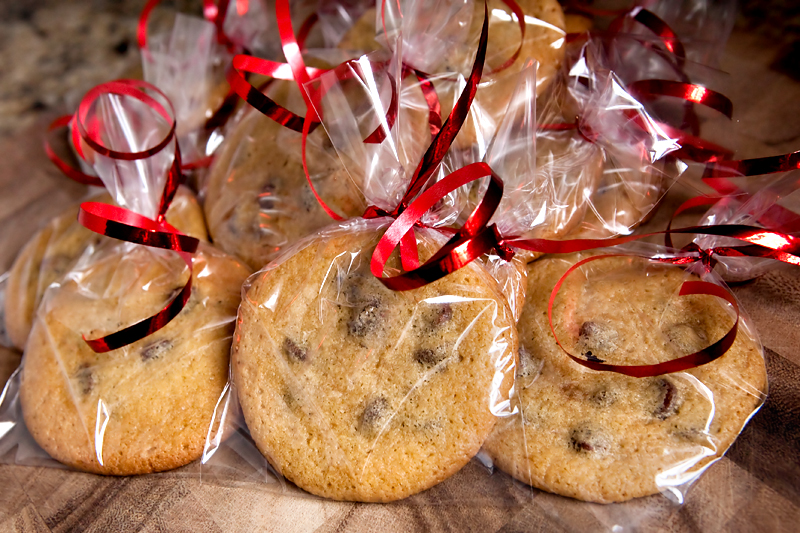
I made these for a work event, so I packaged them up in individual cello bags and tied them with some metallic curling ribbon.
Here's the recipe!
Soft, Chewy Chocolate Chip Cookies
- Yield: 36 cookies 1x
Ingredients
- 2 ¼ cups all-purpose flour (about 277 grams)
- ½ teaspoon baking soda
- 1 cup (2 sticks) salted butter, room temperature
- 2 large eggs plus 1 yolk, room temperature
- ½ cup granulated sugar
- 1 cup packed light-brown sugar
- ½ teaspoon salt
- 2 teaspoons pure vanilla extract
- 1.5 cups milk chocolate chips
Instructions
- In a small bowl, measure the flour using a food scale and toss together with baking soda. Set aside.
- In a stand mixer on medium speed, cream room temperature butter with both sugars until light and fluffy.
- Add eggs, vanilla extract, and salt. Beat until well mixed.
- Gradually add the flour and baking soda and mix until just a few flour streaks remain.
- Using a non-stick spatula, gently fold in chocolate chips until dough is smooth.
- Cover with plastic wrap and let chill at least 24 hours.
- Once dough is chilled, pre-heat oven to 350F
- Cover cookie sheets with parchment paper.
- Roll dough into 1oz balls and place 2.5 inches apart on cookie sheet.
- Bake for 10-12 minutes or until cookies begin to turn golden brown, but tops are still soft.
- Let rest on cookie sheet for 1 minute, and then transfer to wire rack to cool.
- Repeat process with remaining dough on room temperature cookie sheets.


Tried out this recipe some time ago - they were amazing, thank you! I followed the recipe exactly, but I was wondering if the dough could be frozen to be baked later? Thanks!
hi
please come to my blog and then in to the right menu you change language my blog
because you don t know Persian .
thanks Erin
hi Erin
I don t understand English well but i want tell you here .
if you come to my blog i am happy
I learn English from you.
thank you
Arezoo
I can totally rate this recipe! Because they were delicious!